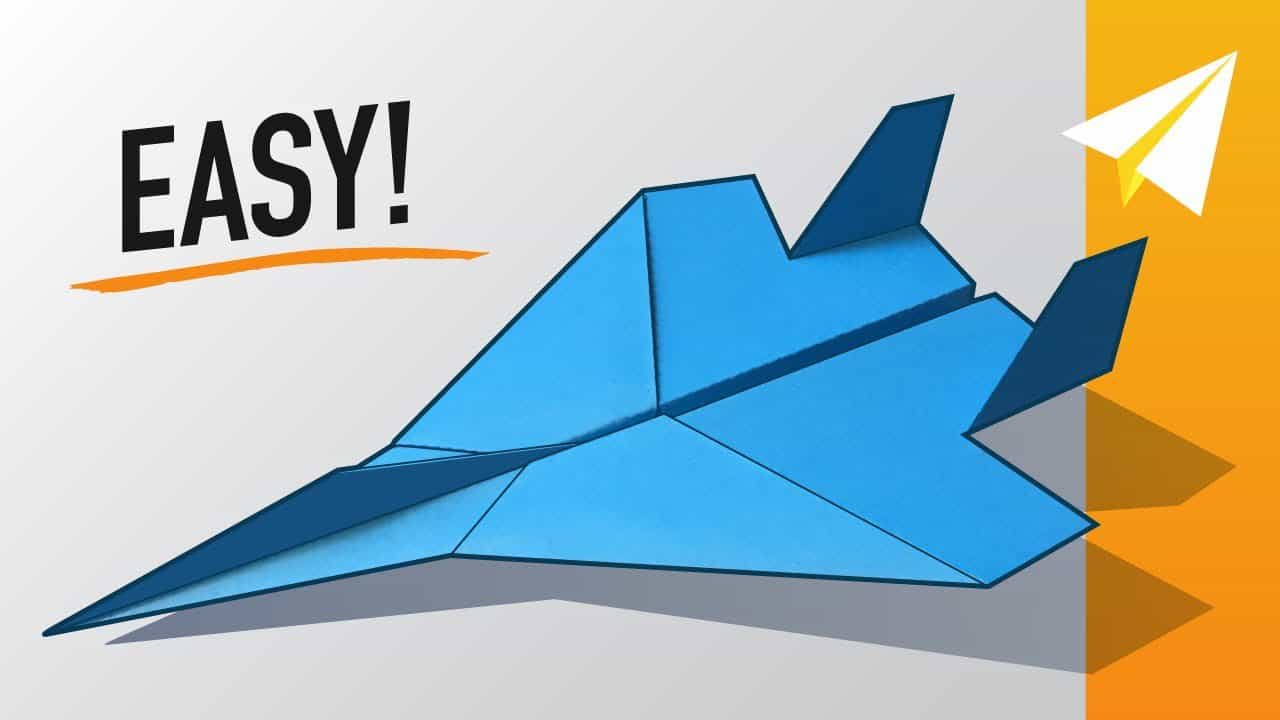
Fly High with Fun: A Parent’s Guide to Making the Perfect Paper Jet
Welcome, adventurous parents and creative kids! Are you looking for a fun and easy activity to enjoy with your children? Look no further! Making paper jets not only brings joy and amusement to your home but also sparks creativity and teaches the basics of aerodynamics. Let’s dive into the world of paper aviation and learn how to craft the perfect paper jet together. Here’s your step-by-step guide.
Why Making Paper Jets is a Great Activity for Kids
Before we start folding, let’s talk about why making paper jets is a phenomenal activity for children:
- Improves Fine Motor Skills: Folding paper requires precision and control, which are essential for developing fine motor skills in young children.
- Teaches Patience and Attention to Detail: Following instructions for paper jet-making can foster patience and a keen eye for detail, valuable life skills for little learners.
- Introduces Basic Physics: Children can learn about flight, lift, and aerodynamics in a practical and engaging way.
- Encourages Creativity: Kids can customize their jets with different colors and designs, making each creation unique.
- Promotes Bonding Time: Working on a project together creates priceless memories and strengthens the parent-child bond.
Materials You’ll Need
Gather the following materials to ensure you’re ready to start your paper jet-making adventure:
- Several sheets of standard 8.5 x 11-inch paper (A4 size works well too!)
- Coloring tools (markers, crayons, or colored pencils for decorating)
- A flat, clean surface to work on
- Patience and enthusiasm (the most important ingredients)
Step-by-Step Guide to Making Your Paper Jet
Now that we have everything we need, let’s get started with your paper jet:
- Choose Your Paper: Select a piece of the standard 8.5 x 11-inch paper. For beginners, a plain white sheet is easiest to work with, so you can clearly see all the folds and creases.
- Prepare the Paper: Lay the paper down on your flat work surface. If you’re crafting with smaller children, you might want to tape down the corners of the paper to prevent it from sliding around.
- The First Folds: Fold the paper in half lengthwise, creating a long rectangle. Ensure the edges meet and press down firmly to make a sharp crease. Unfold the paper, and you’ll have a visible centerline to guide the rest of your folding.
- Creating the Tip: Take the top two corners of the paper and fold them inward to meet at the centerline, forming a point at the top. The paper should now look like a house with a triangular roof.
- Reinforcing the Jet’s Body: Fold the angled edges of the “roof” you’ve just created once more towards the centerline. These folds add weight to what will become the nose of the jet, making it more aerodynamic. You should be seeing a much narrower triangle now, still with a clean point at the top.
Don’t worry, we’re just getting our engines revved up! Making a paper jet is like embarking on a mini educational journey, and we’re not quite ready for take-off yet. Stay tuned as we navigate through more folds and tips to ensure your paper jet is primed for the skies.
But first, let’s take a pit stop to remember that the joy is in the journey—and in this case, it’s in the folding, decorating, and flying together. Keep your spirits up, your folds crisp, and your curiosity piqued as we continue crafting the ultimate paper jet.
As we progress through our paper jet making, remember, each fold you make brings you closer to creating an object that, despite being made from something as simple as paper, can soar through the air. It’s a lesson in persistence, patience, and the wonders of flight. And soon, you’ll witness the magic of your efforts as your paper jet takes to the open skies. Stay tuned for more folding action in the next segment of our guide!

Five Essential Tips for Parents Preparing to Make Paper Jets
Now that we’re warming up our fingers and gathering our materials, let’s go over five key tips that every parent should keep in mind before starting this paper aerodynamic adventure:
- Choose the Right Paper: While any paper can be used to make a paper jet, using standard printer paper provides the right balance between weight and stiffness for optimal flight. Avoid thick cardstock or too-thin notebook paper—they can be difficult for little hands to fold and may not fly as well.
- Create a Good Workspace: A clutter-free, flat surface allows for more accurate folds and a better paper jet-making experience. Make sure the workspace is comfortable for both you and your child, with all necessary materials within easy reach.
- Practice Patience: If this is your child’s first time folding paper jets, remember it might take a few tries to get it right. Encourage your child through mistakes and remind them that practice makes perfect. Be patient and celebrate each step as a learning opportunity.
- Make it a Learning Moment: Talk about the “why” behind each fold and what makes the paper jet fly. This is a perfect chance to introduce scientific concepts like aerodynamics in a hands-on and visual way.
- Decorate Before Flying: Let the kids decorate their paper jets before making the final folds. It’s easier to draw on a flat piece of paper than on a completed jet. Use this opportunity to encourage creativity and allow personal expression to take flight!
Making paper jets with your little ones is about so much more than just paper folding. It’s about taking the time to create, learn, and bond, resulting in joyous memories accompanied by the proud smiles of your children as their jets take flight. Keep these tips in mind, and you’ll be sure to have a successful and enjoyable paper jet-making session.
That’s not the end! We’ll move onto crafting the wings, adding stability, and launching your paper jets into the open air. The fun is only beginning, and soon you’ll be all set for a day full of high-flying paper jets made by your very own little aviators. Stay with us as we continue the guide and get ready to see your child’s eyes light up with excitement and pride!
For more great fun click here. For more information see here
Disclaimer
The articles available via our website provide general information only and we strongly urge readers to exercise caution and conduct their own thorough research and fact-checking. The information presented should not be taken as absolute truth, and, to the maximum extent permitted by law, we will not be held liable for any inaccuracies or errors in the content. It is essential for individuals to independently verify and validate the information before making any decisions or taking any actions based on the articles.


