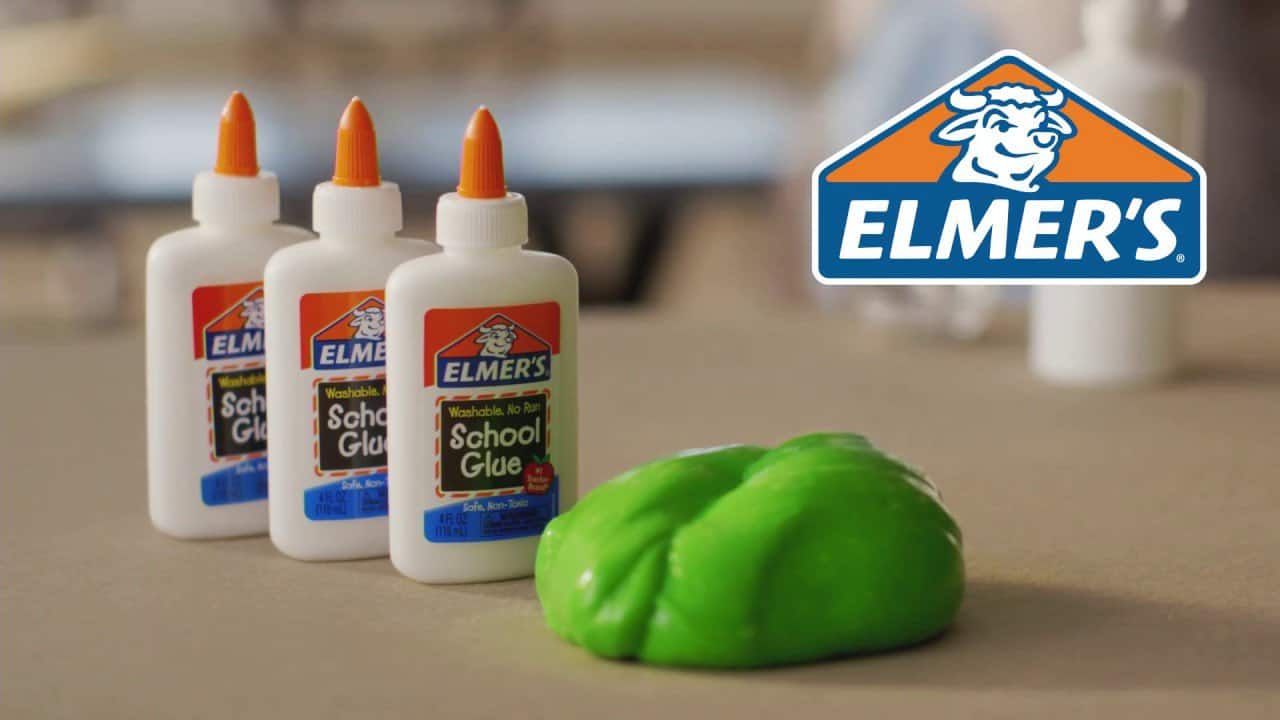
Finding Joy in Squish: How to Make Elmer’s Slime with Your Kids
Hey there, awesome parents! Are you looking for an entertaining and creative activity to do with your kiddos? Look no further because slime time is here! Making Elmer’s slime is not just an incredibly fun pastime, it’s super simple, and it’s a gooey joy every child (and let’s be honest, every adult) loves to play with. Let’s dive into the vibrant world of slime-making where science meets hands-on excitement!
Note: Always supervise young children during slime-making and play, to ensure safety and to avoid any unwanted mess!
Why Elmer’s Slime Rocks!
Before we start, let’s talk about why Elmer’s slime is the bee’s knees. It’s safe, non-toxic, and uses household ingredients. Plus, with Elmer’s glue at the helm, you’re almost guaranteed to get the perfect stretchiness and texture every time. It’s a great sensory experience for the kids and helps develop fine motor skills. Not only are you setting up for a fun day, but you’re also aiding their development. Now that’s what we call a win-win!
What You’ll Need for the Slime-venture
- Elmer’s White Glue or Elmer’s Clear Glue: Depending on whether you want opaque or see-through slime.
- Baking Soda: This acts as a slime activator with the glue.
- Contact Lens Solution: Make sure it contains boric acid and sodium borate for the perfect slime reaction.
- Food Coloring: This is optional but adds that pop of color that can make slime-making even more exciting.
- Mixing Bowl: You’ll need a bowl to mix your ingredients in.
- Mixing Spoon or Stick: To help stir the concoction.
- Measuring Spoons: For accuracy in your slime-making measurements.
Let’s Get Slime-ing!
Now, onto the fun part – making the slime! This is where you can get creative and experiment with different colors and textures. Follow this step-by-step process and you’ll be the slime master in no time.
- Gather your materials: Make sure you have everything listed above before you start. It’ll make the process smoother, and you won’t have to scrabble for ingredients with goopy hands!
- Elmer’s Glue: Start by emptying a 4oz bottle of Elmer’s white glue into your mixing bowl.
- Get Colorful: If you’re adding food coloring, now is the time to drip in a few drops. Or get funky and mix colors for a custom hue!
- Baking Soda Bond: Add a half teaspoon of baking soda and mix thoroughly until it’s fully incorporated.
- Contact Lens Solution: Now, pour in a tablespoon of contact lens solution into the bowl. This is the magical ingredient that brings it all together, so prepare to see some gooey goodness take form!
As you mix, you’ll notice the concoction becoming firmer and sticking less to the bowl. That’s your cue that it’s nearly slime time. Keep mixing until it reaches a gooey consistency and begins to pull away cleanly from the sides of the bowl.
If your slime still feels too sticky, you can add a little more contact lens solution, a quarter teaspoon at a time. But go slow, as too much activator can make the slime tough and less pliable.
Once the slime has formed, it’s time to get your hands in there! Knead the slime with your hands for a minute or two to achieve that perfect slime texture. Voilà, you’re now officially a slime-making pro!
Tips, Tricks, and Slime Customization Ideas
Here are some nifty ideas to jazz up your slime!
- Glitter: Add a sparkle to your slime with some glitter – it’s like a galaxy of stars at your fingertips.
- Beads and Sequins: For a different texture and some fancy flair, throw in some beads or sequins.
- Scented Oils: Want your slime to smell delightful? A drop or two of essential oils can add a lovely aroma.
- Themed Slime: Get into the holiday spirits with themed colors and add-ins. How about some orange and black slime with googly eyes for Halloween?
Playing with slime is indeed a mesmerizing experience, not just for the kids but for the entire family. It stretches, it squishes, and it’s oddly satisfying to poke and prod. Making slime with Elmer’s glue is a smooth and straightforward process, one that leaves you with a nifty toy and an afternoon well-spent. So, roll up those sleeves, get the ingredients out, and prepare for an adventure in squishiness and stretchiness!
And remember to store your slime in an airtight container to keep it fresh for the next play session. Happy slime-making! Stay tuned for the next section, where we’ll go through some important safety tips, cleaning hacks for those accidental slime splatters, and frequently asked questions to help you become a true slime aficionado. Your slime journey has just begun, and the sticky fun is endless!

5 Things Parents Should Know Before Making Elmer’s Slime
Starting a slime project is super exciting, but before you get your hands gooey, here are five essential tips to ensure your slime-making journey is as smooth as a well-kneaded batch of slime:
- Safety First: While Elmer’s glue is non-toxic, it’s still important to make sure that children don’t ingest any slime or its ingredients. Ensure hands are washed thoroughly before and after play, and keep an eye on little ones who might be tempted to taste their creations.
- Prep Your Space: Slime-making can get a bit messy, so cover your surfaces with newspapers or a disposable tablecloth for easy cleanup. Keep some paper towels and a bowl of water nearby for quick hand-washing if things get too sticky.
- Slime Ingredients Alternatives: If someone in your household has sensitive skin or allergies, consider using alternatives for any ingredients that might cause irritation. For instance, you can use saline solution as a replacement for contact lens solution. Always patch-test the slime on skin before play.
- Ventilation Matters: While you’re not working with harsh chemicals, it’s still a wise move to make slime in a well-ventilated area. This could mean opening a window or making slime in an open space to ensure a fresh-air flow.
- Have a Slime Strategy: Once made, slime can find its way onto clothes, carpet, and fabric. Have a game plan for quick cleaning if slime gets where it shouldn’t. Vinegar and warm water can help remove slime from various surfaces. A little bit of preparation will save you a lot of stress later on.
With these tips at your fingertips, the process of making Elmer’s slime is bound to be fun, safe, and full of learning opportunities. Now, let’s move on to some frequently asked questions to ease any lingering uncertainties and bolster your slime-making confidence!
Frequently Asked Questions
- What can I use if I don’t have Elmer’s Glue?
You can use other PVA (polyvinyl acetate) based glues, but Elmer’s is often recommended because it tends to produce consistent results. - Can I make slime without contact lens solution?
Yes, you can use other slime activators like liquid starch, detergent, or borax mixed with water. However, remember that contact lens solution is one of the safest options when making slime with limited mess and risk. - How long does homemade slime last?
When stored properly in an airtight container, slime can last for several weeks. If it starts to smell or lose its texture, it’s time to make a fresh batch. - How can I make my slime more stretchy?
If your slime is too rubbery or snaps easily, knead in a little bit of warm water or lotion to make it stretchier. - My slime is too sticky! What do I do?
Add more contact lens solution, a little at a time, until it reaches your desired consistency. Remember to knead well after each addition.
Armed with this knowledge and a sprinkle of enthusiasm, you’re more than ready to make memories with your kiddos while concocting the perfect batch of Elmer’s slime. So, gather your supplies, prep your workspace and embrace the delightful world of slime-making where every moment is an opportunity for creativity, learning, and lots of sticky fun!
See more great Things to Do with Kids in New Zealand here. For more information see here
Disclaimer
The articles available via our website provide general information only and we strongly urge readers to exercise caution and conduct their own thorough research and fact-checking. The information presented should not be taken as absolute truth, and, to the maximum extent permitted by law, we will not be held liable for any inaccuracies or errors in the content. It is essential for individuals to independently verify and validate the information before making any decisions or taking any actions based on the articles.


