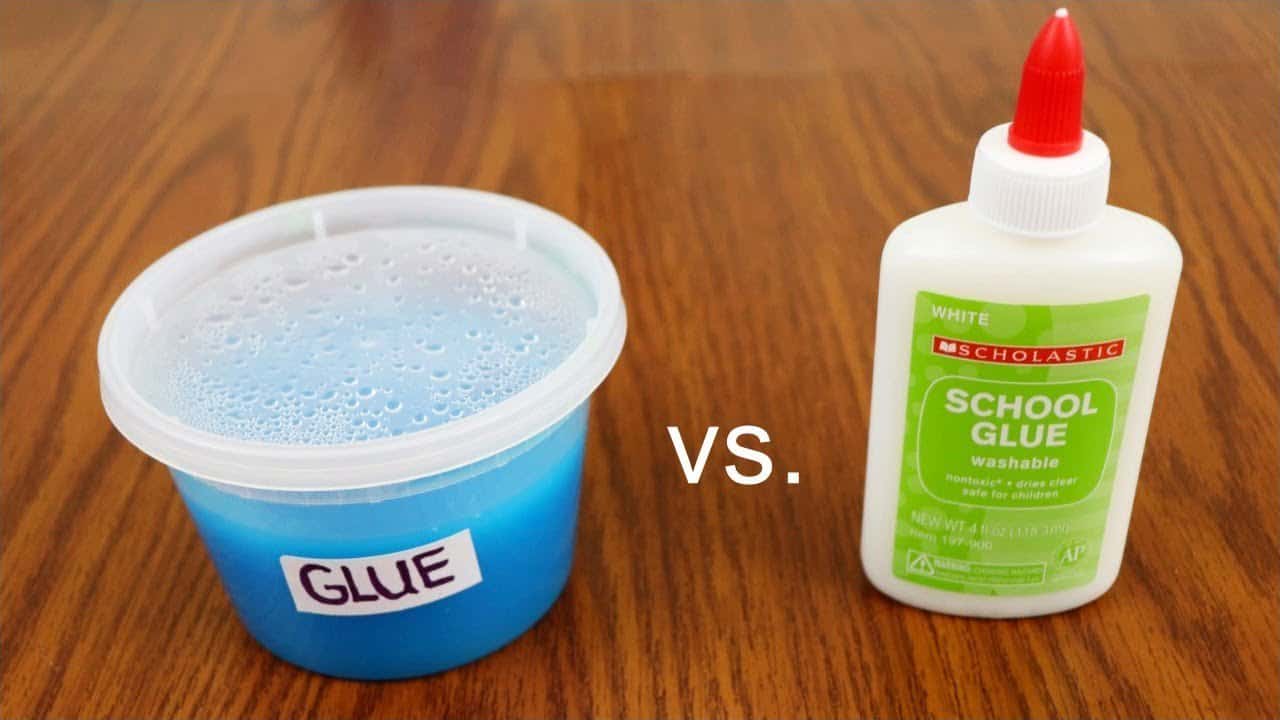
? Homemade Glue for Slime: A Fun and Easy Guide for Parents ?
Hey there, Super Parents! ? Are you looking to dive into the ooey-gooey world of slime with your little ones? Well, you’ve come to the right place! Making slime is not only about creating a delightful sensory experience for your children but also about engaging them in a fun science project. ? And guess what? It starts with making your very own glue for slime! Yes, you can be the DIY hero of your household with this simple recipe for homemade glue that’s absolutely perfect for slime projects! ????
Before we get our hands sticky, let’s talk about why making homemade glue is a fantastic idea. Not only is it cost-effective, but it also gives you control over the ingredients, ensuring they’re safe and non-toxic for your kiddos. ? Plus, it’s an eco-friendly option as it reduces plastic waste from store-bought glue bottles. How nice is that? ?
So, pull out your aprons and get ready to become the coolest parent on the block with this super-duper homemade glue for slime recipe! ?
? What You Need to Make Your Own Glue for Slime
- 1 cup Water (divided into 3/4 cup and 1/4 cup) ?
- 2 tablespoons Cornstarch ?
- 1 teaspoon White vinegar (optional, for preservation) ?
- 1 teaspoon Baking Soda (optional, to adjust pH) ?
- 1/2 teaspoon Salt (optional, helps to thicken the mixture) ?
- Medium-sized bowl or pot for mixing ?
- Spoon or whisk for stirring ?
??? Step-by-Step Guide to Making Glue for Slime
Get your little scientists ready, as we are about to concoct our magical glue potion! Here’s how:
- Take the 3/4 cup of water and pour it into your pot or bowl. If you are using a stovetop, set it to medium heat; if you’re using a bowl, just make sure it’s something you can heat up later in the microwave.
- Add the cornstarch to the bowl or pot. Now, involve your kids by asking them to whisk the mixture gently until the cornstarch is fully dissolved, and you have a smooth liquid with no lumps.
- If you’re using vinegar and baking soda, now’s the time to add them. They serve as preservatives and pH adjusters, giving your glue a longer shelf life and preventing it from becoming too acidic. Mix well.
- If you decided to use salt, sprinkle it in while stirring continuously. The salt will help thicken the glue and give it the right texture for slime-making. Keep that spoon moving!
- Time to get warm! Slowly heat the mixture while stirring. If you’re using a stovetop, watch for the mixture to start bubbling slightly. If you’re using a microwave, heat it in short bursts of 20 seconds, stirring between each interval, until you reach the right consistency – it should be somewhat thick and glue-like.
- Once you’ve achieved the desired consistency, remove the pot or bowl from the heat source. Let your homemade glue cool down for a bit. Safety first! ?
- Last step! Gradually add in the remaining 1/4 cup of cold water to finish off your glue mixture. Stir it briskly until the glue is completely smooth.
? Congratulations! You’ve now crafted your very own bottle of glue that’s primed for slime creation! And guess what? Your kiddos are about to witness the wonderful world of chemistry in action, thanks to you!
With your homemade glue ready, you’re all set to move on to the next stage—making the slime itself come to life. There are countless variations and colors to explore, so let your imagination run wild! ??
Now, what are you waiting for? Roll up those sleeves and start creating memories that will be stickier than the slime itself! And if you want to know more about the amazing world of slime and how to use this glue to create different types of slime (sparkly, fluffy, glow-in-the-dark, and more!), stick around for our upcoming section where we’ll dive deeper into the squishy, stretchy universe of slime-tastic fun!

5 Things Parents Should Know When Preparing Homemade Glue for Slime
Before you embark on your home lab adventure, here are five essential tips to make the glue-making process a breeze:
- Plan for a Mess: Be prepared for a bit of a mess by setting up your workspace in an area that’s easy to clean. Cover surfaces with newspaper or a plastic sheet. Remember, making slime is supposed to be messy fun, so set those worries aside and dive in!
- Have Patience: As with any good scientific experiment, the key to success is patience. The glue might take some time to reach the perfect consistency, and it’s okay if it doesn’t turn out perfect on the first try. Encourage your kids to learn from the process!
- Select the Right Containers: Once your glue is ready, you’ll need an airtight container to store it in. Reuse old jars or invest in some nice containers that can be a part of your slime-making kit for the future.
- Natural Ingredients: One of the perks of DIY glue for slime is that it’s made with ingredients you likely already have in your pantry. This keeps it non-toxic and safe for younger children under supervision. Plus, you can teach them about natural substances and their uses.
- Ready for Slime-Time: Once your glue is made, you’re halfway to making slime! However, you will need to add a slime activator, like borax solution or contact lens solution containing boric acid, to transform your homemade glue into the perfect batch of slime. Make sure you have these on hand before starting.
With these tips, you’re well on your way to a successful DIY slime session with your kids. Remember, it’s all about having fun and learning together. So, even if the first batch isn’t perfect, applaud the effort and the science behind it! Now let’s get gluey!
The Science Behind Slime: Educational Fun for Kids
Homemade slime isn’t just a source of entertainment—it’s also a fantastic educational tool. When you mix your homemade glue with an activator, you’re creating a polymer. This is a great opportunity to introduce your kiddos to some basic chemistry concepts.
Explain how the long chains of molecules in your homemade glue get linked together by the activator to form a stretchy substance. Voilà, that’s the science of polymers in action! It’s like a science class they can hold in their hands. Don’t forget to mention to your kids that these same polymers are found in lots of everyday objects, including plastics, rubber, and even in our bodies!
Also, as you experiment with different slime recipes, you can discuss the principles of trial and error and the scientific method. Ask your young scientists to hypothesize what will happen if they change certain parts of the slime recipe and then test their theories. It’s a perfect blend of learning and play!
Let your glue and slime adventure reinforce these concepts and maybe inspire a lifelong love of science. Now that you’re armed with your homemade glue, a handful of tips, and a pinch of science, you and your little ones are set to make the squishiest, stretchiest, and most sensational slime ever! It’s not just a craft; it’s a fantastic learning journey for everyone involved.
By now, your homemade glue is probably beckoning you to transform it into delightful slime. Get creative with colors, add-ins like glitter or beads, and even scents to personalize every batch. Remember, every mistake is just a step in the fun-filled learning process. Enjoy every moment of this sticky journey as you and your children make your very own, perfectly imperfect, homemade slime!
See more great Things to Do with Kids in New Zealand here. For more information see here
Disclaimer
The articles available via our website provide general information only and we strongly urge readers to exercise caution and conduct their own thorough research and fact-checking. The information presented should not be taken as absolute truth, and, to the maximum extent permitted by law, we will not be held liable for any inaccuracies or errors in the content. It is essential for individuals to independently verify and validate the information before making any decisions or taking any actions based on the articles.


