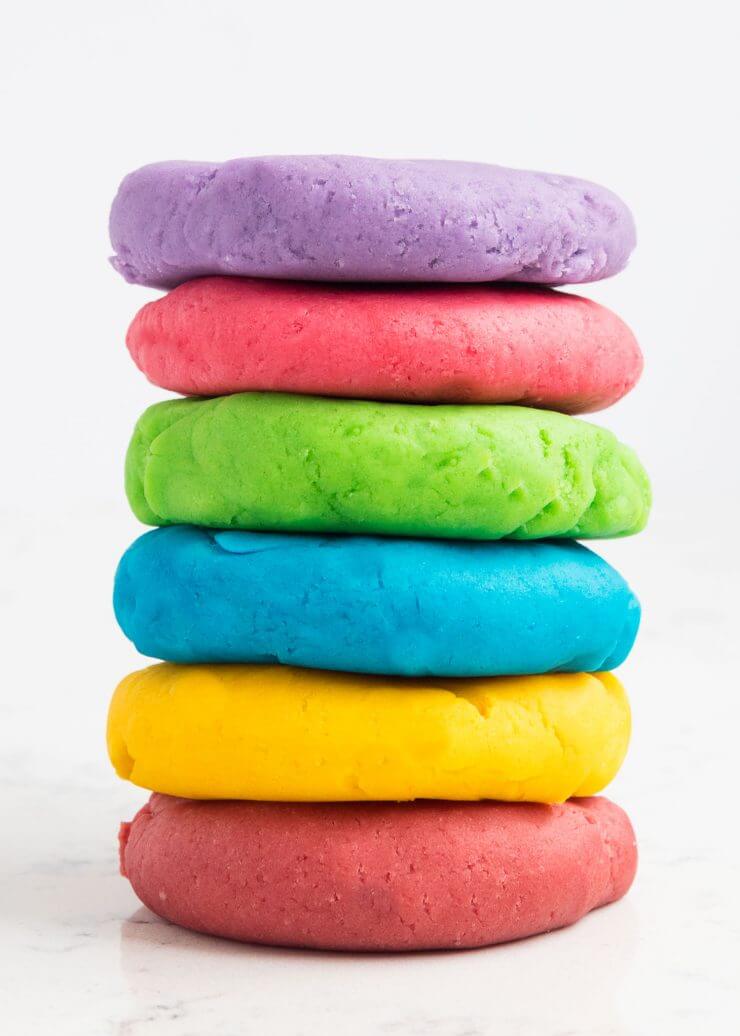
Let’s Get Crafty: A Parent’s Guide to Making Simple Playdough at Home
Hey there, amazing parents! Are you ready to roll up your sleeves and dive into a world of squishy, colorful fun with your little ones? Today, we’re going to explore the magic of homemade playdough. Not only is this a fantastic sensory activity for kids of all ages, but it’s also a great way to bond and create priceless memories. Plus, our simple playdough recipe is a breeze to make, and you likely have all the ingredients in your pantry right now!
Why Make Playdough at Home?
- Non-Toxic and Safe – Homemade playdough is free of chemicals and safe for children to play with, which means less worrying for you!
- Educational – It’s a superb tool for developing fine motor skills, encouraging creativity, and even learning about colors and shapes.
- Affordable – Save money by making your playdough with cost-effective ingredients.
- Customizable – Get creative with colors, scents, and textures. The possibilities are endless!
So, tie on those aprons, gather the kiddos, and let’s get started on making some homemade playdough goodness!
How to Make the Best Simple Playdough
The recipe we’re about to share is a tried-and-true classic that has been tested by parents and approved by kids worldwide. It’s soft, pliable, and can last for months if stored correctly. Let’s make some dough!
Ingredients:
- 1 cup of all-purpose flour
- 1/4 cup of table salt
- 2 teaspoons cream of tartar
- 1 cup of water
- 1 tablespoon of vegetable oil
- Food coloring (optional)
- Essential oils for scent (optional)
Equipment:
- Large mixing bowl
- Saucepan
- Measuring cups and spoons
- Stirring spoon or spatula
- Storage containers or sealable plastic bags
Step-by-Step Instructions:
- Start by mixing the dry ingredients—flour, salt, and cream of tartar—in the mixing bowl.
- In a separate container, mix the water with a few drops of food coloring until you reach the desired shade.
- Pour the colored water into the dry mix, along with the vegetable oil. Stir until a dough begins to form.
- Transfer the dough mixture to the saucepan and cook over low heat, stirring continuously. You’ll notice the dough begins to thicken and pull away from the sides of the pan.
- Once the dough has formed a ball and appears fully cooked, remove from heat. Allow it to cool for a few minutes until it’s safe to handle.
- Knead the playdough on a clean surface for a couple of minutes to make sure it’s smooth and fully combined. If you’re adding essential oils for scent, now’s the time to knead them in too!
- Store your playdough in airtight containers or plastic bags to keep it soft and pliable for future use.
Voilà! You’ve just made your very own batch of playdough! Now, let’s talk about some tips for customizing your playdough and extra activities to make the most out of this playful adventure!
Remember, playdough isn’t just for play; it’s a tool for unleashing imagination, sharpening motor skills, and even a platform for early learning concepts. The tactile experience of molding playdough can be incredibly therapeutic and calming for children, making it an excellent activity for any time of day.
So, what are you waiting for? Let’s embark on this delightful DIY journey together, and trust me, your children will thank you for the countless hours of entertainment and education. Grab your aprons and get ready for some playdough fun that everyone can enjoy!
Stay tuned for more tips on how to jazz up your playdough sessions, including natural dye options, themed play ideas, and ways to incorporate learning into playtime. The fun is just beginning, and the best part? You’re creating it from scratch, with love, right at home.

Five Things Parents Should Know When Preparing Simple Playdough Recipe
1. The Importance of Quality Ingredients
Even in such a simple recipe, the quality of the ingredients can make a difference in the end result. Opt for fine-grain table salt to ensure that your dough isn’t grainy. Also, using fresh cream of tartar is vital as it acts as a stabilizer and gives your playdough that perfect consistency and increased shelf life.
2. Food Coloring: Liquid vs. Gel
Food coloring is what turns our playdough from plain to exciting, but not all food colorings are equal. Liquid food coloring is readily available and easy to mix. However, for vibrant colors without adding too much additional liquid, gel food coloring might be your best bet. Gel coloring is highly concentrated, so a little goes a long way!
3. The Cooking Process
Cooking the playdough might seem daunting, but it’s actually quite simple and does wonders for the texture. Be patient, cook over low heat, and keep stirring—it might take a few minutes, but this is where that pliable, smooth playdough texture is achieved. Just be careful as the dough will be hot coming off the stove.
4. Kneading is Key
After cooking, kneading the dough is the secret to achieving that perfect, smooth texture. Allow it to cool until it’s comfortable to handle and then knead away! This step is actually really fun for the kids to help with and great for their motor skill development.
5. Storing Your Playdough
Store the playdough in an airtight container or ziplock bag to keep it fresh. If it starts to dry out, you can add a little water and knead again to bring it back to life. Some parents also like to wrap the dough in wax paper before storing it in the container for extra moisture retention.
This homemade playdough can be at the center of so many fun and educational activities. You can set up a playdough ‘station’ with a rolling pin, cookie cutters, and other safe tools for your kids to cut, shape, and create to their heart’s content. It’s also a fantastic opportunity to introduce your children to color mixing—like how blue and yellow make green—and basic color theory in a very hands-on way!
Moreover, incorporating essential oils is a delightful way to make the playdough-making experience even more sensory. Scents like lavender can be calming, which makes playdough play a great winding-down activity before bedtime. Remember to use the oils sparingly and choose ones that are safe for children.
So there you have it. Armed with these tips, a handful of kitchen staples, and a pinch of creativity, you’re all set to whip up a batch of fresh, homemade playdough for endless hours of fun. Get ready to have a blast, be prepared for a little mess, and enjoy the wonder on your children’s faces as they squish, shape, and mold their very own playdough creations!
.
See more great Things to Do with Kids in New Zealand here. For more information see here
Disclaimer
The articles available via our website provide general information only and we strongly urge readers to exercise caution and conduct their own thorough research and fact-checking. The information presented should not be taken as absolute truth, and, to the maximum extent permitted by law, we will not be held liable for any inaccuracies or errors in the content. It is essential for individuals to independently verify and validate the information before making any decisions or taking any actions based on the articles.


