Ultimate Guide to Making Slime at Home: Fun and Easy Recipes for Parents
Hello, creative parents and fun-loving families! Are you ready to dive into the colorful world of slime-making? There’s no denying that slime has taken the world by storm, providing endless hours of entertainment and sensory play for kids (and let’s face it, adults too!). Today, we’re here to spread the joy and share the secrets of making the perfect slime right at your kitchen table!
Not only is slime making a fantastic way to bond with your children, but it also encourages learning through sensory exploration and basic chemistry understanding. Plus, it’s customizable, from sparkly, glitter-filled concoctions to fluffy, cloud-like textures. So, let’s get our ingredients ready and embark on a slime-tastic adventure!
What Is Slime and Why Do Kids Love It?
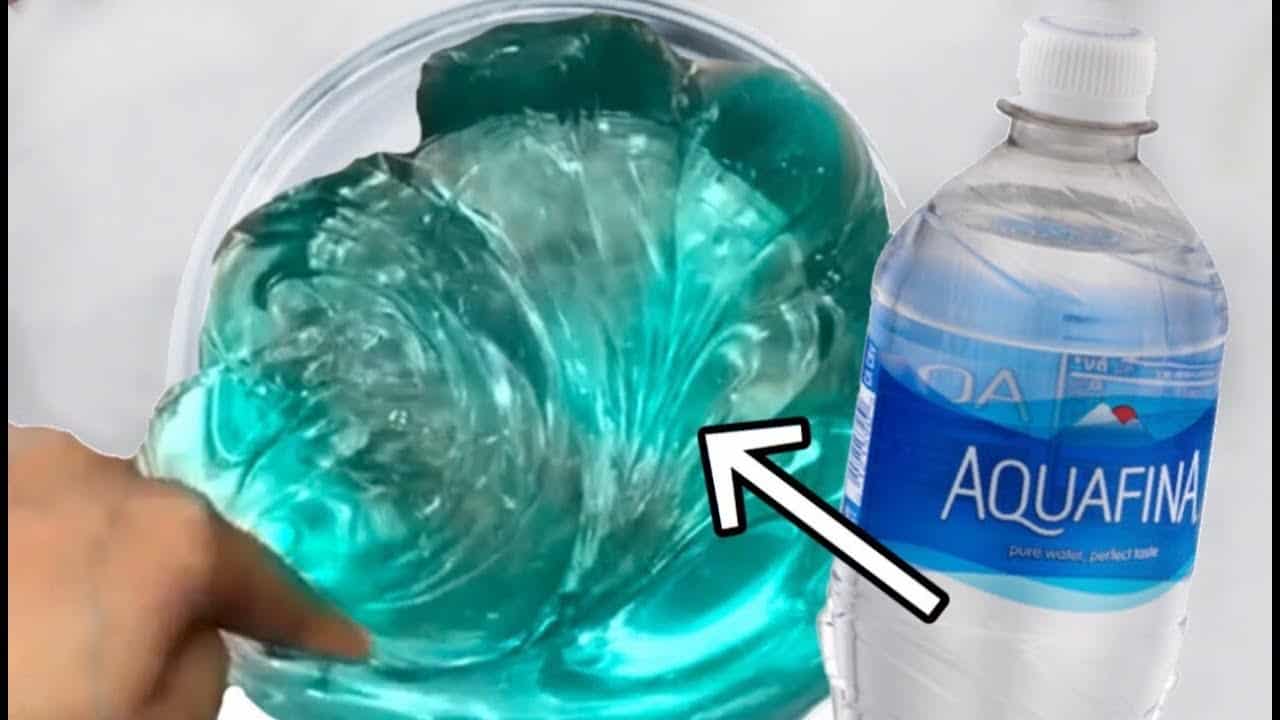
Slime is a non-Newtonian fluid that’s oodles of fun to play with. It’s stretchy, squishy, and can be made in a variety of colors and textures. Kids adore slime for its unique properties—it can flow like a liquid but also behave like a solid when you apply pressure. This delightful substance engages their senses and lets their imagination run wild!
Your Slime-Making Toolkit
Before we jump into the recipes, let’s get our toolkit ready. You’ll need a few basic ingredients and materials to start your slime adventure:
- A large mixing bowl
- A mixing spoon or spatula
- Measuring cups and spoons
- Plastic or reusable containers for storage
- Gloves (optional, for mess-free play)
And, of course, the slime ingredients:
- Basic slime activator – This can be Borax solution, liquid starch, or contact lens solution and baking soda.
- Glue – White or clear PVA glue works best for slime-making.
- Add-ins for fun – Food coloring, glitter, beads, shaving cream, and scents.
Let’s Start with a Simple Slime Recipe
If it’s your first time making slime or you’re looking for an easy project with your kids, here’s a simple recipe to get you started:
- 1/2 cup of PVA white glue
- 1/2 cup of water
- Food coloring (your choice of color)
- 1/4 teaspoon of Borax powder mixed with 1/2 cup of warm water (slime activator)
Follow these steps for gooey fun:
- In your large mixing bowl, pour in the 1/2 cup of PVA white glue.
- Add the 1/2 cup of water to the bowl and mix well until the glue is diluted.
- Add a few drops of your chosen food coloring and stir until the color is even.
- Slowly start adding the Borax mixture to the glue mixture, stirring constantly. You’ll notice the slime beginning to form.
- Keep mixing until the slime pulls away from the bowl and starts to stick to itself.
- Take the slime out and begin kneading with your hands until it reaches the desired consistency.
Congratulations! You’ve just made your first batch of homemade slime! But don’t stop there. Up next, we’ll dive into how you can add some pizzazz to your creations with different textures and colors. Plus, we’ll explore some no-Borax recipes for those preferring alternative ingredients.
With a bit of patience and creativity, you can make a variety of slimes to stimulate the senses. Whether it’s making a glitter-galore slime for that extra sparkle or a fluffy one that feels like a cloud, you’re on the right path to becoming a veritable slime wizard!
Ready to explore more slime recipes and get creative with your kids? Keep reading, because we have plenty of vibrant, fun-filled slime variations coming your way!

5 Essential Tips for Parents Preparing to Make Slime
Before embarking on this gooey journey, here are five key things every parent should know about making slime at home:
- Understanding the Ingredients: Slime is fun and simple to make, but understanding the role of each ingredient is important. The glue acts as the base, while the activator changes the glue’s properties, creating that unique slime consistency. Add-ins like food coloring or glitter make the experience more magical but are optional.
- Safety First: Always prioritize safety by choosing non-toxic, kid-friendly materials. If your children have sensitive skin, consider wearing gloves or opt for a recipe without harsh chemicals like Borax. Supervision is crucial, especially for little ones, to avoid accidental ingestion or mishaps.
- Slime-Making as a Learning Activity: Slime-making isn’t just fun, it’s educational! Introduce concepts of measurements and chemical reactions. Ask your kids to predict what will happen when you mix certain ingredients. It’s a great opportunity for hands-on learning.
- Embrace the Mess: Making slime can be messy, so prepare your space accordingly. Cover surfaces with newspaper or plastic sheets, wear old clothes, and keep wipes handy for quick clean-ups. Remember, the mess can be cleaned, but the fun memories will last forever.
- Storage Solutions: Slime can last quite a while when stored properly. Invest in airtight containers to keep your slime fresh and ready for play. This also offers an easy way to organize your slimes by type, color, or the date they were made.
Going Beyond the Basics: Advanced Slime Recipes
Once you and your kids are comfortable with the simple slime recipe, it’s time to experiment with new textures and effects. From adding shaving cream for fluffy slime to using iron oxide powder for magnetic slime, the possibilities are endless! Crafting these unique slimes can be as much of a delight as playing with them.
Best Practices for Slime Play and Maintenance
Ensure your slime stays in top condition with these best practices:
- Keep slime away from fabrics, carpets, and hair. It can be difficult to remove once it sets.
- Wash hands before and after playing with slime to avoid transferring dirt and to keep your slime clean.
- If the slime starts to dry out, try adding a bit of water or lotion to bring it back to life.
- Discard slime that smells bad or shows signs of mold – safety first!
Conclusion: Fun with Slime!
Making slime at home is a wonderful activity that offers the dual benefits of play and education. It inspires creativity, teaches basic science, and brings families together for quality time. While it can be a bit messy and chaotic, the joy it brings to your kids is more than worth it. And remember, with each batch of slime you make, you’re not just creating a toy, but memories that both you and your children will cherish for years to come.
So, don your aprons, roll up your sleeves, and get ready for some slimy fun!
See more great Things to Do with Kids in New Zealand here. For more information see here
Disclaimer
The articles available via our website provide general information only and we strongly urge readers to exercise caution and conduct their own thorough research and fact-checking. The information presented should not be taken as absolute truth, and, to the maximum extent permitted by law, we will not be held liable for any inaccuracies or errors in the content. It is essential for individuals to independently verify and validate the information before making any decisions or taking any actions based on the articles.


