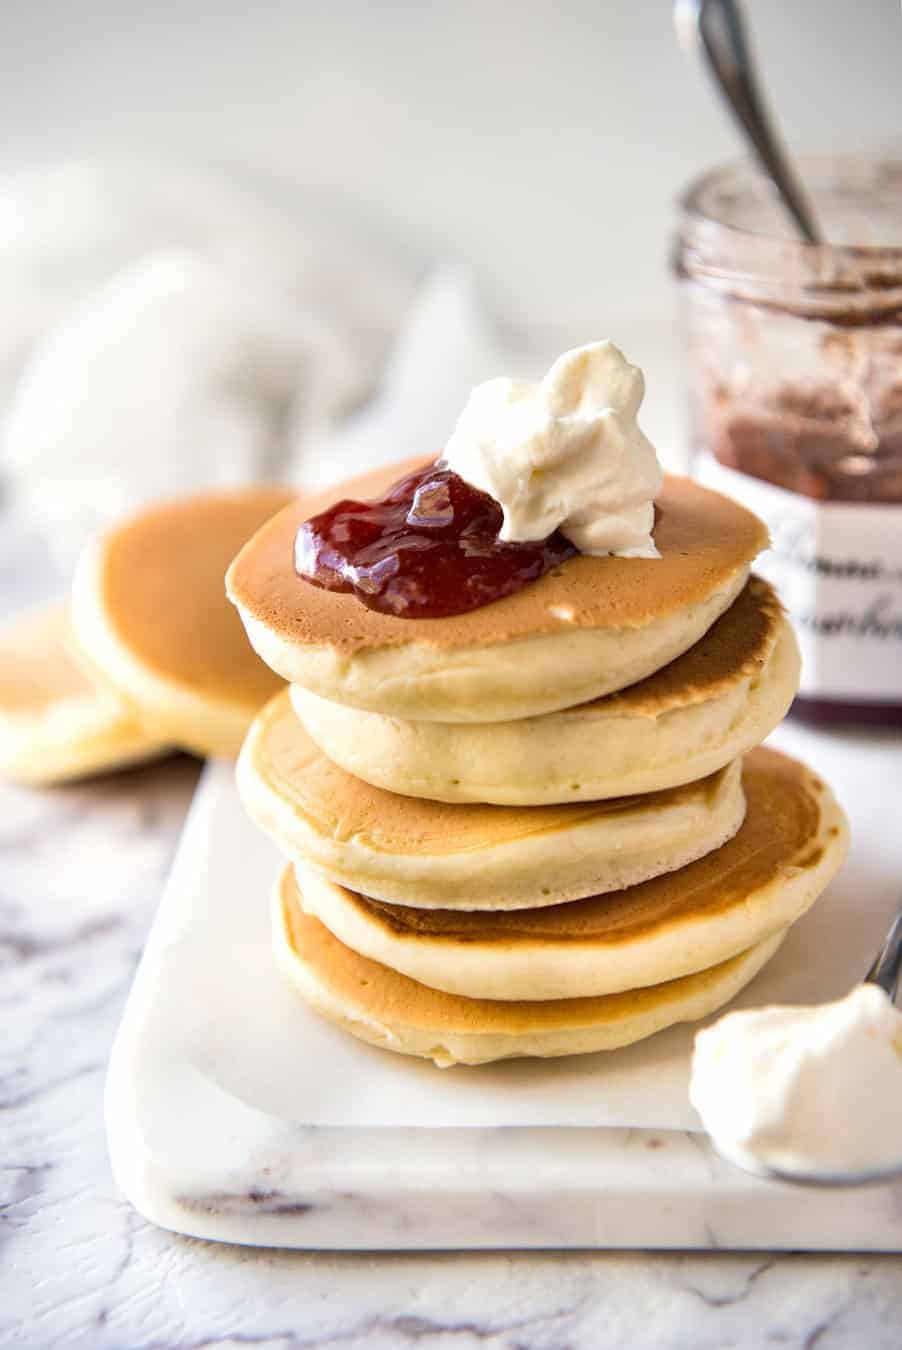
? The Ultimate Parent’s Guide to Making Pikelets with Kids ?
Introduction to Pikelet Making
Hello there, amazing parents and guardians! ? Are you looking for a fun, simple, and scrumptious way to bond with your kiddos in the kitchen? Well, you’ve hit the jackpot because today we’re diving into the delightful world of pikelets! Pikelets are like the charming cousins of pancakes – smaller, thicker, and just as delicious. They’re perfect for little hands to help with and even better for tiny mouths to devour. Let’s whip up some joy and fill your kitchen with the sweet aroma of homemade pikelets!
What You’ll Need: Equipments and Ingredients
Before we unleash our inner chefs, let’s gather the equipment and ingredients needed to create these magical mini-pancakes.
Equipment:
- Non-stick frying pan or griddle
- Large bowl for mixing
- Measuring cups and spoons
- Whisk or electric mixer
- Spatula
- Ladle or spoon for pouring batter
Ingredients:
- 1 cup all-purpose flour
- 2 tablespoons sugar
- 1/2 teaspoon baking powder
- 1/4 teaspoon baking soda
- Pinch of salt (optional)
- 3/4 cup milk (any variation works)
- 1 large egg
- 1 tablespoon melted butter or vegetable oil, plus extra for greasing
- Fresh fruits, honey, and yogurt for serving (get creative!)
Now that we’ve got everything lined up, let’s set sail on our pikelet adventure!
Step-by-Step: Mixing Up Magic
To ensure our pikelet-making journey is smooth-sailing, we’ll follow these simple steps:
1. Mix Dry Ingredients:
- In your large mixing bowl, sift together the flour, sugar, baking powder, baking soda, and a pinch of salt if you’re using it. This is a fantastic step where the kids can get hands-on with measuring and sifting!

5 Tips for Preparing to Make Pikelets with Kids
Baking with children is a combination of education, bonding, and fun. But as with any kitchen adventure involving juniors, it’s important to go in with a plan. Here are five handy tips to get you geared up for an unforgettable pikelet-making experience!
1. Prep Before You Step:
Having all your ingredients and utensils ready before you call the kids into the kitchen can curb the chaos. Make sure everything is within reach to keep those little chefs focused on the fun parts – mixing and flipping!
2. Aprons On:
Kitchen messes are inevitable, especially when cooking with children. Get ahead of the spills by donning aprons. This not only protects their clothes but also makes them feel like true kitchen pros!
3. Delegate Age-Appropriate Tasks:
Children love to help, so divvy up the tasks! Little ones can add pre-measured ingredients, while older children might take on mixing or even flipping the pikelets with supervision. Everyone gets to play a part!
4. Safety First:
Keep safety a top priority. Ensure handle pans are not hanging over counters and that hot surfaces are out of reach. Supervise each step and guide them through the process with gentle reminders about kitchen safety.
5. Cultivate Patience and Creativity:
Encourage your kids’ creativity by letting them choose their own toppings or even helping to mix the batter. Also, teach patience: good things – like perfect pikelets – take a little time to cook!
Combining Wet and Dry Mixtures
2. Whisk the Wet Ingredients:
- In a separate bowl, lightly beat the egg, add milk and melted butter or oil, and whisk them together. Kids love cracking eggs, but give them a quick hand if needed. Make this step fun by talking about how each ingredient helps make the pikelets fluffy and delicious!
- Make a well in the center of your dry ingredients and pour in the wet mixture. Stir gently with a spatula or wooden spoon until just combined. Lumpy batter is totally fine and even preferred – overmixing can lead to dense pikelets, and we want them light and fluffy!
With your batter ready, the excitement really begins – let’s cook those pikelets!
Cooking Your Pikelets to Perfection
3. Preheat Your Pan:
- Set your non-stick pan or griddle over medium heat and brush lightly with butter or oil. This step is great for a bit of science talk about the importance of heat in cooking!
4. Spoon in the Batter:
- Once the pan is warm, ladle the batter to form small, round pikelets on the surface. Encourage the kids to make their own size choices – it’s all about having fun!
- Watch for bubbles to form on the surface and for the edges to appear set. This is the perfect learning moment about observing and timing in cooking.
5. Flip with Finesse:
- When bubbles pop and leave holes, it’s flipping time! Gently slide the spatula under a pikelet and turn it over with confidence. Kids love this part, but it may take a few tries to get that graceful flip – a great lesson in persistence!
- Cook for another minute or so until both sides are golden brown and the pikelets have risen slightly.
Repeat with the remaining batter, stacking the cooked pikelets on a plate. Help your kids understand the value of sharing by having them arrange the pikelets and prepare plates for everyone.
Add the Final Flourishes
Now comes the best part – dressing up those pikelets! Encourage the children to get creative with toppings. Fresh berries, a dollop of yogurt, a drizzle of honey, or a sprinkling of powdered sugar – there are no rules in this territory of taste!
6. Serve and Enjoy:
- Invite the family to the table and serve the warm pikelets. Watch those little eyes light up when they taste the fruits of their labor!
Creating pikelets together isn’t just about the delicious treat at the end – it’s about the memories made, the skills learned, and the lessons shared. Bon appétit!


