
Welcome to the Ultimate Homemade Fish and Chips Guide for Busy Parents!
Hello there, wonderful kitchen adventurers! Get ready to hook your family with a classic that’s healthier than the take-out version and just as lip-smackingly delicious: the one, the only, homemade fish and chips! Perfect for a cozy family dinner or indulgent weekend treat, this guide is packed with tips, tricks, and a step-by-step recipe to turn your kitchen into the best British pub in town. So, wash your hands, roll up your sleeves, and let’s dive right into the crispy and golden delight that awaits!
A Bit of Fish and Chips Trivia!
Did you know that fish and chips were first served together as a dish around the 1860s in England? Fast-forward to today, it’s a dish cherished worldwide. Plus, a good old “chippy” meal is a fantastic way to introduce the little ones to seafood if they’re still on the fence about it. Cool, right?
Choosing the Perfect Fish
- Cod: The star of traditional British fish and chips, cod has a mild flavor and a dense, flaky white flesh.
- Haddock: Another popular choice, haddock boasts a sweet taste with a finer flake and a less dense texture compared to cod.
- Halibut: If you’re looking for a meatier option, halibut is your go-to fish with its firm texture.
- Tilapia or Pollock: Budget-friendly alternatives that still make for a satisfying meal.
Tip: Always opt for the freshest fish possible, or choose high-quality frozen fish if fresh isn’t available in your area.
Getting the Batter Just Right
The secret to the perfect batter is in its lightness and crispiness. We’re going to use a combo of flour and beer – yes, beer! – to get that delightful crunch. Not to worry, the alcohol cooks off, leaving only the fantastic flavor and perfect texture behind.
Here’s our shopping list:
- All-purpose flour
- Cornstarch – for that extra crunch
- Baking powder – the leavening agent will make our batter airy and light
- Beer – any carbonated beer works wonders, adding both leavening and flavor
- Salt and pepper – for seasoning
- Paprika or cayenne pepper – optional, for a little kick
Alright, with the main stars of our dish picked, let’s move to its trusty sidekick: the chips!
Nailing Those Crispy Chips!
While your oil’s heating up for the fish, let’s multitask and get cracking on those perfect, crispy chips. You’re going for potatoes that are fluffy on the inside and crunchy on the outside – basically, little sticks of heaven.
Here’s what you need for the chips:
- Russet potatoes – They’re high in starch and low in moisture, which is exactly what you want for crispy chips.
- Vegetable, canola, or peanut oil – these have a higher smoke point, perfect for deep-frying.
- Salt – to taste
Tip: To achieve that signature crunch, we’ll double-fry the chips. Yes, double-frying – once at a lower temperature to cook through, and then a second time at a higher temperature to get that golden-brown exterior. Trust me, it’s worth it!
Isn’t this exciting? Just imagining that first bite of flaky fish wrapped in a crispy batter, along with a mouthful of hot, crunchy chips is enough to make anyone’s tummy rumble with joy. Stay tuned for the step-by-step instructions – you’re just moments away from creating a fish and chips masterpiece in your very own kitchen!

Five Things Parents Should Know When Preparing the Best Fish and Chips Recipe
As you preheat your oven and get your kitchen tools ready, here are five essential things you should know to ensure your fish and chips come out perfectly every time:
- Safe and Easy Oil Management: When frying, safety comes first. Ensure you use a deep, heavy-bottomed pan to prevent the oil from spilling over, and don’t overfill it. Heat oil to the right temperature (around 365°F (185°C) for fish, and 325°F (160°C) for the first chip fry). Use a kitchen thermometer for accuracy. After cooling, strain and store the oil for another use or dispose of it properly – don’t pour it down the sink!
- Customize Your Batter: Your batter can be customized to suit your family’s taste. For a gluten-free option, use chickpea flour or a gluten-free all-purpose blend. For an alcohol-free version, sparkling water can replace beer for that airy texture. Always pat your fish dry before dipping into the batter for the ultimate crispiness.
- Perfectly Cooked Fish: Cooking time will vary based on the thickness of your fish fillets. As a rule, if the fillet is 1-inch thick, it should take about 8-10 minutes to cook through. The fish is ready when the batter is golden and the fish inside is opaque and flakes easily.
- Invest in a Good Thermometer: Timing is critical, and judging by eye isn’t always foolproof. A cooking thermometer can help you maintain the correct oil temperature and ensure your fish is perfectly cooked without being over or underdone.
- Engage Your Little Helpers: Make this cooking adventure a family affair! Kids can help with safe tasks like drying the fish, cutting potatoes (with supervision), or mixing the batter. It’s a wonderful way to spend quality time together and educates them about what they’re eating.
Now, with these handy tips on board, you’re ready to turn that batter into golden deliciousness and those potatoes into crispy wonders. Just pair everything with a side of mushy peas or a fresh salad, and you’ll serve up an irresistible British classic right at your dining table. Nothing beats the joy of sharing a homemade meal with your loved ones, especially when it’s crafted with care and a sprinkle of fun.
The Step-by-Step Process
Let’s get that oil sizzling and create some magic!
- Prep the Potatoes: Peel the potatoes and cut them into thick, even sticks. Soak them in cold water for at least 30 minutes to remove excess starch, which helps in achieving the ultimate crisping potential.
- Make the Batter: Whisk together flour, cornstarch, baking powder, and spices. Then, while stirring, add the beer to create a smooth, lump-free batter. Let it sit for a few minutes to develop flavor and texture.
- Fry the Chips (Part 1): Dry the potato sticks thoroughly. Heat oil to 325°F (160°C) and blanch the chips in batches for about 3-5 minutes. They should be cooked through but not yet browned. Remove and let them drain on a wire rack or paper towels.
- Prep the Fish: Cut the fish into desirable serving sizes and season with salt and pepper. Then, right before frying, dip each piece into the batter to coat completely.
- Fry the Fish: Increase the oil temperature to 365°F (185°C). Carefully place the battered fish into the hot oil. Fry in batches to avoid crowding, for about 6-8 minutes, or until golden brown and crispy. Transfer to a wire rack to keep them crispy while you finish frying.
- Fry the Chips (Part 2): Increase the oil temperature to 375°F (190°C). Return the chips to the hot oil and fry until they’re golden brown and crispy, about 2-3 minutes. Salt them while hot for that extra delightful taste.
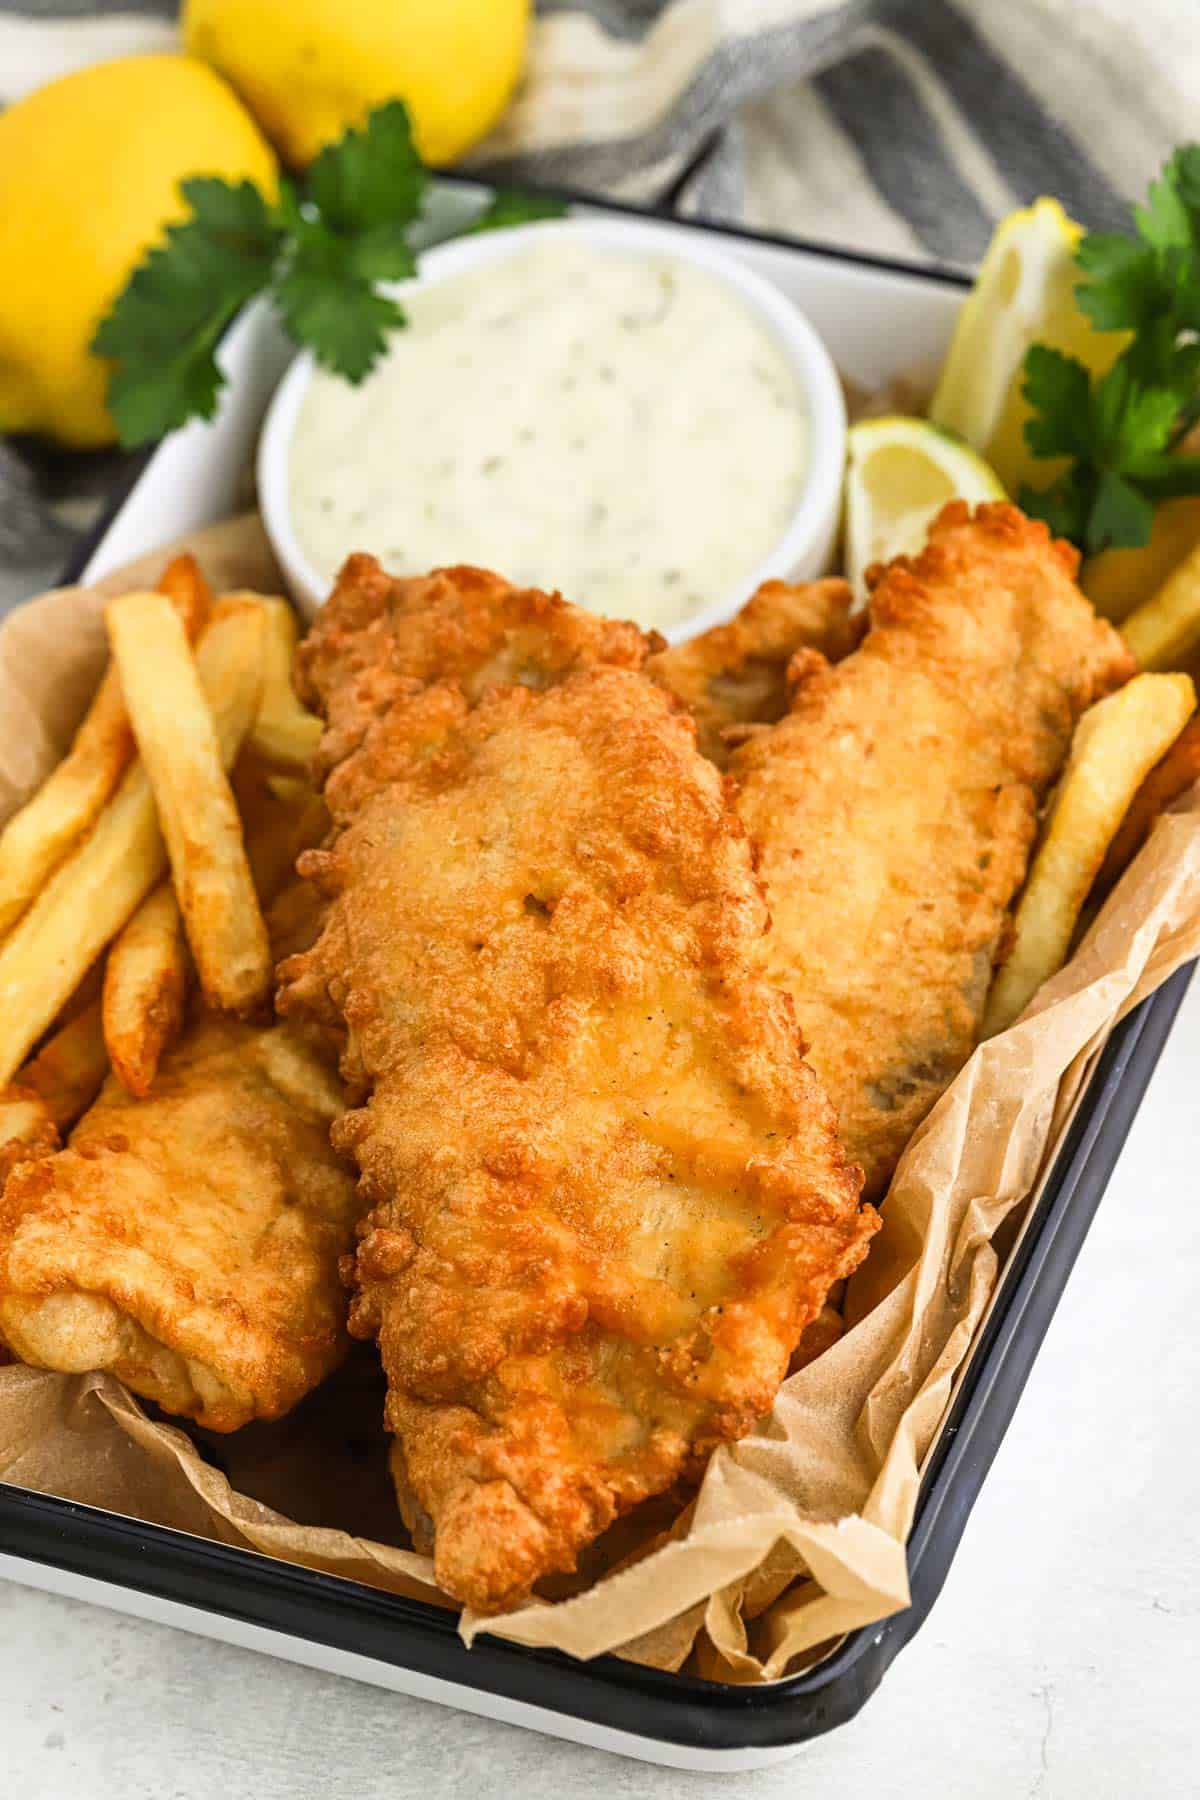
Voila! You’ve now prepared a beautiful feast of homemade fish and chips that’s bound to become a family favorite. It’s hearty, it’s scrumptious, and it’s made with a whole lot of love. Serve it up with tartar sauce, ketchup, or a squeeze of fresh lemon, and watch those smiles spread around your table. Now you’re not just a parent—you’re the family chef-extraordinaire!
See more great Things to Do with Kids in New Zealand here. For more information see here
Disclaimer
The articles available via our website provide general information only and we strongly urge readers to exercise caution and conduct their own thorough research and fact-checking. The information presented should not be taken as absolute truth, and, to the maximum extent permitted by law, we will not be held liable for any inaccuracies or errors in the content. It is essential for individuals to independently verify and validate the information before making any decisions or taking any actions based on the articles.


