
Step-by-Step Bunny Drawing Guide for Kids
Hey there, amazing parents and creative kiddos! Hop into a world of imagination where your child can learn to draw an adorable bunny with simple and fun steps. Grab your pencils, and let’s jump right into this cute bunny drawing adventure that’s perfect for family time or a rainy day activity!
Why Drawing with Your Kids is Hare-raisingly Fun!
Drawing is not just about creating pictures; it’s a fantastic way to improve hand-eye coordination, boost creativity, and spend quality time together. And what could be more enjoyable than drawing a fluffy, cuddly bunny together with your little artist? So, let’s make some magic with markers and make those bunny dreams come true!
Gathering Your Bunny Drawing Supplies
- Paper: Any kind will do, but a blank sheet of drawing paper is ideal.
- Pencils: Start with a regular pencil for sketching.
- Eraser: For those little oops moments—no stress, just erase!
- Colored Pencils/Crayons/Markers: To bring your bunny to vibrant life!
- A big smile: The most important supply of all!
Let’s Draw That Adorable Bunny Step by Step
Before you start, remember, every artist has their own style, and every bunny is unique. Encourage your kids to embrace their individuality in their artwork – there’s no wrong way to draw a bunny!
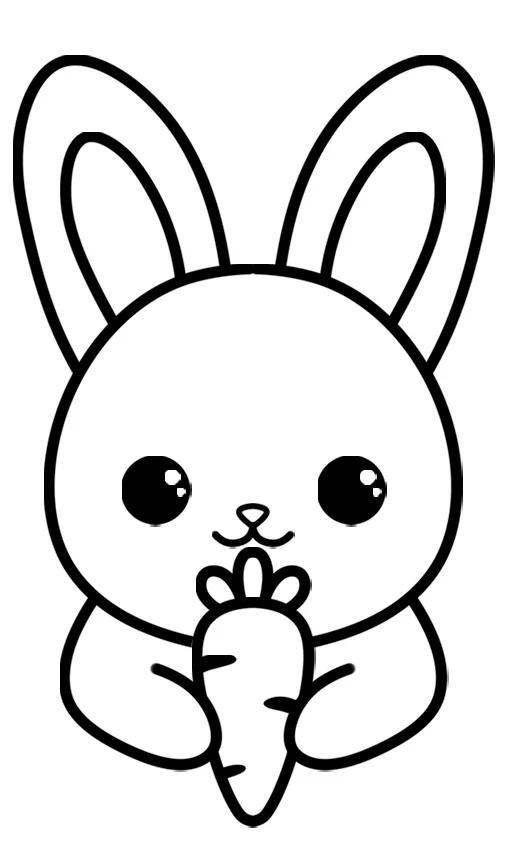
Step 1: Sketching the Bunny’s Basic Shapes
We start with a simple circle for the bunny’s head. Next, add an oval beneath it for the body. Make sure the oval is slightly wider at the bottom to give your bunny a nice, stable base.
Step 2: Adding Ears and Feet
Bunnies are known for their long ears, so let’s draw two tall ovals at the top of the head. For the feet, sketch two larger ovals protruding slightly from the bottom of the body. These don’t have to be perfect — they’re just the guideline!
Step 3: Crafting a Cute Bunny Face
Inside the head circle, lightly mark two smaller circles for the eyes, a tiny triangle for the nose, and a simple curve beneath the nose for the mouth. Don’t forget the whiskers! Just a few light strokes on either side of the nose will do the trick.
Step 4: Detailing the Body
Now, refine the body by adding shapes for the legs and a cute, round tail. At this stage, you can also sketch in some fluffy texture to the body outline for an extra cuddly effect.
Remember, as your child expresses themselves through art, the most important aspect is the joy and learning throughout the process. With this guide, you’re not just drawing; you’re creating memories, strengthening bonds, and nurturing creativity. Stay tuned for more detailed steps, but before we go, let’s add some personality to our bunny drawing with a few finishing touches in the next section!
Stay tuned, as in the next part of this guide, we will continue to add life to our bunny friend with color, shadow, and those final artistic flourishes that make your child’s drawing unique. We’ll explore some fun facts about bunnies too, which you can use as educational tidbits to share with your little ones while you draw. Ready those pencils, it’s going to be a fun ride!
5 Essential Tips for Parents Preparing for “Bunny How to Draw” Sessions
Create the Perfect Drawing Environment
Set up a comfortable and well-lit space for your child to draw. A quiet corner with a sturdy table and a chair that’s the right height will make all the difference. Natural light is best, but if that’s not possible, a bright lamp will do the trick. A good environment can keep the focus on creativity and fun!
Patience is Key
Little hands may not get it right the first time, and that’s okay! Encourage your child to keep trying and remind them that practice makes perfect. Celebrate their efforts and progress rather than perfection. Every bunny sketch is a step towards improvement!
Inspire with Bunny Tales
Before you start drawing, why not read a bunny-themed book together? Stories like “Peter Rabbit” or “The Velveteen Rabbit” can stir the imagination and inspire your child’s own bunny creations. You can also watch bunny cartoons or visit real bunnies if you have the opportunity, to get a closer look at these furry friends.
Plan for Breaks
Drawing should be a joy, not a chore. Make sure to include short breaks during the drawing session to keep your child engaged and prevent any frustration. A little snack or a quick game can recharge their creativity and enthusiasm.
Embrace the Learning Experience
Turn the drawing session into a learning opportunity by talking about bunny facts. Did you know that bunnies have excellent hearing and can turn their ears 360 degrees? Or that they live in groups called colonies? Little fun facts can make the drawing experience educational as well as enjoyable.
With these tips, you’re all set for a wonderful drawing session with your kids. Remember, it’s all about having a hare of a good time! So, grab those art supplies and get ready to unleash creativity with your child as you embark on this delightful drawing journey.
As we move on in our bunny drawing guide, we’ll refine our sketches and add splashes of color. So let’s continue to make art with our hearts, and create a bunny that’s not just cute, but also full of character. Keep your sketch pads ready, because the adventure is just getting better and better!
See more great Things to Do with Kids in New Zealand here. For more information see here
Disclaimer
The articles available via our website provide general information only and we strongly urge readers to exercise caution and conduct their own thorough research and fact-checking. The information presented should not be taken as absolute truth, and, to the maximum extent permitted by law, we will not be held liable for any inaccuracies or errors in the content. It is essential for individuals to independently verify and validate the information before making any decisions or taking any actions based on the articles.


