? Hop Into Fun: A Step-by-Step Guide to Drawing the Easter Bunny for Kids ?
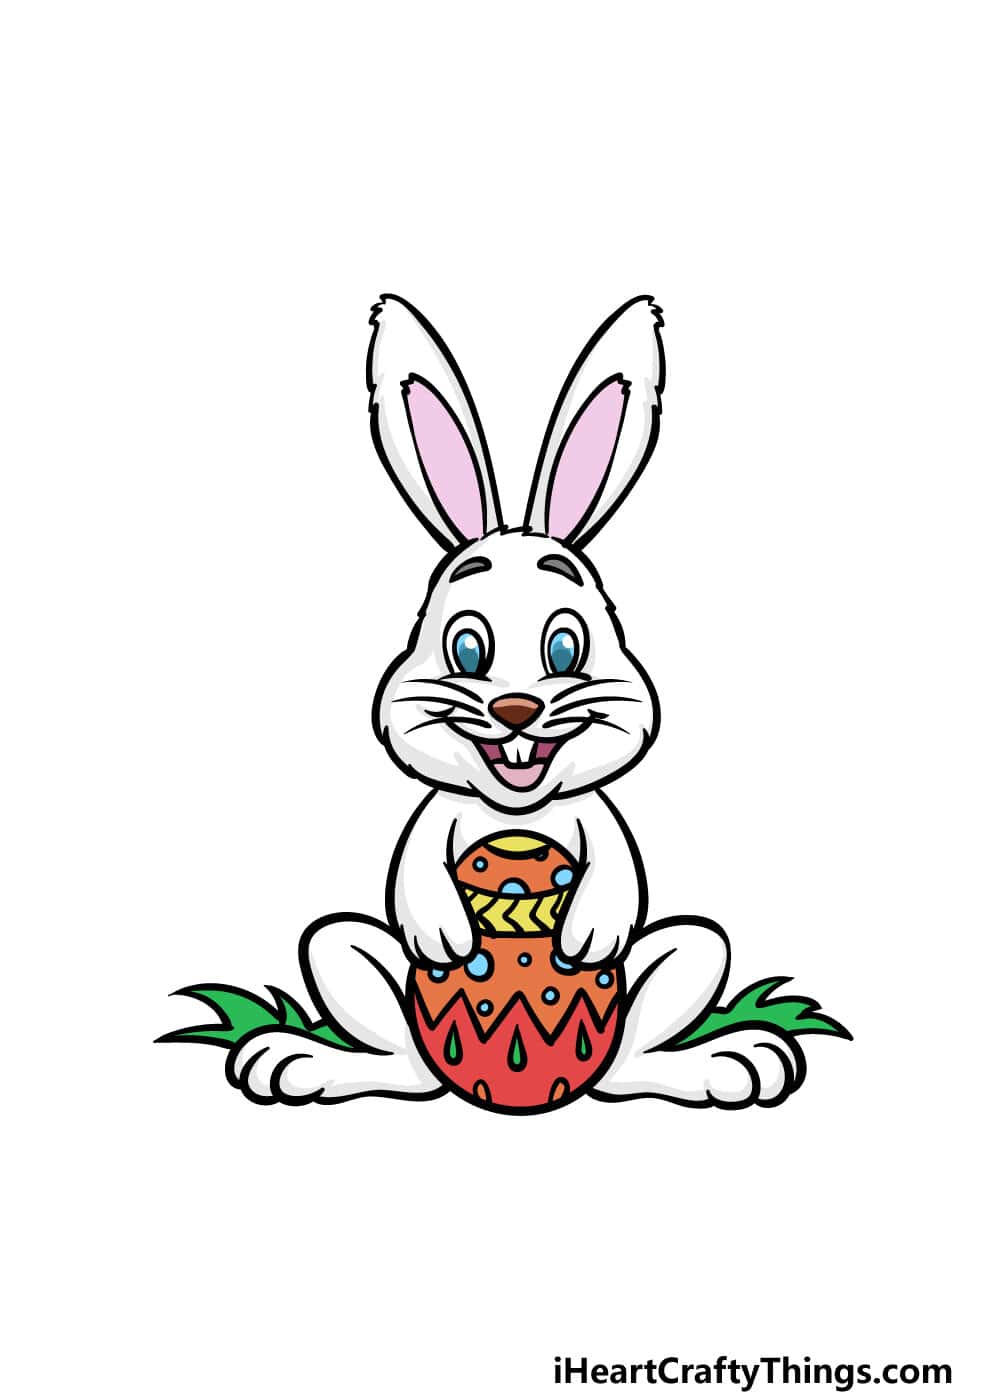
Hello, creative families! Spring is in the air, which means Easter is just around the corner. Get ready for some egg-citing fun with your little ones by learning how to draw the adorable Easter Bunny. Whether you’re an artistic pro or a beginner with the crayons, this guide is perfect for parents looking to bond through art with their children!
Drawing can be a fantastic way to engage your child’s imagination and improve their fine motor skills. Plus, the Easter Bunny is not just a festive character but also an enduring symbol of spring and new beginnings. So, let’s get those pencils ready and hop straight into the meadow of creativity!
????? Supplies Needed for Your Easter Bunny Masterpiece
- Pencil: A simple HB pencil will do for sketching out your bunny.
- Eraser: For those little mistakes – we all make them!
- Colored Pencils/Crayons: Bring your bunny to life with a splash of color!
- Drawing Paper: A blank canvas for your kiddo’s creativity.
Ready to begin? Here we go!
? Step 1: Sketching the Basic Shape of Your Easter Bunny
Every great drawing starts with simple shapes. Encourage your child to begin by lightly sketching a large oval for the bunny’s body. This doesn’t have to be perfect – it’s just a guide. Next, add a smaller oval on top for the head. Let your child know it’s okay to make mistakes; that’s why we have erasers!
? Step 2: Adding Character to Your Bunny’s Face
On the smaller oval, draw two long ear shapes at the top. These can be as tall or as floppy as your child imagines their Easter Bunny’s ears to be. In the center of the face oval, draw two small circles for the eyes, a little triangle for the nose, and a squiggly line for the mouth. Remember, the Easter Bunny is a cheerful fellow, so a happy expression is a must!
? Step 3: Bringing Your Bunny to Life With Details
Now it’s time to add some character! Show your child how to give their bunny fluffy cheeks by adding curved lines around its face. Then, draw the arms with simple lines coming down from either side of the main oval. Don’t forget to add small ovals at the end for paws! For the feet, draw two larger ovals at the bottom of the body and sketch in the details of the paw pads.
Remember, this is supposed to be a delightfully fun activity. Keep the conversation light and encourage your child at every step. Compliment their creativity and guide them gently through the drawing process without taking over—this is their masterpiece!
? Step 4: Final Touches and Coloring Your Easter Bunny
Once the drawing is complete, it’s time for your child’s favorite part – coloring! Let them choose the colors they believe their Easter Bunny should have. They could go with traditional whites and pinks, or maybe they envision a rainbow bunny that brings a splash of all the spring colors to the page. The possibilities are as endless as their imagination!
And the most important thing to remember while you and your little artist work on drawing the Easter Bunny together is to have fun and cherish these moments. Not only are you making a cute Easter craft, but you’re also creating memories that will last a lifetime.
So, grab your art supplies, and let’s create some Easter magic with our pencils and crayons! Stay tuned for more tips on how to enhance your Easter Bunny drawing with backgrounds, accessories, and even some friends in our next section. Happy Drawing!
Oops! It looks like our bunny has hopped away for a moment, but never fear – he’ll be back soon with more artistic adventures. Keep those creative juices flowing, and get ready for more whimsical art fun!

? 5 Things Parents Should Know When Preparing for Easter Bunny Drawing ?
Before diving whiskers-first into your Easter Bunny drawing adventure, let’s consider some essential tips to make the experience as smooth and enjoyable as possible for both you and your child:
- Set Up a Comfortable Drawing Space: Find a spacious area with good lighting where your child can spread out their drawing supplies. Ensure the space is comfortable and distraction-free to allow for full concentration and creativity.
- Practice Patience and Encouragement: Drawing should be a positive experience. Offer lots of encouragement, praise their efforts, and remind them that practice makes perfect. Don’t worry about the drawing being technically correct; it’s about creativity and fun!
- Keep it Age-Appropriate: Tailor the drawing complexity to your child’s age and skill level. For younger children, focus on broader shapes and fewer details, while older kids may enjoy adding intricate patterns and textures to their artwork.
- Prepare for Messes: Creative endeavors can get a little messy, especially with younger artists. Lay down some old newspapers or a tablecloth to catch stray crayon marks and make cleanup easier.
- Have Extra Supplies: It’s always a good idea to have extra paper, pencils, and erasers on hand in case of do-overs. Sometimes children want to start fresh, and having the supplies readily available keeps the momentum going.
? Incorporating Educational Elements into Your Easter Bunny Drawing Session
Drawing with your children is not only fun but also an educational opportunity. Discuss the symbolism of the Easter Bunny and spring, which can include lessons on rebirth, growth, and new opportunities. Additionally, use this art session to enhance color recognition, teach about various art styles, and talk about famous rabbit characters in literature and culture to tap into reading and history.
And there you have it, wonderful parents! Armed with pencils, crayons, and a dash of creativity, you’re all set to embark on a delightful journey into the world of art with your child. Remember, each stroke of the pencil is not just about creating an Easter Bunny; it’s about making lasting memories and nurturing your child’s creative capabilities.
Your child’s Easter Bunny drawing may start with simple shapes and lines, but with your guidance, it will transform into a vibrant and joyful representation of the holiday spirit. Wishing you all an amazing time drawing and a very hoppy Easter season!
Keep your eyes peeled for more artsy adventures that will spark joy and inspire imagination. Until then, keep those pencils twirling and let the colors leap off the page—after all, the best art is made together!
See more great Things to Do with Kids in New Zealand here. For more information see here
Disclaimer
The articles available via our website provide general information only and we strongly urge readers to exercise caution and conduct their own thorough research and fact-checking. The information presented should not be taken as absolute truth, and, to the maximum extent permitted by law, we will not be held liable for any inaccuracies or errors in the content. It is essential for individuals to independently verify and validate the information before making any decisions or taking any actions based on the articles.


