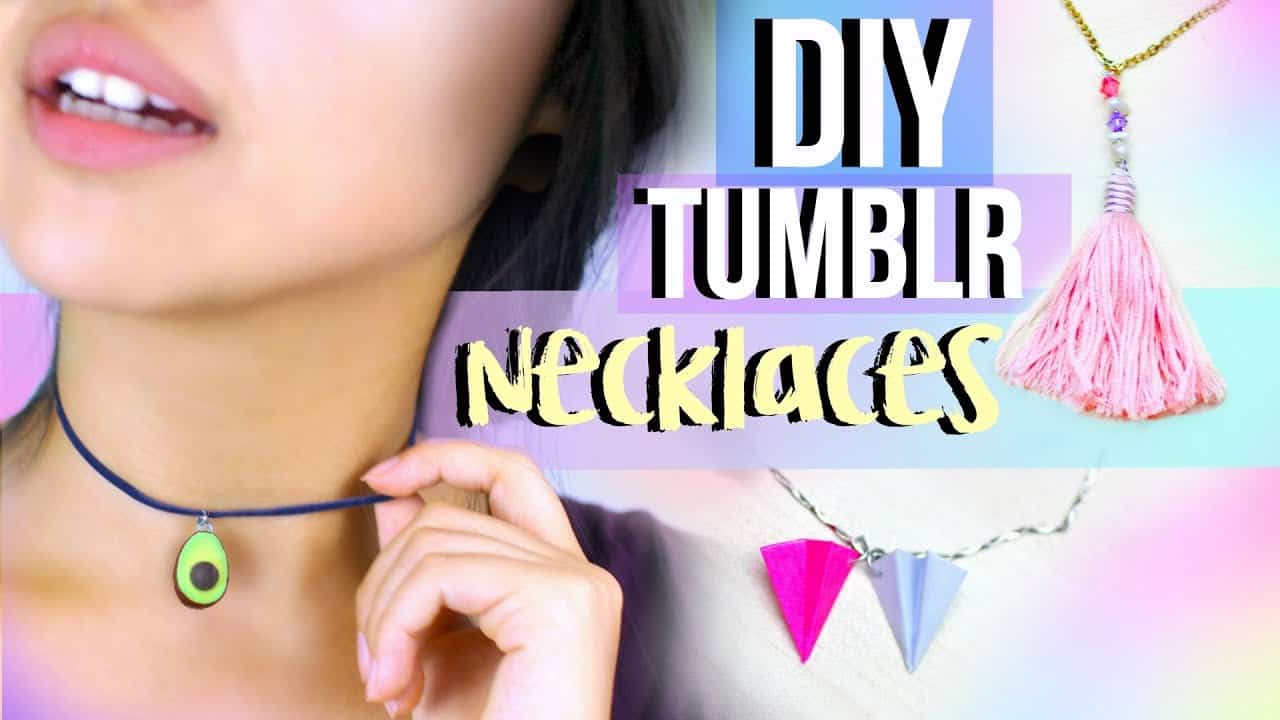
Welcome to the Sparkling World of DIY Necklaces!
Hello crafty parents and imaginative kids! Are you ready to dive into a world where creativity knows no bounds and every piece of jewelry tells a story? Get your pliers and bead kits out, because we’re about to embark on a delightful journey into the enchanting land of DIY Necklaces! Whether it’s for a fun family activity, a thoughtful handmade gift, or perhaps to add a personal touch to your style, making your own necklaces is both rewarding and exciting.

Why DIY Necklaces Are A Great Choice?
Creating DIY necklaces is more than just stringing beads together; it’s an opportunity for families to bond, for children to learn fine motor skills, and for everyone to express their unique creativity. Plus, you can tailor each necklace to suit individual tastes and preferences – making them as colorful, simplistic, or intricate as you like!
Getting Started: What You’ll Need
Before you can make magic with your fingertips, let’s gather all the necessary treasures for your DIY necklace-making escapade:
- Beads – Variety is the spice of life, and in the case of beads, you have a universe to choose from! Think different shapes, sizes, colors, and materials.
- Stringing Material – It could be thread, cord, wire, or nylon; each brings a different texture and durability.
- Clasps – These little heroes will keep your creation secure around your neck. Toggle, lobster claw, or magnetic – the choice is yours!
- Crimping Beads and Pliers – Essential for attaching clasps and ensuring the stability of your necklace.
- Scissors/Cutters – For snipping your stringing material to the perfect length.
- Design Board (optional) – A helpful tool to lay out your pattern before you start.
Great! Now that we’ve assembled our toolbox of creativity, let’s move on to the thrilling process of making your DIY necklace.
Step-by-Step Guide: Crafting Your First DIY Necklace
Here’s where the real fun begins! Follow these simple steps, and you’ll soon have a personalized piece of wearable art.
- Design Your Necklace – Start by visualizing your necklace. Sketch a design or use a design board to arrange your beads.
- Measure and Cut – Determine the desired length of your necklace. Remember to add a few extra inches for the clasp and knots.
- Prep the String – If you’re using beading wire, add a crimping bead and one half of your clasp to one end and secure it with pliers. For other string types, you may need to tie a knot to stop the beads from slipping off.
As you can see, starting your DIY necklace project is a breeze. But we’re just getting warmed up! In the next section, we’ll continue with more detailed steps, creative ideas, and troubleshooting tips for common necklace-making challenges. So, keep those beads and smiles close – crafting joy is just around the corner!

5 Things Parents Should Know in Preparing for DIY Necklaces
1. Safety First
Before starting on your DIY journey, ensure the work area is safe for children. Keep sharp tools like scissors and pliers out of reach of little hands. Also, be mindful of small beads that can be a choking hazard for younger siblings. It’s a good idea to work on a large mat or tray to prevent beads from rolling away.
2. Start Simple
Begin with easy-to-handle materials like bigger beads and elastic cords. This keeps frustration at bay for young crafters and helps them build confidence as they see their creations come together with ease. As skills improve, you can gradually introduce smaller beads and more complex techniques.
3. Organize Your Materials
Organize beads and supplies into clear containers or compartments before you start. This not only saves time but also lessens the mess and makes the activity more enjoyable. It also helps younger children with color and shape recognition and sorting skills.
4. Encourage Creativity and Patience
DIY necklace-making is a fantastic opportunity to encourage creativity. Give children the freedom to choose their colors and patterns. If a necklace doesn’t turn out as expected, gently guide them to see this as a learning process, emphasizing patience and the joy of creation over perfection.
5. Plan for Clean-Up
Involve your child in the clean-up process. This not only teaches responsibility but also ensures your supplies are ready for the next crafting session. Plus, sorting beads back into their containers can be just as fun as making the necklaces!
Crafting Your DIY Necklace – Continued
- String the Beads – With your design laid out, start stringing beads onto your chosen material. Kids love this part, as they see their pattern come to life. Help them if needed, especially when following intricate designs or adding spacers.
- Add the Finishing Touches – Once all the beads are in place, add the second clasp component with a crimp bead if you’re using beading wire, or tie a secure knot if using string or elastic. Trim any excess material.
- Test the Strength – Gently tug on the necklace to ensure it’s sturdily made. It’s better to have any loose beads fall now than during your child’s first proud wear!
- Make Adjustments – If the necklace isn’t sitting right or feels uncomfortable, don’t hesitate to redo sections or adjust lengths. DIY crafts are flexible, and sometimes the best results come from trial and error.
- Wear or Share! – Decide whether the necklace is a keeper for your personal collection or a gift for a special friend or family member. Nothing says “I care” quite like a handmade treasure!
Creating DIY necklaces opens up a world of style and creativity for both you and your child. Each necklace made is a special keepsake and a fond memory of time spent together. The skills learned can pave the way for more complex projects and can inspire a lifelong love for handcrafted art.
See more great Things to Do with Kids in New Zealand here. For more information see here
Disclaimer
The articles available via our website provide general information only and we strongly urge readers to exercise caution and conduct their own thorough research and fact-checking. The information presented should not be taken as absolute truth, and, to the maximum extent permitted by law, we will not be held liable for any inaccuracies or errors in the content. It is essential for individuals to independently verify and validate the information before making any decisions or taking any actions based on the articles.


