
Stained Glass Cookies: A Delightful Treat for Kids and Parents Alike!
Hey there, lovely bakers! Are you ready to add a splash of color and a dash of joy to your baking adventures? Look no further because today, we’re going to dive into the whimsical world of stained glass cookies! These cookies are not just a treat to munch on, but a visual delight that will brighten any day, and the perfect project to bond with your kiddos in the kitchen. Let’s sprinkle some fun and get rolling with this thoroughly enjoyable guide that’ll lead you through making your own stained glass masterpieces.
What are Stained Glass Cookies?
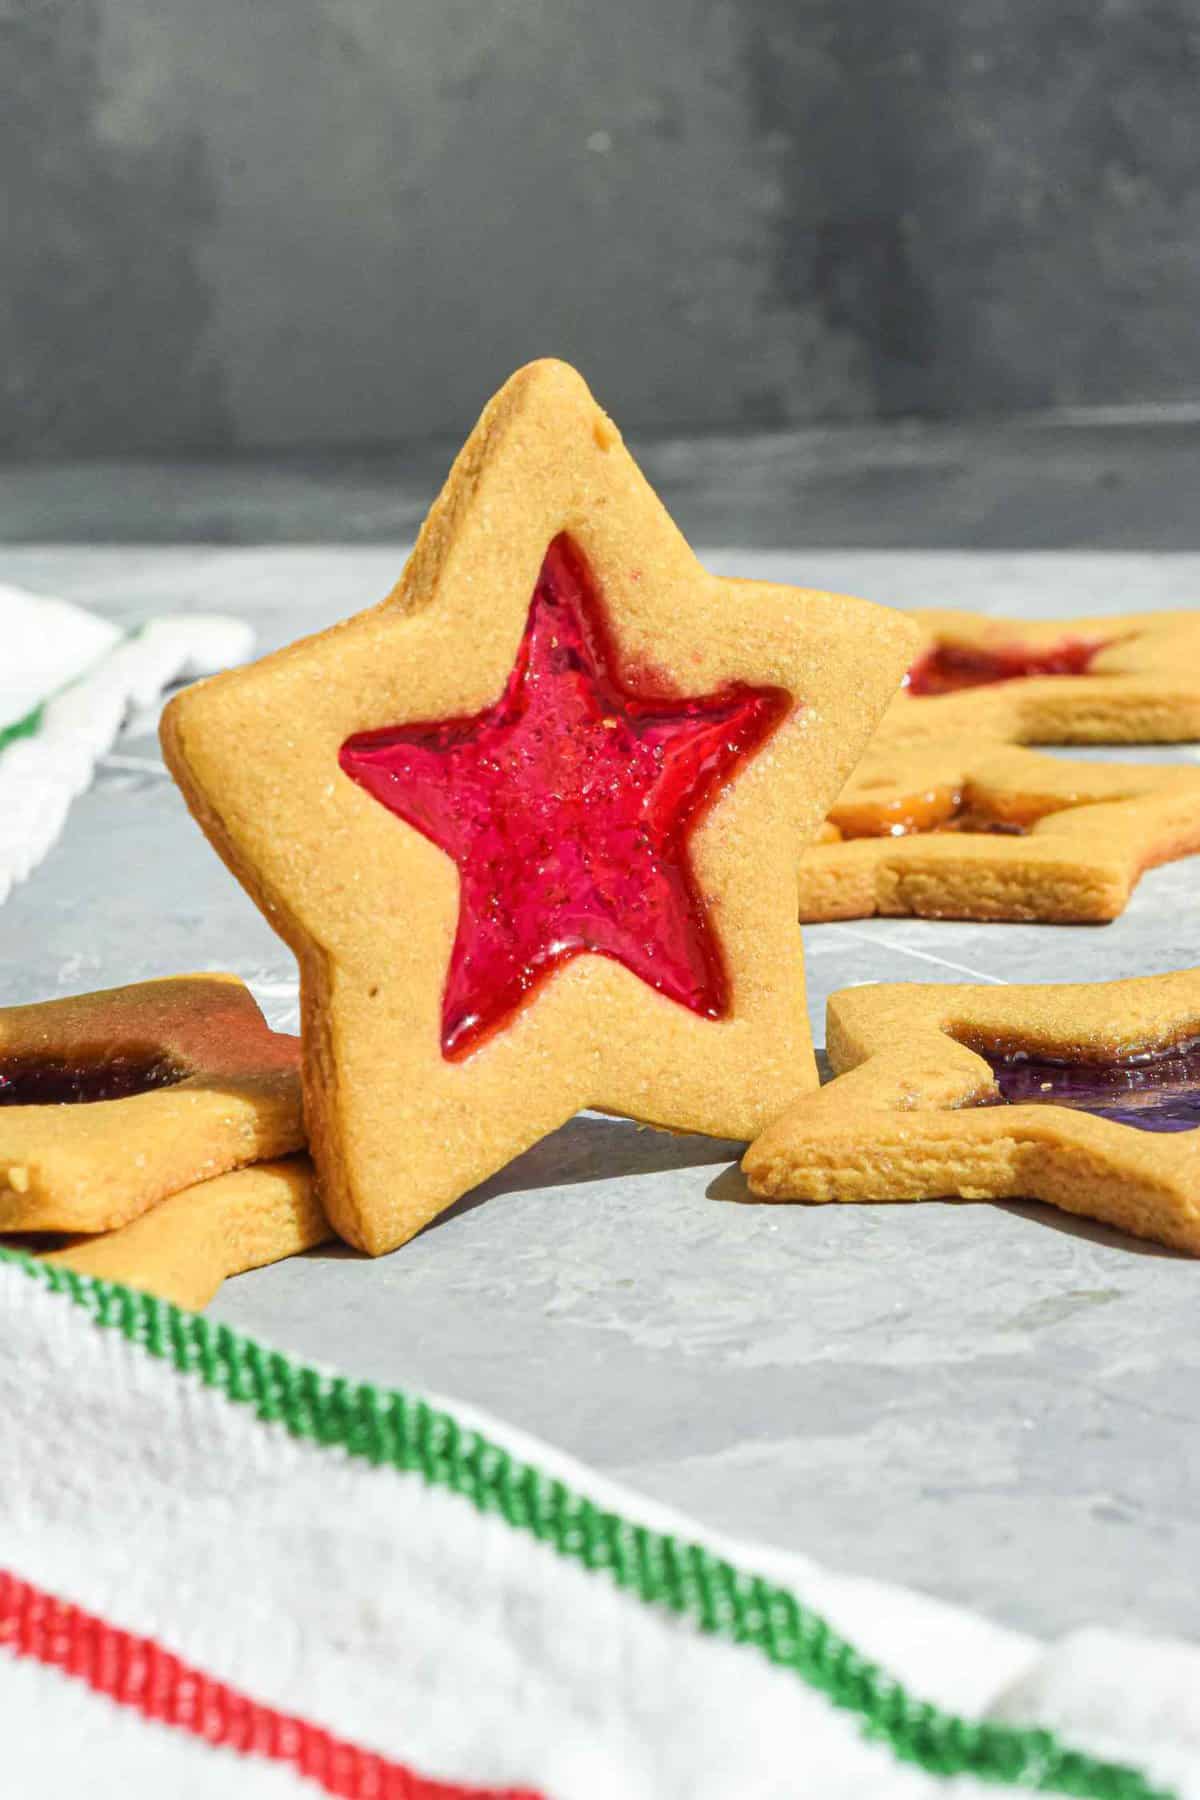
Stained glass cookies are whimsical treats that catch the eye and captivate the taste buds. It’s like having your own little piece of art that you can eat! But don’t let their intricate appearance fool you; they’re surprisingly simple to make. They involve creating cookie dough, cutting out shapes, and filling the centers with crushed candy, which melts during baking and looks just like stained glass. Pretty cool, right?
Perfect for Every Occasion
Whether it’s Christmas, Halloween, Easter, or just a rainy day indoors, stained glass cookies are versatile and can be adapted for any event. Use different cookie cutters to match the theme of your celebration, and choose candy colors to complement your festive decor!
Gather Your Materials – Let’s Get Prepped!
- Cookie Dough: You can use your favorite sugar cookie recipe as the base for these lovely treats. If you’re short on time, store-bought refrigerated dough works wonderfully too.
- Hard Candy: Jolly Ranchers or Life Savers are excellent for creating the stained glass effect, but any clear-colored hard candy will do the trick.
- Cookie Cutters: Pick shapes that inspire you! Traditional holiday shapes, animals, stars, hearts – the sky’s the limit.
- Parchment Paper: This will prevent your cookies from sticking to the baking sheet.
- A Rolling Pin: For rolling out your dough to the perfect thickness.
- A Small Bowl: For crushing your candies into small pieces.
Step by Step: The Path to Perfect Stained Glass Cookies
Follow these detailed steps to create your stained glass cookie wonders:
Step 1: Making Your Cookie Dough
Begin by whipping up a batch of your chosen cookie dough. If you’ve picked a ready-made dough, let it sit at room temperature for a while to make it easier to roll out. Once your dough is prepped and ready, preheat your oven to the temperature recommended by your recipe.
Step 2: Roll, Cut, and Shape
On a lightly floured surface, roll out your dough to about ¼ inch thickness. Now, get those cutters in action! Press them into the dough to create your cookie shapes. Once you have the outer shape, use a smaller cutter or a knife to cut out the center where your ‘stained glass’ will go. Transfer your cookies to a parchment-lined baking tray, ensuring they have enough space so they won’t stick together.
Step 3: Crushing the Candy
Take your hard candies and separate them by color into plastic bags. Use a rolling pin or hammer to crush the candy into small pieces. This is a great task for kids with supervision – they’ll love the smashy-smashy part! Once crushed, spoon the candy pieces into the center holes of your cookies, making sure the candy doesn’t overflow onto the cookie itself.
Step 4: Bake with Care
Slide your baking tray with the prepared cookies into the oven and bake according to your recipe’s instructions. You want to keep an eye on the candy to make sure it melts evenly. Once you see the cookie edges turning golden and the candy looking like shiny glass, it’s time to take them out!
Step 5: Cool Them Down
After removing them from the oven, let the cookies cool on the baking sheet for about 10 minutes. This is crucial, as the candy needs to harden again to create that glass effect. Once they’ve cooled and the candy is firm, transfer the cookies to a wire rack for further cooling. Voilà! You now have stunning stained glass cookies that are ready to impress.
Creating stained glass cookies is truly a fun and interactive way to involve the whole family in something creative. Not only does this activity encourage bonding time, but it also instills in kids a sense of accomplishment when they see (and eat!) their delicious artworks. So put on your aprons, get your ingredients ready, and prepare for a fantastic baking adventure that doubles as an arts and crafts session!
Stay tuned for more tips and tricks on icing, decorating, and packaging these delightful treats for any occasion. Happy baking!
5 Things Parents Should Know When Preparing Stained Glass Cookies
Before you get started, here are five essential tips to ensure your stained glass cookie experience is as smooth as a piece of finely crafted glass:
1. The Importance of Supervision
When you invite your little ones to join in on the fun, always remember safety comes first, especially when it comes to the kitchen. Oven usage and candy crushing are tasks that should be carried out under close adult supervision. Set some ground rules before starting and ensure that everyone understands the do’s and don’ts.
2. Candy Selection Matters
Choosing the right type of candy is vital to achieve the perfect ‘glass’ look. Clear, hard candies work best as they melt into a smooth and shiny pane. Be mindful of the candy’s color as it will determine the vibrancy and clarity of your cookie ‘windows’. Candies with wrappers are also easier to handle and less sticky, which makes for a cleaner, quicker set-up.
3. Patience is Key
Stained glass cookies require an attentive eye and a patient hand, as rushing could lead to overfilling or uneven melting of the candy. Slow and steady wins the race, ensuring candy stays within the cut-out areas and doesn’t spill onto the rest of the cookie. Involve your children by assigning them specific, manageable tasks that will make them feel like an integral part of the process. This is also a great way to teach them about patience and precision.
4. Handling Stickiness with Ease
The colorful candy centers can become quite sticky once melted down, so lining your baking sheets with parchment paper or a silicone baking mat is essential. This will prevent your cookies from becoming attached to the tray and make for an easier clean-up later. Additionally, wait for the cookies to cool down on the tray before transferring them – the candy needs to be completely set to maintain its shape and avoid a sticky mess.
5. Storing Your Cookie Masterpieces
Once your stained glass cookies are baked, cooled, and ready, they should be stored properly to retain their crispness and shiny allure. An airtight container is your best friend here, keeping moisture out and preventing your cookies from becoming soggy. If stored correctly, your cookies can serve as delicious ornaments and sweet treats for several days.
Keep these handy tips in mind, and you’re all set to embark on an enchanted journey of baking your very own stained glass cookies. Gather your little helpers, follow these tried-and-true steps, and you’re guaranteed to have a batch of beautiful, gleaming cookies that the entire family will adore. Bake on, friends, and let your kitchen be filled with the merry clinking of candy glasses being crafted into delicious, edible art!
See more great Things to Do with Kids in New Zealand here. For more information see here
Disclaimer
The articles available via our website provide general information only and we strongly urge readers to exercise caution and conduct their own thorough research and fact-checking. The information presented should not be taken as absolute truth, and, to the maximum extent permitted by law, we will not be held liable for any inaccuracies or errors in the content. It is essential for individuals to independently verify and validate the information before making any decisions or taking any actions based on the articles.


:max_bytes(150000):strip_icc()/Simply-Recipes-Stained-Glass-Cookies-LEAD-10-f41192b0bb634f20a8ecd8e85b997448.jpg)