
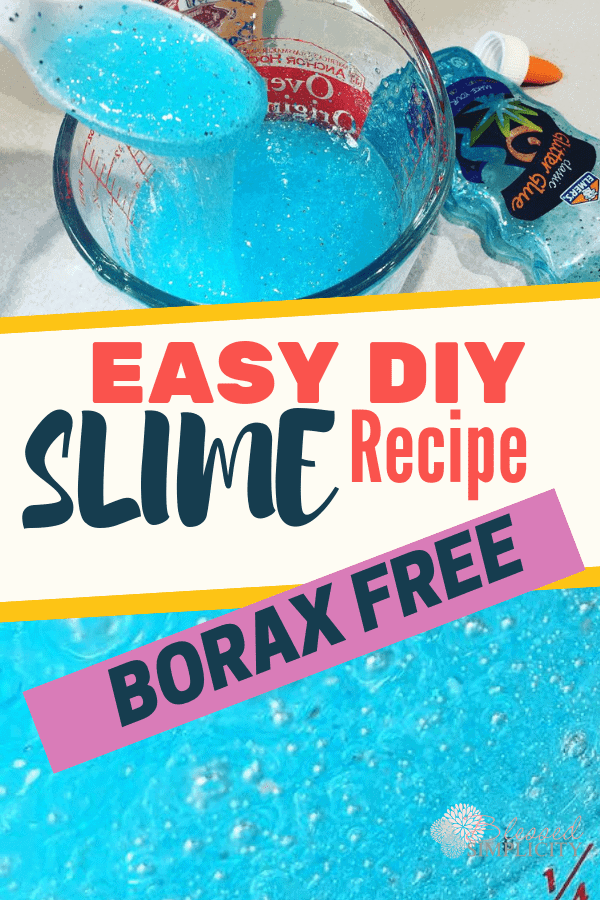
Ultimate Guide to Slime Making: Fun With Borax!
Hello there, awesome parents! Are you looking for a spectacular and gooey adventure that your little scientists will love? Well, you’ve come to the perfect place! ? Our “Ultimate Guide to Slime Making: Fun With Borax” will help you become a master of the ooze, right in the comfort of your home. Get ready to whip up some sticky-icky, super stretchy, and incredibly fun slime with just a few household ingredients and the magic of borax!
Why Slime, You Ask?
Slime isn’t just a wiggly and jiggly plaything; it’s a wonderful way to combine fun with learning. As you mix and mold, you and your kiddos are exploring science concepts like polymers, viscosity, and chemical reactions. Plus, making slime can be a fabulous sensory experience and a creative outlet for both kids and adults alike. ?
What You’ll Need for Your Slime Expedition:
- Borax powder: This is the star of the show, the slime activator that turns liquid glue into mesmerizing slime!
- White or clear school glue: The base of your slime. You can’t go wrong with the classic white, but clear glue makes for a great transparent slime canvas for colors and add-ins!
- Warm water: To dissolve the borax and to mix with the glue for the perfect slime consistency.
- Measuring cups and spoons: For that super precise measurement—after all, science is all about accuracy!
- Mixing bowls: One for your borax solution and one for your glue mixture.
- A spatula or a spoon: For stirring up some gooey magic.
- Food coloring or paint: To color your creations in your favorite shades! (This part is optional but oh-so-fun!)
- Add-ins: Get creative with glitter, beads, foam balls, or anything else your heart desires (optional).
Step-By-Step: Creating the Perfect Borax Slime
Now that we have all our slime essentials, let’s dive into the nitty-gritty of slime-making! Follow these steps for a fail-proof slime adventure:
- Dissolve the Borax: In one of your mixing bowls, stir together 1 teaspoon of borax powder with 1 cup of warm water until completely dissolved. This is your slime activator, so make sure the borax is fully mixed in.
- Prepare Your Glue Mixture: In your other mixing bowl, pour 1 cup of white or clear school glue. If you’re planning to make a colorful batch of slime, now’s the time to add your food coloring or paint! Mix well until the color is uniform.
- Combine the Two Mixtures: Slowly add the borax solution to the glue mixture, stirring constantly with your spatula or spoon. The magic will start to happen right before your eyes as the slime begins to form!
? That’s it, folks! You’ve just made your very own batch of borax slime! Now, it’s time for the grand finale – the kneading. Take your slime out of the bowl and work it with your hands. It might be a bit sticky at first, but don’t worry, the more you knead, the better your slime will become. Feel free to add in those cool extras now, like glitter or foam beads to jazz it up! ?
Important Safety Tips:
Before we let you loose in the world of slime-making, let’s chat safety. It’s super important to remember that borax, while commonly used in household items, must be handled with care. Always supervise children during slime play and make sure they don’t ingest any slime or its ingredients. ??????
Ready for More Slime-tastic Fun?
If you’re eager to keep the fun flowing, stick around! In the upcoming sections, we’ll cover troubleshooting tips for common slime fails, creative variations to the classic slime recipe, and learning how to store your slime to keep it fresh and fabulous for as long as possible. ?
So, stir up some excitement, make memories and embrace the joyful mess together! Stay tuned for the rest of our ultimate slime-making guide, and let’s make every day a slime day! ?
Remember to check back for updates, because there’s always something new to learn and explore in the wacky world of slime!
5 Essential Tips for Parents Prepping for the Ultimate Slime Experience
1. Setting Up Your Slime-Making Space
First things first, designate a slime-making area that’s easy to clean. Lay down newspapers or a plastic tablecloth to catch any spills. Keep towels and wipes handy for quick clean-up. Remember, making slime can get a bit messy, but that’s all part of the fun! ?
2. Picking the Right Borax
Make sure to use regular borax powder, found in the laundry aisle of most supermarkets. Borax is a natural mineral and a powerful cleaning agent, but make sure it’s pure and free of additives for a safe and effective slime-making experience. ?
3. Ensuring Safety and Supervision
While fun, slime-making does involve chemicals, so adult supervision is crucial. Never allow young kids to handle borax unsupervised, and remember, slime is not edible. Always wash hands before and after the slime-making activity. Have a relaxed yet vigilant approach to keep it safe and enjoyable! ?
4. Understanding the Science Behind Slime
Turn slime time into a mini science lesson! Explain to your kids that mixing borax with glue creates a substance called a polymer, which behaves like both a solid and a liquid. This is an excellent opportunity to spark an interest in science and make learning sticky—in the best way! ?
5. Embracing the Creativity
One of the best parts about slime is how customizable it is. Encourage your children to express themselves by choosing colors, adding mix-ins like glitter or beads, and even experimenting with different textures. It’s an excellent outlet for their imagination and creativity! ?
Cracking the Slime Code: Troubleshooting Common Slime Fails
Not every slime session goes as planned, and that’s okay! Here are a few quick fixes for those occasional slime mishaps:
- If your slime is too runny, add a pinch more borax solution, a little at a time, until you reach the desired consistency.
- For slime that’s too rubbery, knead in a bit more glue to soften it up.
- If the slime is sticky, a quick solution is to rub a small amount of lotion onto your hands before kneading the slime. This can help reduce stickiness without altering the texture too much.
Let the Slime Adventures Roll On: Variations and Storage
Now that you’re slime aficionados, why not try different varieties? From fluffy slime with shaving cream to magnetic slime with iron oxide powder, the possibilities are endless. Just remember each variation might need its own special tweaks, so feel free to experiment and find what works for you.
As for storage, keep your slime in an airtight container to prevent it from drying out. When stored properly, your slime can remain stretchy and fun for weeks! If your slime does begin to dry out, kneading in a little bit of warm water can help rejuvenate it.
Ready to start your slime journey? Gather your materials, prepare your space, and get ready to unleash a wave of gooey, educational entertainment. And remember, when it comes to slime-making, it’s not just about the destination—it’s about the ooey-gooey journey! ?
Remember to check back for updates, because there’s always something new to learn and explore in the wacky world of slime!
See more great Things to Do with Kids in New Zealand here. For more information see here
Disclaimer
The articles available via our website provide general information only and we strongly urge readers to exercise caution and conduct their own thorough research and fact-checking. The information presented should not be taken as absolute truth, and, to the maximum extent permitted by law, we will not be held liable for any inaccuracies or errors in the content. It is essential for individuals to independently verify and validate the information before making any decisions or taking any actions based on the articles.


