
Unleash Your Child’s Creativity with DIY No-Bake Playdough!
Hello, wonderful parents out there! Are you on the hunt for activities that are fun, safe, and educational for your little ones? Look no further! Today, we’re diving into the vibrant world of homemade no-bake playdough. Not only is it a fantastic way to engage your kiddos in hands-on learning, but it also encourages their imagination to blossom right before your eyes – and the best part? You can whip it up right in your kitchen with ingredients you likely already have!
Why Homemade Playdough is the Way to Go!
Before we jump into the nitty-gritty of our playdough potion, let’s chat about why homemade playdough is such a stellar choice for your family:
- Safety First: With your own homemade mixture, you’re in control. There’s no need to worry about any hidden chemicals or allergens that may not play nice with your child’s delicate skin.
- Economical & Eco-Friendly: Save your pennies and the planet! DIY playdough is cost-effective and reduces waste, as you can reuse and even compost your creations.
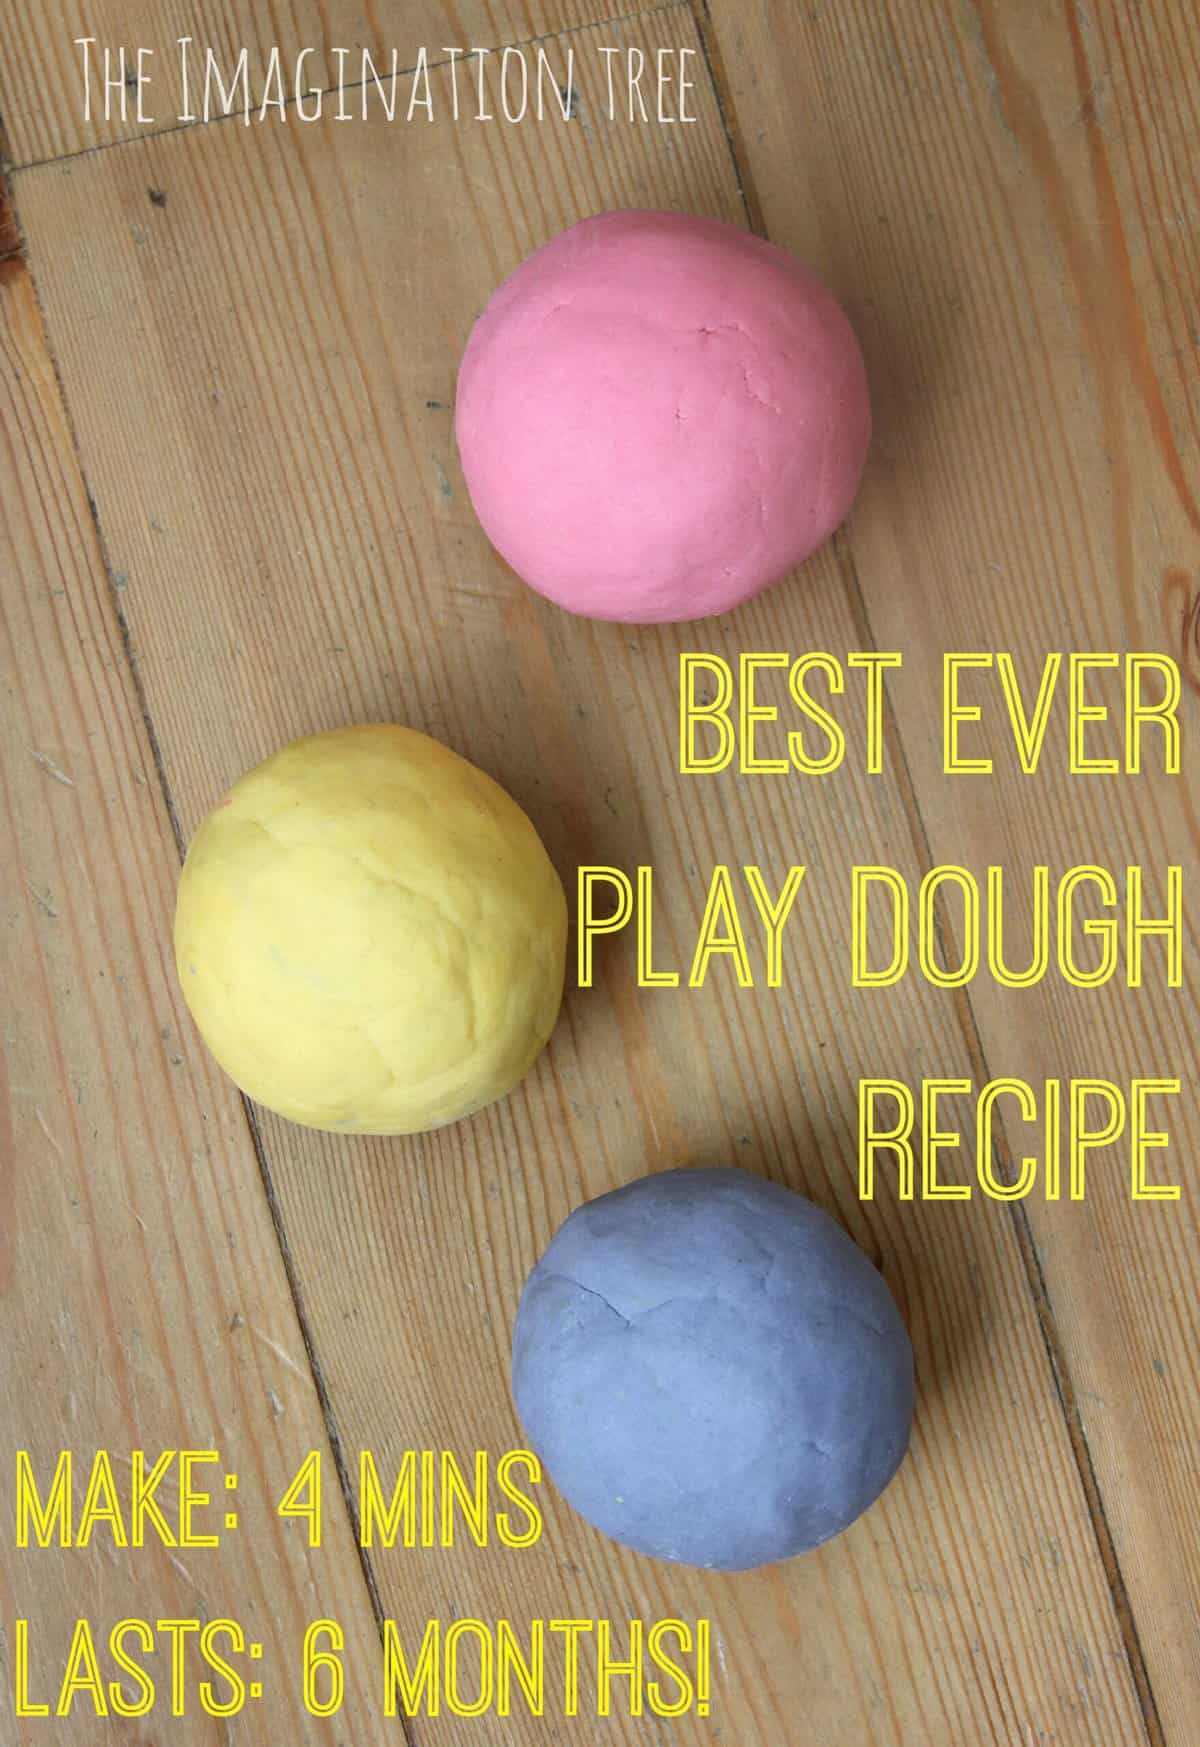
- Customizable Colors and Scents: Get ready for a sensory adventure! You can personalize playdough with your child’s favorite colors and safe, delightful scents.
- Therapeutic Activity: Squishing and shaping playdough is not only fun but also calming. It can help little ones manage stress and enhance their fine motor skills.
What You’ll Need for Your Playdough Masterpiece
Before we enter the realm of dough creation, let’s gather our magical materials. You’ll be pleased to know that making no-bake playdough is a breeze! Here’s what you’ll need:
- All-purpose flour – The base of our dough! It provides the perfect texture for moulding and playing.
- Salt – This household staple acts as a natural preservative, keeping your playdough fresh for longer.
- Cream of tartar (optional) – It adds elasticity to the dough, making it even more delightful to handle.
- Vegetable oil – A dash of oil is the secret to keeping your dough smooth and non-sticky.
- Warm water – The activator that brings everything together.
- Food coloring – Time to let those colors shine! Food coloring allows you to create an entire rainbow of dough.
- Essential oils (optional) – For an extra sensory touch, a few drops can infuse your dough with calming or invigorating scents.
Now that your kit is assembled, clear a little workspace in your kitchen – it’s about to get dough-liciously fun!
Step-by-Step: Crafting Your No-Bake Playdough
Ready to become the wizard of dough? Follow these simple steps, and you’ll be rolling in playdough goodness in no time:
- Mix the Dry Ingredients: In a large bowl, whisk together the flour, salt, and cream of tartar (if using) until evenly combined.
- Add Oil and Water: Stir in the vegetable oil and gradually add warm water until the mixture starts to come together.
- Knead the Dough: Once the mixture is cool enough to handle, turn out onto a clean surface and knead into a smooth, pliable dough.
- Divide and Color: Split your dough into equal portions and add a few drops of food coloring to each. Knead until the color is vibrant and uniform.
- Introduce Scents: If you’re using essential oils, now’s the time to add a couple of drops to each batch and knead to infuse the scent.
After these steps, your homemade no-bake playdough is ready for action! But hey, we’re just getting started on our creative journey. There’s so much more to explore with this pliable treasure – from crafting a playdough zoo to mixing up a storm with color theory experiments.
Stay tuned, as we’ve got a treasure trove of tips, tricks, and playdough games coming your way. Until then, roll up those sleeves and let your child’s imagination unfurl with the squishiest, most colorful, and fabulously homemade no-bake playdough. Happy crafting!
5 Things Parents Should Know Before Making Homemade Playdough
As you gear up for an afternoon of tactile fun with homemade playdough, here are some essential things to keep in mind:
- Prep Your Space: Choose an area that’s easy to clean. Lay down some wax paper or a silicone mat to catch stray bits of dough and make cleanup a snap. Having all your ingredients and tools at arms reach will keep the process smooth and enjoyable for both of you.
- Quality Ingredients Matter: Just like in cooking, the better your ingredients, the better your end product. Use fresh flour and salt to ensure the dough’s texture is just right. And, if possible, opt for food-grade dyes to color your dough to avoid any skin sensitivities.
- Keep Storage in Mind: While it’s fun to mix and play, you’ll want to save that dough for another day! Have airtight containers or zip-top bags ready to store your playdough after playtime is over. Proper storage will help it last for months, ready for the next play session.
- Hydration Balance: If your dough is too sticky, add a touch more flour. If it’s too dry, a few more drops of water can help. Getting the consistency just right makes all the difference. Don’t be afraid to adjust as you go – that’s half the fun!
- Engage with Your Child: This isn’t just about making playdough; it’s about making memories! Use this activity to talk about colors, share stories, or even sneak in a little learning about measurements and the science behind non-Newtonian fluids.
With these handy points in mind, you’re all set to cultivate creativity and motor skills in your child while having an absolute blast. So, what are you waiting for? Grab those ingredients and let the magic begin!
Playdough Play Ideas for Unlimited Imagination
Once you’ve crafted your colorful playdough, the sky’s the limit! Here are some delightful ideas to keep those little hands busy and minds active:
- Create Storybook Characters: Challenge your child to sculpt their favorite characters from storybooks or their imagination. Have them tell you a story about their creations.
- Construct a Dough City: Build roads, buildings, and landscapes. Blend colors to make green trees, blue rivers, and more.
- Practice Alphabet and Numbers: Flatten the dough and use cookie cutters to enhance letter and number recognition. Great for pre-schoolers!
- Science Experiments: Mix varying amounts of color to experiment with shades, or explore how mixing primary colors yield new ones.
- Seasonal Shapes: Celebrate the seasons and holidays with thematically shaped and colored playdough – think pumpkins for fall, snowflakes for winter, or bright flowers for spring.
Every slice, dice, roll, and sculpt is an opportunity for learning and growth. Not to mention, participating in the fun yourself might just unleash your inner child! Each moment spent with your DIY playdough can spark joy and take creativity to new heights.
Happy crafting and playing!
See more great Things to Do with Kids in New Zealand here. For more information see here
Disclaimer
The articles available via our website provide general information only and we strongly urge readers to exercise caution and conduct their own thorough research and fact-checking. The information presented should not be taken as absolute truth, and, to the maximum extent permitted by law, we will not be held liable for any inaccuracies or errors in the content. It is essential for individuals to independently verify and validate the information before making any decisions or taking any actions based on the articles.


