
Welcome to Our DIY Birdhouse Feeder Guide!
Hello, lovely parents and craft enthusiasts! Are you ready to dive into a delightful DIY project that will bring the sweet chirping of birds right to your backyard? Perfect! Because today, we’re going to guide you through the steps of creating your very own DIY birdhouse feeder—a magical addition to any garden that promises hours of nature-watching joy for your family. ??
Why Build a Birdhouse Feeder?
Building a birdhouse feeder is more than just a fun weekend activity. It’s a meaningful way to connect with nature and teach your little ones about the importance of caring for our feathered friends. Not only does it provide a safe spot for birds to eat, but it also offers endless opportunities for kids to observe wildlife and learn about different bird species. Plus, it’s a fantastic way to encourage outdoor play and use your creativity!
What You’ll Need for Your Birdhouse Feeder
- Untreated Wood: Safe for birds and perfect for a natural look. Try cedar, pine, or plywood.
- Nails or Screws: To assemble your birdhouse securely.
- Wood Glue: For extra stability (optional, but helpful!)
- Hammer or Screwdriver: Depending on your choice of fasteners.
- Saw: If you’re cutting wood to custom sizes.
- Sandpaper: To smooth out any rough edges for a bird-safe house.
- Drill: For entrance holes and drainage.
- Paint or Stain (Non-toxic): To add color and protect your birdhouse from the elements. Remember, bright colors can attract birds!
- Brushes: For painting or staining your birdhouse.
- Protective Gear: Safety goggles and gloves to keep you safe during crafting.
Remember, while we’re having fun creating our DIY birdhouse feeders, safety is always our priority. Ensure all tools and materials are used responsibly, and keep the little ones under supervision during the building process.
Step-by-Step Build: Your Birdhouse Feeder
Ready to get those hands a little dirty for a good cause? Awesome! Here’s how you can start building your DIY birdhouse feeder:
Step 1: Preparing the Wood
Measure twice, cut once! Begin by measuring out pieces for the sides, base, roof, and back of your birdhouse feeder. If you’re not comfortable cutting wood yourself, most hardware stores will do it for you. Once your wood is ready, smooth out all surfaces with sandpaper to ensure there are no sharp edges.
Step 2: Assembling the Base and Walls
Take the base piece and attach the side walls using nails or screws. It’s kind of like assembling a tiny wooden puzzle. If you opt for wood glue for extra stability, apply it along the edges before nailing them together.
Step 3: Crafting the Entrance
This might just be the most magical part—the entrance to the little birdie’s new home! Decide on the size of your entrance hole based on the type of birds you’re hoping to attract. Then, carefully drill this hole into one of the side walls, ideally above where you’ll place the feeding tray.
At this point, you’re well on your way to creating a sweet haven for birds! Stay tuned for the next steps in our upcoming DIY birdhouse feeder guide update, where we’ll cover crafting the feeding tray, adding the roof, decorating your birdhouse feeder, and setting it up in your garden! Until then, keep those spirits high and tools ready! ??
5 Things Parents Should Know When Preparing for DIY Birdhouse Feeder
Understanding Your Winged Visitors
One of the joys of creating a bird feeder is observing the different species that come to visit. Take this opportunity to learn with your kids about the types of birds in your area, their habits, and their preferences. Doing so will help you tailor your birdhouse feeder to their liking!
Location, Location, Location!
The placement of your birdhouse feeder can greatly affect which birds you’ll attract. Birds need a calm and safe spot to feed without threats from predators. Teach your little ones the importance of placing the birdhouse in a quiet area, ideally close to bushes or trees to provide an escape for our feathered friends if necessary.
Be Mindful of Materials
When picking out materials, involve your kids and explain why it’s important to choose untreated, non-toxic wood, and paint. Safety first! Teach them about the dangers of chemicals and how they can harm birds. Better yet, make a game out of hunting for the safest materials to use!
The Joy of Tools and Teamwork
Creating a birdhouse feeder with your kids is a prime teaching moment for handling tools responsibly. Show them how to safely use a hammer, nails, and other equipment, emphasizing the value of teamwork. Your little ones will love being your ‘assistant’—and maybe even your ‘project manager’ if they’re feeling authoritative!
Embrace Creativity and Cater to the Birds
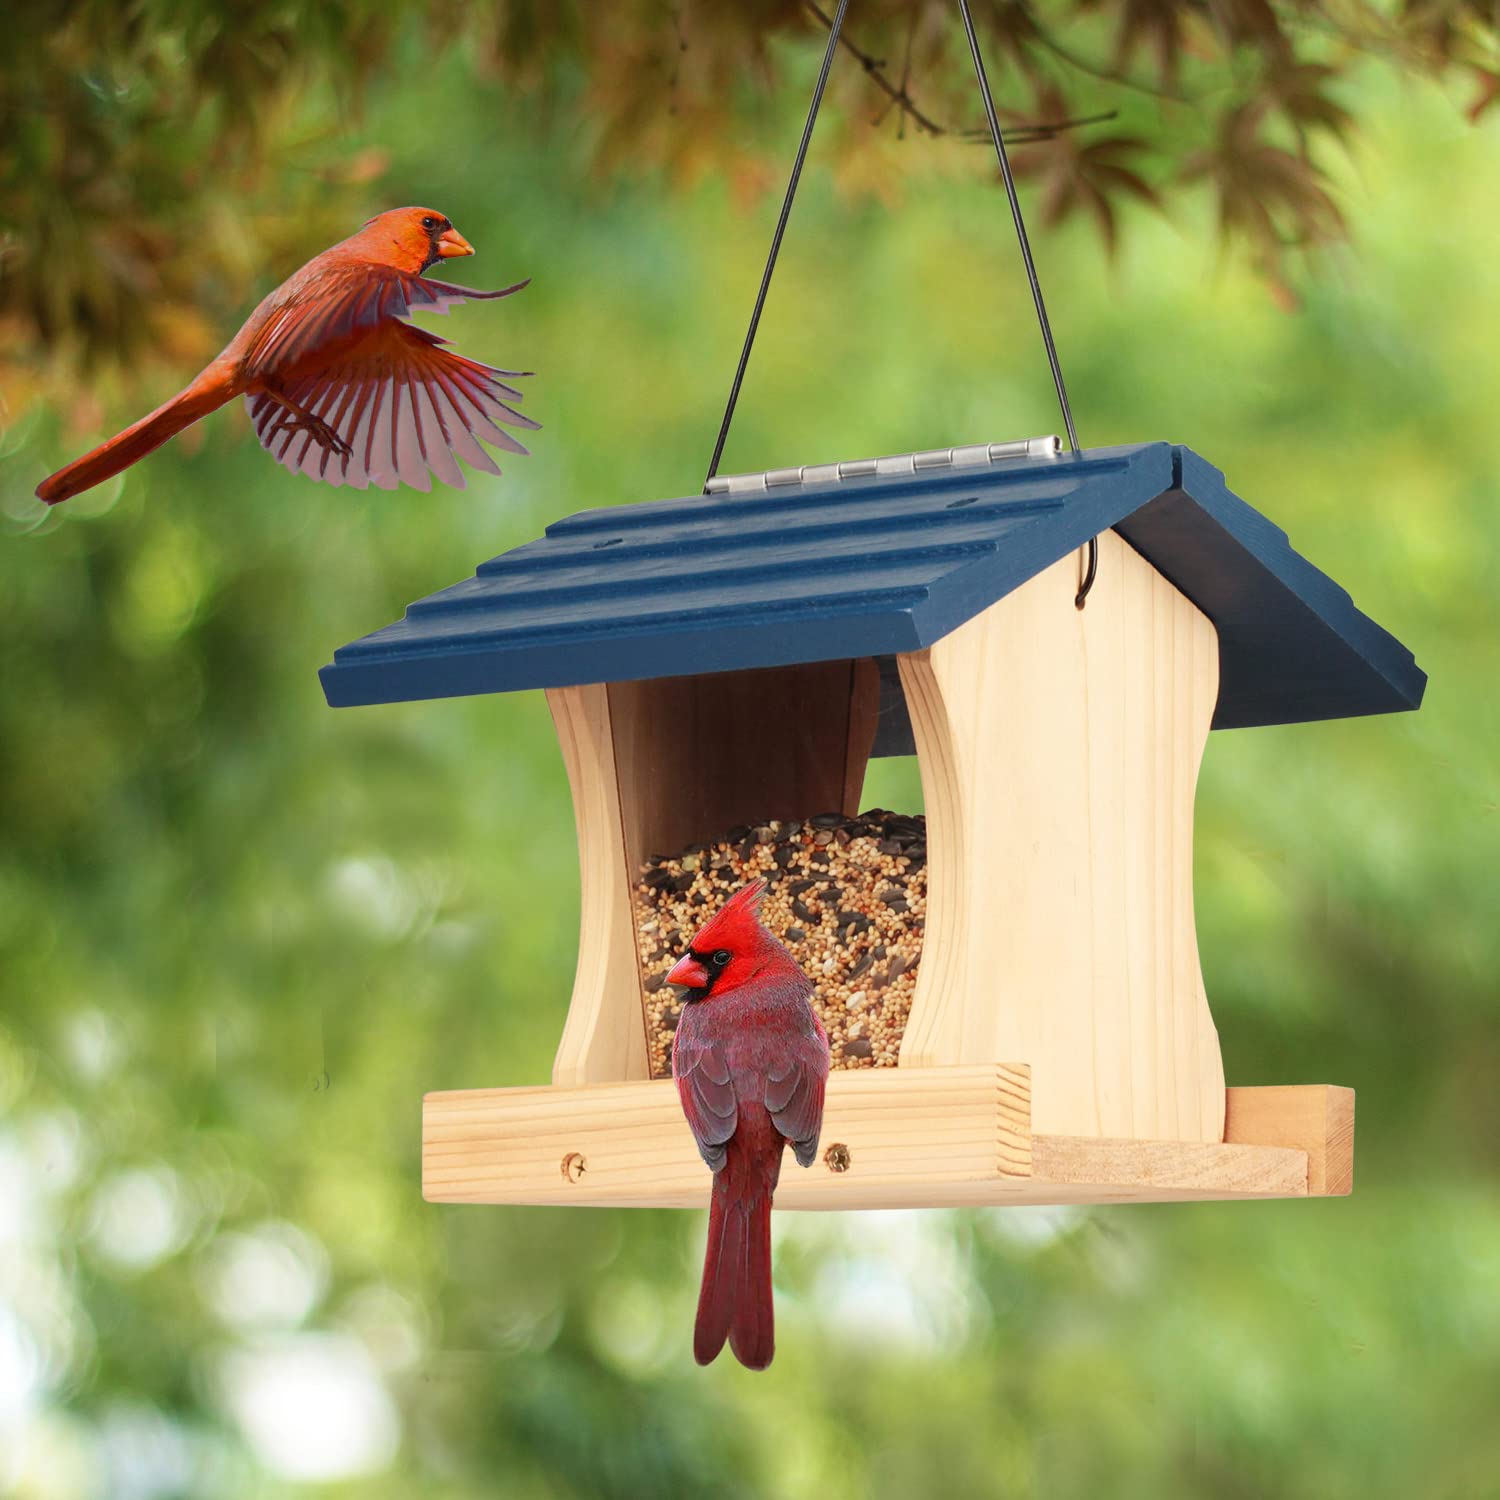
Encourage your children’s creativity when it comes to painting and decorating the birdhouse feeder. But remind them that the main guests—our birds—prefer certain colors. Research suggests that blue and green are appealing to birds, while white might scare them away. Also, adding textures and materials that mimic their natural habitat can make your birdhouse feeder an irresistible stopover.
Building a Birdhouse Feeder That Lasts
As a parent, you’ll want to build a birdhouse feeder that lasts more than just one season. That means considering durability in your design. Show your kids how to coat the wood for weather resistance and secure all parts firmly. It’s an exercise in forward-thinking and mindfulness of the environment, showing that the things we build can have a lasting impact, just like our actions.
With these valuable tips at the ready, embark on your birdhouse feeder journey, and make valuable memories while contributing to the local ecosystem. Your family’s crafty creation will soon become a buzzing hub of avian activity, and that’s something to tweet about with pride!
Let’s transform your outdoor space into a bird paradise with some wood, creativity, and family teamwork. Onwards! ??
. For more information see here
Disclaimer
The articles available via our website provide general information only and we strongly urge readers to exercise caution and conduct their own thorough research and fact-checking. The information presented should not be taken as absolute truth, and, to the maximum extent permitted by law, we will not be held liable for any inaccuracies or errors in the content. It is essential for individuals to independently verify and validate the information before making any decisions or taking any actions based on the articles.

