
Let’s Fly High with a Homemade Kite: Your Ultimate DIY Kite Making Adventure Starts Here!
Hey there, awesome parents and creative kiddos! Are you ready to add a burst of color to the sky and make some incredible memories? We’ve got a breezy adventure waiting for you—kite making! ? With a little bit of time, some easy-to-find materials, and a sprinkle of imagination, you’ll be watching your very own creation dancing with the clouds. No need to be a craft guru; this guide is perfect for all skill levels.
Why settle for store-bought when you can create a one-of-a-kind flying masterpiece? Beyond the sheer excitement, making a kite is a wonderful way to engage with your kiddos, teach them about basic aerodynamics, and hone their fine motor skills. And the best part? You’ll end up spending quality time outdoors together, reveling in the success of your collective effort. Let’s dive into this delightful project!
The Joy of Kite Making: More Than Just Craft Time
Kite flying is a classic outdoor activity that spans cultures and generations. It’s not just about crafting; it’s about storytelling, culture-sharing, and learning the ropes (quite literally!). So, before we grab our supplies, let’s explore the sunny side of this traditional pastime:
- Heritage and History: Kites have an incredible history, and making one can be the perfect opportunity to educate your little ones about this rich tradition. From China to the Polynesians, every kite sheltered a story!
- Educational Fun: Physics, weather, arts, and crafts converge in the making and flying of a kite. It’s STEAM education without even stepping into a classroom!
- Motor Skills Galore: Trimming, tying, and drawing will improve those tiny hands’ dexterity and control.
- Making Memories: Kite-making is more than just an activity. It’s about crafting moments that will stick in your child’s memory like the glorious tail of a kite in the gentle winds of spring.
Your Ultimate Kite Making Checklist
Ready to get started? You’ll need a few supplies first. Fortunately, most of these items are already hiding in your home, waiting to be transformed into something fabulous! Here’s what you should gather:
- Material for the Sail: You can use anything from a lightweight plastic bag to a piece of cloth or sturdy paper. The key is to find something that’s both strong and light.
- Flying Line: A good-quality string or fishing line will do the trick.
- Spars: These are the rods that provide the framework for your kite. Bamboo skewers or thin wooden dowels are great choices.
- Connectors: To attach your spars to each other, you’ll need some small rings or sturdy tape.
- Adhesive: Glue, tape, or staples can be used to stick the sail to the frame, depending on the materials you’ve chosen.
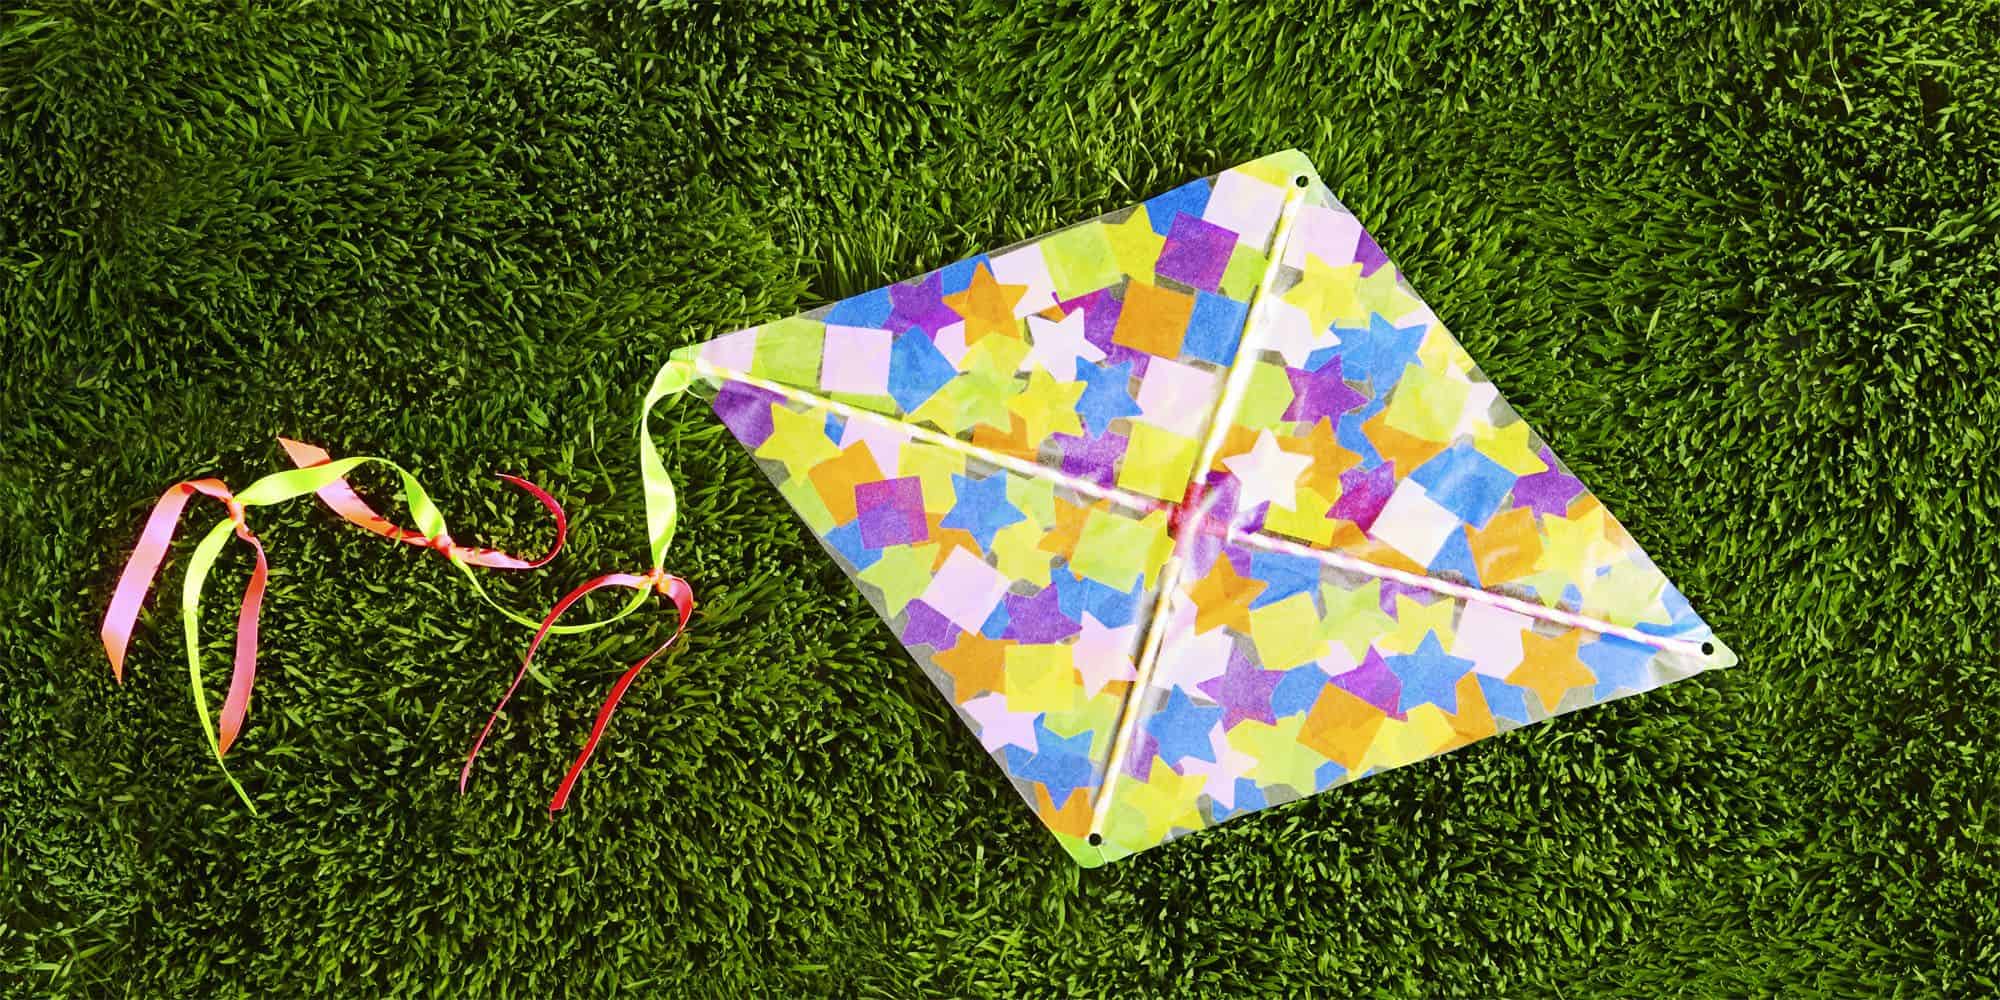
- Tail: Ribbons, strips of fabric, or plastic will stabilize your kite and look gorgeous flowing in the wind.
- Decoration: Colored markers, stickers, or paint can decorate the kite for that personal touch.
- Tools: Scissors, a ruler, and a pencil will assist you in cutting and measuring accurately.
Now that you’ve rounded up all your supplies, it’s time to get crafty! We’ll guide you step by step to ensure your kite-making process is as smooth as a gentle breeze. So, go ahead and clear a crafting space, roll up your sleeves, and prepare for an uplifting experience. Let’s create a kite that will not only touch the sky but also your hearts!
Stay tuned for our next segment, where you’ll get the full scoop on assembling your DIY kite, plus some nifty decorating tips to make your creation the star of the skyline!
5 Essential Preparation Tips for DIY Kite Crafting with Your Kids
Before jumping into the construction of your colorful flyer, here are five fundamental pointers to ensure you’re all set for an enchanting kite-making adventure:
- Understand the Basics of Kite Dynamics: Spend a little time learning about how kites fly. Knowledge of basic principles such as lift, drag, and wind dynamics will not only help in designing a kite that soars high but also provides an amazing learning session with your kids. A simple explanation about how the wind and kite shape work together to keep the kite aloft can make for a fascinating prelude to your crafting session.
- Choose Your Design Wisely: Simpler designs like the classic diamond kite are ideal for beginners and young kids. They require fewer materials and are usually easier to get flying. Once you’ve mastered the basics, you can explore more intricate designs like box kites or delta kites. Research different types of kites with your kids and decide together which one you’d like to bring to life.
- Plan for Safety: Ensure that any sharp tools like scissors or craft knives are handled by adults or under close supervision. Remember, kite flying is safest in open spaces away from power lines, trees, and busy roads. Incorporate these safety lessons while preparing, keeping the kite-making fun and incident-free.
- Test Your Materials: Do a little “pre-flight” check with the materials you plan to use for your kite. Light materials like tissue paper may require a gentle hand, whereas ripstop nylon would be more durable for kite sails. Test how your adhesives behave on small samples of your chosen materials—this will save you from any sticky situations later on.
- Set Realistic Expectations: Remember that the first kite might not be perfect, and that’s okay! The goal is to enjoy the process and learn as you go. Celebrate each step from creation to its maiden flight, regardless of how long it stays up. Patience and practice make for perfect flying—and a happier experience for everyone involved.
Armed with your toolkit of knowledge, a dash of caution, and loads of enthusiasm, you’re now superbly equipped to embark on this kite-making expedition. Keep in mind that preparation is just the prelude—the real fun begins when you start crafting!
Don’t forget, the internet is a treasure trove of resources. You’ll find plenty of tutorials, design templates, and decoration ideas. Involve your kids in the research process too; it’s a great way for them to feel even more connected to the project. Alrighty, let’s grab those supplies and get ready for liftoff!
Happy Kite Making, and here’s to a sky full of dreams and a day full of joy!
Be sure to catch our upcoming piece where we’ll guide you through the assembly of your DIY kite with easy-to-follow instructions and provide some artistic decorating tips to make sure your kite is the envy of the park. Get ready to let your creativity and your kite soar!
See more great Things to Do with Kids in New Zealand here. For more information see here
Disclaimer
The articles available via our website provide general information only and we strongly urge readers to exercise caution and conduct their own thorough research and fact-checking. The information presented should not be taken as absolute truth, and, to the maximum extent permitted by law, we will not be held liable for any inaccuracies or errors in the content. It is essential for individuals to independently verify and validate the information before making any decisions or taking any actions based on the articles.


