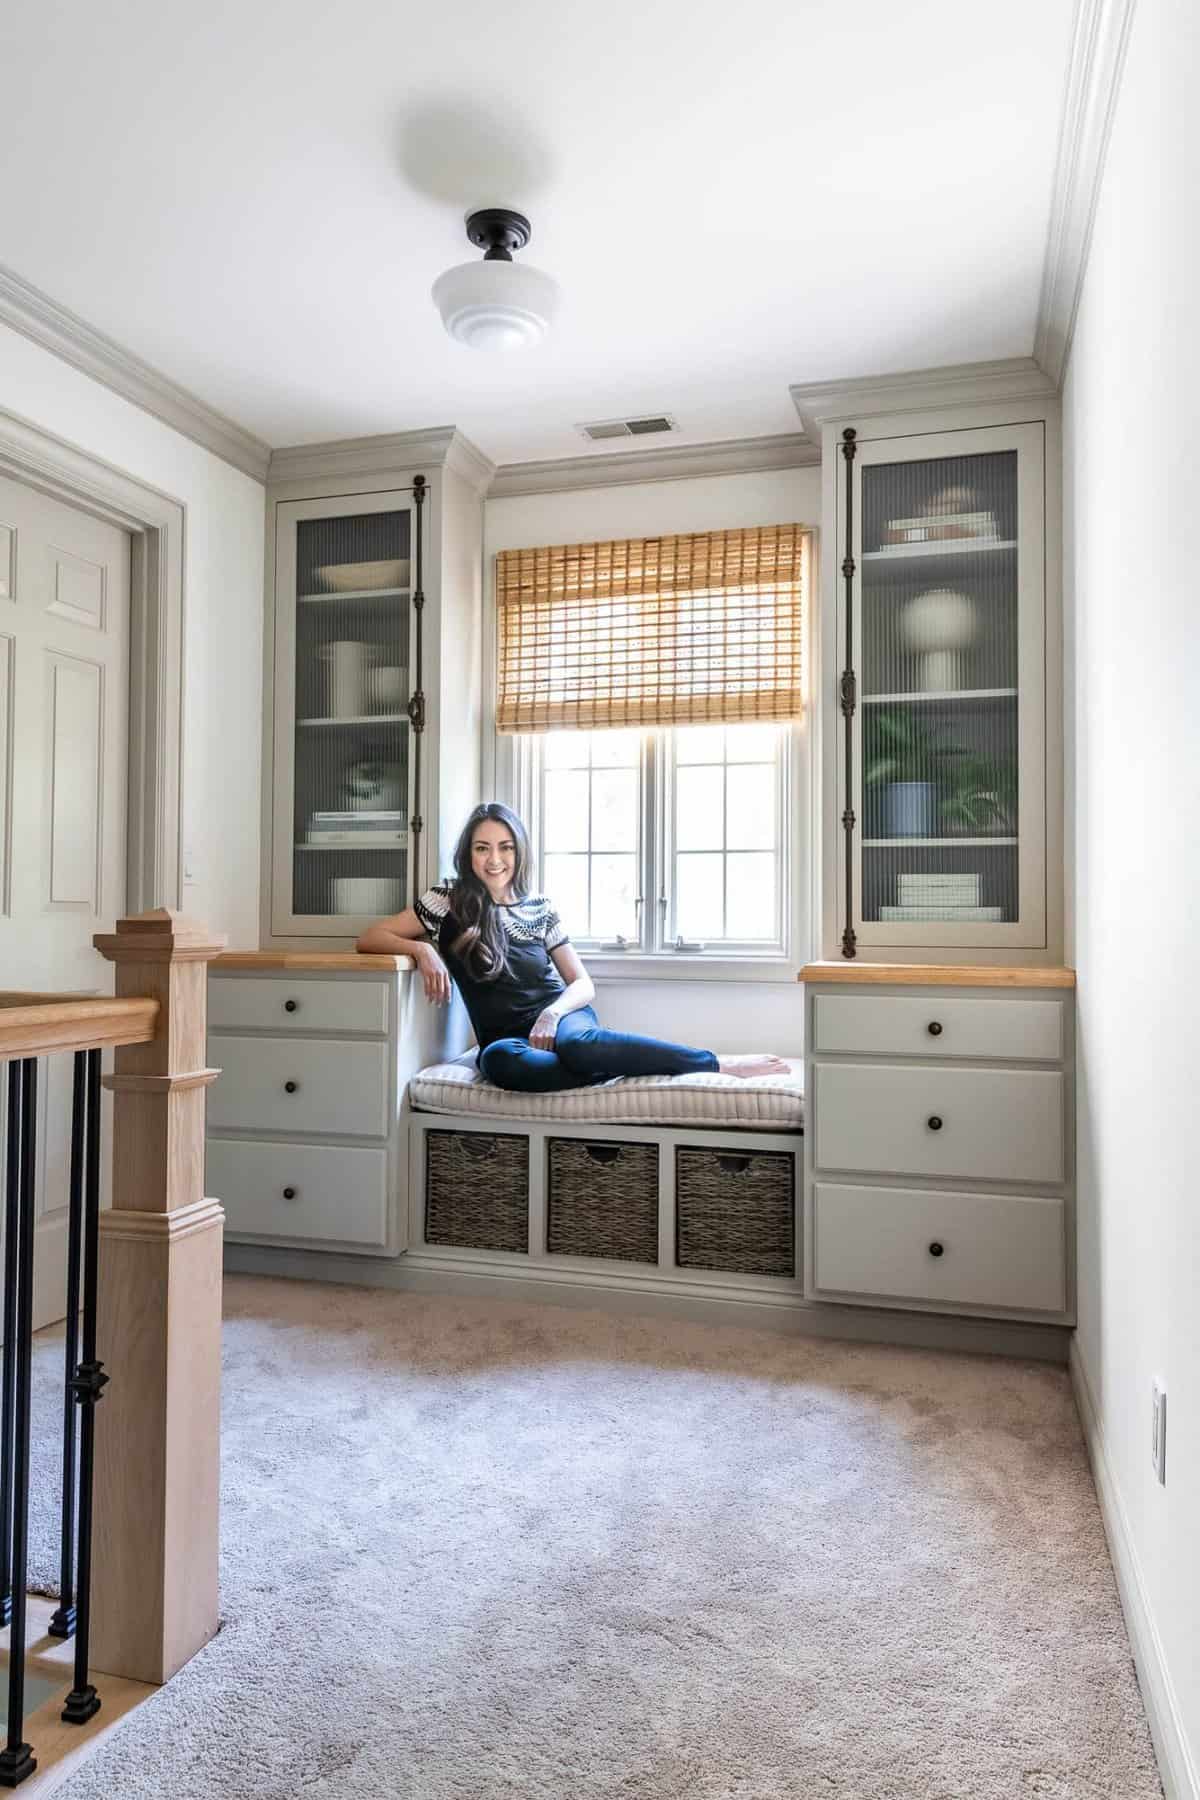
Create Memories with a DIY Window Seat: A Guide for Handy Parents!
Welcome, lovely moms and dads! Dreaming of a cozy corner where your little ones can cuddle up with a book or gaze at the fluttering leaves? Let’s embark on a delightful do-it-yourself journey to craft a window seat that’s not just a seat, but a treasure trove of family memories. Clear your weekend schedule, roll up your sleeves, and let the fun begin!
Why a DIY Window Seat?
Adding a window seat to your abode is not just an aesthetic uplift but also a smart space solution. It offers:
- Extra Storage: Keep toys, books, or seasonal items neatly stashed away.
- Adds Charm: Elevate your home’s character with a custom nook.
- Reading Haven: Encourage reading by providing a special spot for bookworms.
- Quiet Retreat: Design a personal retreat for relaxation and contemplation.
Gather Your Tools and Materials
Before diving in, make sure you’re all set with the necessary tools and materials. Here’s a simple checklist to get you started:
- Measuring tape and pencil
- Wood boards (size depends on your window dimensions)
- Drill and screws
- Wood glue
- Paint or wood stain (your choice!)
- Sanding paper or electric sander
- Circular saw (or handsaw)
- High-density foam or batting for cushioning
- Fabric for upholstery
- Staple gun
With everything you need at your fingertips, the fun can truly begin. Remember, it’s better to double-check your list now than to dash to the hardware store midway through your project!
Measuring and Planning: Accuracy is Key!
First thing’s first: get the measurements right. Measure the height, width, and depth of your window area to ensure a perfect fit. Jot down these numbers; they’ll be your best friends throughout this project. Keep in mind that comfort and functionality go hand-in-hand. Therefore, aim for a depth of at least 16 inches and a height that complements the window and space’s proportions.
Constructing the Base: A Solid Foundation
Now that you’ve got your specs, it’s time to build the base. Let’s start the process:
- Building the Frame: Cut your wood boards to match the width and depth obtained from your measurements. Assemble a rectangular frame using wood screws and glue for added durability. Make sure it’s square by measuring diagonally across the corners. If the measurements are equal, it’s a good square!
- Support for Storage: If you’re planning on having storage within your window seat, consider adding vertical partitions now. Think about how you want to access your storage: a lift-up bench top or front-facing drawers?
- Securing the Base: Attach the frame securely to the wall. Find the wall studs, and use sturdy screws to ensure your base won’t budge. Safety first, especially if your kids will be the primary users.
Quick Tip: The clearer your vision, the smoother the sailing! Sketch your design beforehand to iron out any quirks and ensure you’re on the right track.
Top it Off with Comfort: Cushion and Upholstery
Padding is what will transform your window seat from a wooden box to a comfy escape. Be generous with cushioning! High-density foam offers durability and comfort. Measure and cut the foam to cover the entire seating space, then choose a fabric that will woo you and withstand the joyful chaos of family life. Remember, this is your canvas – express your style!

Building a Window Seat Wonderland: A Complete Guide for Creative Parents
Hey there, crafty parents! Yearning for a spot where your children can dive into their imaginations or while away the hours with their noses in a storybook? Let’s construct a magical window seat, the perfect addition to any family home. This isn’t just a weekend project; it’s an opportunity to create a heartwarming space filled with laughter, comfort, and countless stories.
5 Essential Considerations Before Starting Your DIY Window Seat
Let’s ensure you’re prepped and ready! Consider these five indispensable aspects to start on the right foot:
- Understand Your Space: Assess the area around your window. Is it conducive to a seat? Note any radiators, vents, or outlets that may need to be rerouted or accommodated.
- Safety Precautions: If your household includes small adventurers, plan for a design that prevents pinched fingers and considers the durability of materials.
- Time Management: Be realistic about your time. While enthusiasm is key, ensure you can commit to the project from start to finish.
- Budgeting: Know your numbers and anticipate any extra expenses. Quality should not be compromised, but be smart with your spending.
- Future Considerations: Aim for a design that grows with your family. Consider modular storage or adjustable seating for lasting enjoyment.
Tools and Materials: The DNA of Your Window Seat
No great feat was ever accomplished without the right tools and materials, and your DIY window seat is no exception! Add these must-haves to your toolkit:
Fine-Tuning Your Vision: The Blueprint of Memories
The Build Begins: Crafting Your Window Seat’s Heart
Cozy Comfort: Bringing Softness to Your Lookout
Accessorizing and Personalizing: The Finishing Touches
See more great Things to Do with Kids in New Zealand here. For more information see here
Disclaimer
The articles available via our website provide general information only and we strongly urge readers to exercise caution and conduct their own thorough research and fact-checking. The information presented should not be taken as absolute truth, and, to the maximum extent permitted by law, we will not be held liable for any inaccuracies or errors in the content. It is essential for individuals to independently verify and validate the information before making any decisions or taking any actions based on the articles.


