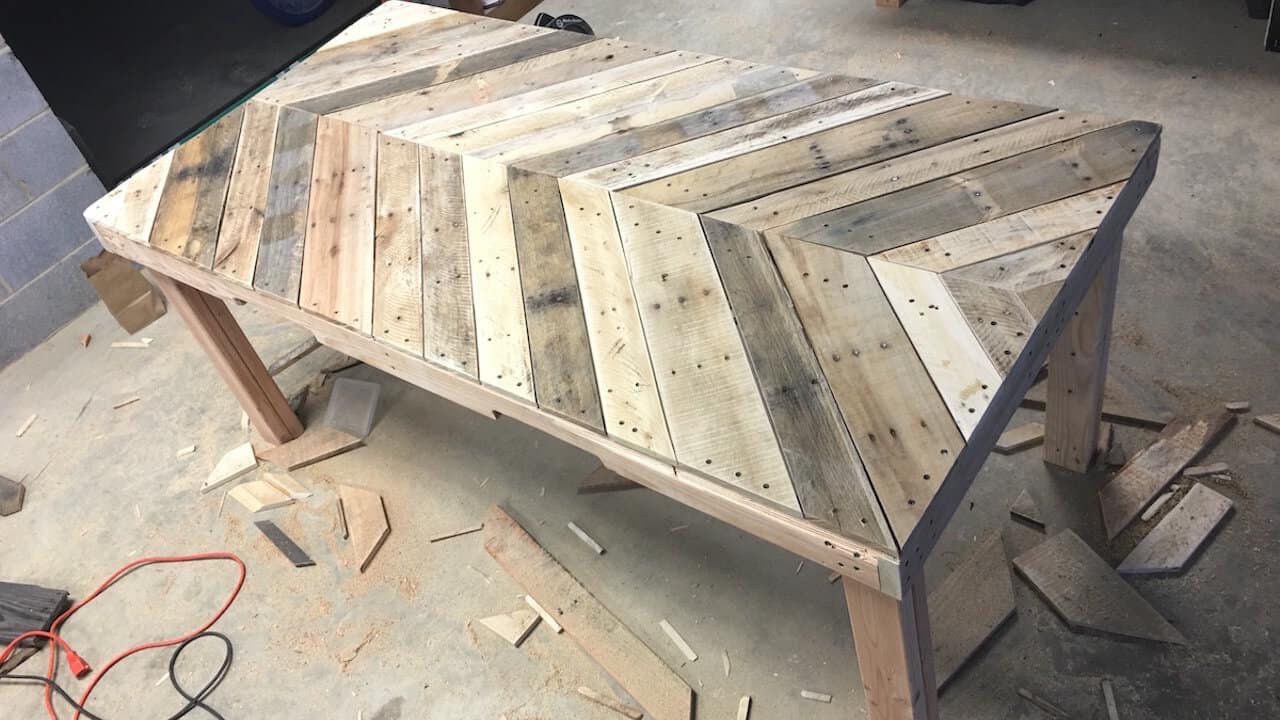
Unlock Your Inner Funiture Wizard with DIY Pallet Table Projects
Welcome, crafty parents! Are you looking to add a personal touch of beauty and function to your home with a splash of DIY magic? You’re in the right place! Pallet projects are all the rave, and the DIY pallet table is a centerpiece that can bring warmth and character to any room. This guide will walk you through the steps to create your very own pallet table, making it not just furniture, but a story to share with your family and friends!
Why Choose a Pallet Table for Your DIY Project?
If you’re still on the fence about whether to embark on this pallet adventure, let us sprinkle a little inspiration your way. Pallet tables are:
- Eco-friendly: Using reclaimed pallets helps reduce waste and supports sustainability efforts.
- Customizable: With DIY, you’re the boss of your design. Paint, size, and finishing – it’s all up to you!
- Affordable: Often found for free or at a low cost, pallets are a budget-friendly material for your next project.
- Versatile: Whether it’s a coffee table, dining table, or a side table, pallets can be transformed into various furniture types.
Gathering Your Materials and Tools
First step in our pallet table DIY journey is gathering all the necessary materials and tools. You wouldn’t want to find yourself midway through your project only to realize you’re missing a crucial screw or tool, right? Here’s a checklist to get you started:
- Pallets: Hunt for pallets that are in good condition. You might find them behind stores, at building sites (always ask permission first!), or from online marketplaces.
- Sandpaper or a Sander: To smooth out rough edges and make your pallet splinter-free.
- Saw: Essential for cutting your pallet to the desired size. A hand saw will work, but a jigsaw or circular saw can make the job easier.
- Screws and Nails: To secure the parts together. It’s wise to have various lengths and sizes on hand.
- Drill: To make holes for your screws. A cordless drill can be a lifesaver here.
- Hammer or Nail Gun: For those who prefer nails over screws, these are your go-to tools.
- Wood Glue: Extra reinforcement never hurts. Using wood glue can make your table sturdier.
- Paint or Stain: Depending on your desired finish, have your chosen paint or stain ready for that final touch.
- Varnish or Sealer: To protect your finished table from wear and tear, especially if it will be used outdoors.
- Protective Gear: Safety goggles, gloves, and a mask are non-negotiables for your protection.
Preparing Your Pallets
Great! You’ve rounded up your materials and tools. Now, let’s roll up our sleeves and prepare those pallets for their transformation.
Step 1: Inspect and Clean
Thoroughly inspect your pallets for any nails, splinters, or damage. Clean them with soapy water and a scrub brush to remove dirt and grime. Allow them to dry completely before starting your project.
Step 2: Sand
Sanding is a super important step—it’s what makes your table child-friendly and free from rough spots. Start with a coarser grit sandpaper and work your way to a finer grit for a smooth finish.
Step 3: Cut to Size
With your design in mind, measure and mark where you will need to cut your pallet. Then, with your saw of choice, carefully cut your pallet to create the top of your table.
Note: If you’re going for a more rustic look, feel free to keep some of the roughness or skip the cutting altogether for an oversized coffee table.
Alright, DIYers, you’re off to a fantastic start! Stay tuned for the next part of our guide, where we’ll dive into assembly, finishing touches, and safety measures to ensure your DIY pallet table is both charming and child-friendly. Now, let’s get those pallets prepped and dreaming of their new lives as the heart of your home—a table that’s full of character, stories, and love. Happy crafting!

5 Essential Tips for Parents Preparing for a Pallet Table DIY
When transforming pallets into a family treasure, it’s vital to keep a few things in mind. Here are five essential tips that will help parents on their journey to creating a masterpiece:
Tip 1: Choose the Right Pallet
Not all pallets are created equal. Look for heat-treated (HT stamped) rather than chemically treated pallets, as they are safer for home use, especially around kids. Keep an eye out for the IPPC logo, and avoid pallets that are marked with MB, which indicates they have been fumigated with methyl bromide.
Tip 2: Involve Your Kids Wisely
Your DIY project can be an incredible learning experience for your children. Involve them in the sanding process (with proper supervision and protective gear) or let them be creative with paint. However, always use your judgment regarding age-appropriate activities and never leave them unattended with tools.
Tip 3: Plan for Indoor or Outdoor Use
Think about where your pallet table will reside. If it’s an outdoor piece, you’ll need to ensure it’s weather-resistant. This might involve special sealers or treatments. For indoor use, focus on a finish that complements your home decor and is child-safe.
Tip 4: Prep for Success
A well-prepped pallet is essential for a smooth project. Remove all nails and staples, and don’t cut corners on sanding. Creating a safe, splinter-free surface is crucial, especially when the table will be within reach of little hands.
Tip 5: Think Long-Term
While pallet tables can be trendy and rustic, plan your project with the future in mind. If you foresee a need to disassemble or modify your table later, consider using fasteners and joinery that allow for easy adjustments or upgrades.
Equipped with these tips, you’re poised to create not just a pallet table, but a place for memories to be made. Remember to take your time, enjoy the process, and relish the opportunity to craft something extraordinary. Your fantastic, family-made pallet table awaits!
See more great Things to Do with Kids in New Zealand here. For more information see here
Disclaimer
The articles available via our website provide general information only and we strongly urge readers to exercise caution and conduct their own thorough research and fact-checking. The information presented should not be taken as absolute truth, and, to the maximum extent permitted by law, we will not be held liable for any inaccuracies or errors in the content. It is essential for individuals to independently verify and validate the information before making any decisions or taking any actions based on the articles.


