
Super Easy Play Dough Recipe for Endless Family Fun
Hey there, wonderful parents! Are you ready for a delightful twist in your kiddo’s playtime? Well, buckle up, because we’re about to dive into the world of homemade play dough—a magical place where creativity knows no bounds, all with an easy peasy recipe that’ll have you high-fiving yourself for being so awesome!
Why Homemade Play Dough is the Bee’s Knees!
Before we get our hands doughy, let’s talk about why homemade play dough is just the coolest thing since sliced bread for your little ones. Not only is it a fantastic sensory experience that can aid in the development of fine motor skills, but it’s also completely customizable. That means you can add colors, scents, and even glitter—oh my!
The Simplest Play Dough Recipe on the Planet
Now, let’s jump into what you came here for—the ridiculously simple recipe that’s going to save the day during those long rainy afternoons or when you just need a half an hour of peace to sip that cup of coffee while it’s still warm.
Ingredients:
- 2 cups all-purpose flour
- 1/2 cup salt
- 2 tablespoons cream of tartar (the secret to perfect play dough!)
- 2 tablespoons vegetable oil
- 1.5 cups boiling water (adults only for this part!)
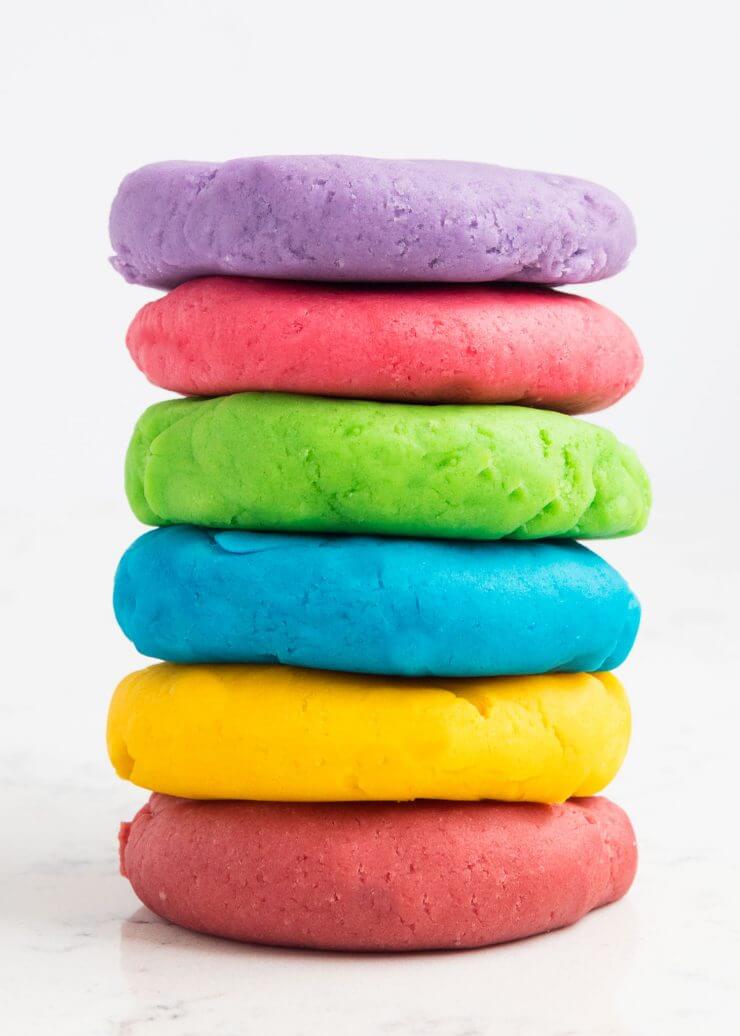
- Food coloring (optional, but why not go for that rainbow effect?)
Instructions:
- Mix the Dry Ingredients: In a large bowl, whisk together the flour, salt, and cream of tartar.
- Add the Oil: Pour in the vegetable oil and stir until little beads form.
- Boil Water: Heat your water until it’s boiling. Kids, stand back—let the grown-ups handle this one!
- Color Time: If you’re using food coloring, now’s the time to add it to the boiling water for that pop of color.
- Combine It All: Carefully (it’s hot!) add the colored water to your dry mixture.
- Stir Like You Mean It: Mix everything together until it starts to bond and form a dough.
- Knead the Dough: Once cooled down a bit, take the dough out of the bowl and knead it on a countertop or cutting board until it’s smooth and irresistible.
Voilà! You’ve just made your very own play dough. Wasn’t that a cinch? When your masterpiece of dough is ready to go, set those creative geniuses loose and watch them sculpt, mash, and invent to their heart’s content. A tip for you: grab a cuppa and enjoy those little giggles and gasps of wonder—it’s the good stuff of parenthood.
Kiddos, Start Your Engines!
With your fresh batch of play dough, the possibilities are truly endless. Cutting shapes, making pretend foods, or even mixing different colors to see what new shades they can create—this is where the fun really ramps up.
And hey, who said the kids get to have all the fun? Roll up your sleeves, get in there, and show them how it’s done! Craft a snazzy little dough elephant, or challenge your tykes to a play dough pizza making contest. It’s not only a blast, but it’s also a golden opportunity to bond and create memories that’ll stick around even after the dough has dried up.
Stay tuned, because there’s more to this than just squishing and squashing—next up, we’ll chat about brilliant tips for keeping your play dough fresh, secrets for adding sensational scents, and some dynamite ideas for themed play dough activities that’ll keep your little munchkins engaged and their imaginations soaring.
So leap into this dough-tastic adventure, and remember: the best thing about memories is making them, one playful moment at a time. See you back here soon for more dough-lightful escapades!
Happy play dough crafting!

5 Things Parents Should Know When Preparing the Easy Play Dough Recipe
1. Allergies and Sensitivities
If your kiddos have allergies, fear not! Did you know that this play dough can be adjusted for gluten or wheat sensitivities? Just swap out the regular flour for a gluten-free alternative, and voilà! However, always double-check the labels on your ingredients to prevent any sneaky allergens from spoiling the fun.
2. Natural Colorants & Enhancers
For those who are iffy about food coloring, let nature be your palette. Turmeric for yellow, beet juice for pink, and spinach juice for green can turn your dough into an eco-conscious rainbow. And for a little extra sensory delight, feel free to add essences like vanilla or almond extract to give your dough a sniff-worthy fragrance.
3. The Safety Is In The Salt
The salt isn’t just for texture; it’s a natural preservative that discourages bacteria growth. This is especially clever for when those tiny hands can’t help but go from dough to mouth. Plus, the taste of salt can be a deterrent for kids (or pets) who think the play dough looks good enough to eat!
4. Storage Savvy
Your homemade play dough can have a surprisingly long shelf-life if stored properly. Keep the fun rolling by stashing the dough in an airtight container or a ziplock bag, squeezing out the excess air. Pop it in the fridge, and your dough can stay fresh for up to six months! Quick tip: if the dough starts to dry out, knead in a touch of water to bring back the pliability.
5. Play Dough Play Date Prep
Are you hosting a play dough extravaganza? Pre-making batches of dough in different colors can be a fantastic timesaver. Before the mini masters arrive, set up a play dough station with a variety of tools: cookie cutters, rolling pins, and even some uncooked pasta for texture play. And don’t forget a splash mat or tablecloth for easy clean-up!
Ready, set, dough! Roll out this super easy play dough recipe, and let the squishing, rolling, and molding begin. You’re not just crafting dough; you’re shaping joyous moments that become the cherished snapshots of childhood. Every pat, press, and punch is an expression of your child’s creativity, and what could be more beautiful than that? Get ready to create, right at your kitchen table.
Wrapping Up with Play Dough Wisdom
Creating homemade play dough is more than just a fun activity; it’s a chance to enrich your children’s developmental journey. As you embark on this homemade happiness, remember that the process itself can be as rewarding as the outcome. With each ingredient added, you’re layering memories, with every knead, you’re strengthening bonds, and with every creation, you’re fostering imaginations.
The recipe we’ve shared is just the beginning. Play dough can be the canvas for your child’s wildest inventions, and with a little bit of kitchen alchemy, you’re providing a playtime wonderland. So get that dough rolling, keep those creative juices flowing, and enjoy every delightful squish of your easy, peasy, homemade play dough adventures!
See more great Things to Do with Kids in New Zealand here. For more information see here
Disclaimer
The articles available via our website provide general information only and we strongly urge readers to exercise caution and conduct their own thorough research and fact-checking. The information presented should not be taken as absolute truth, and, to the maximum extent permitted by law, we will not be held liable for any inaccuracies or errors in the content. It is essential for individuals to independently verify and validate the information before making any decisions or taking any actions based on the articles.


