
DIY Wheat Bag: The Ultimate Guide for Crafty Parents
Hey there, super moms and dads! Are you looking for a crafty activity that’s not only fun but also incredibly soothing for both you and your kiddos? Well, grab your sewing kits and a cup of your favorite tea — it’s time to dive into the wholesome world of DIY wheat bags!
What’s a Wheat Bag?
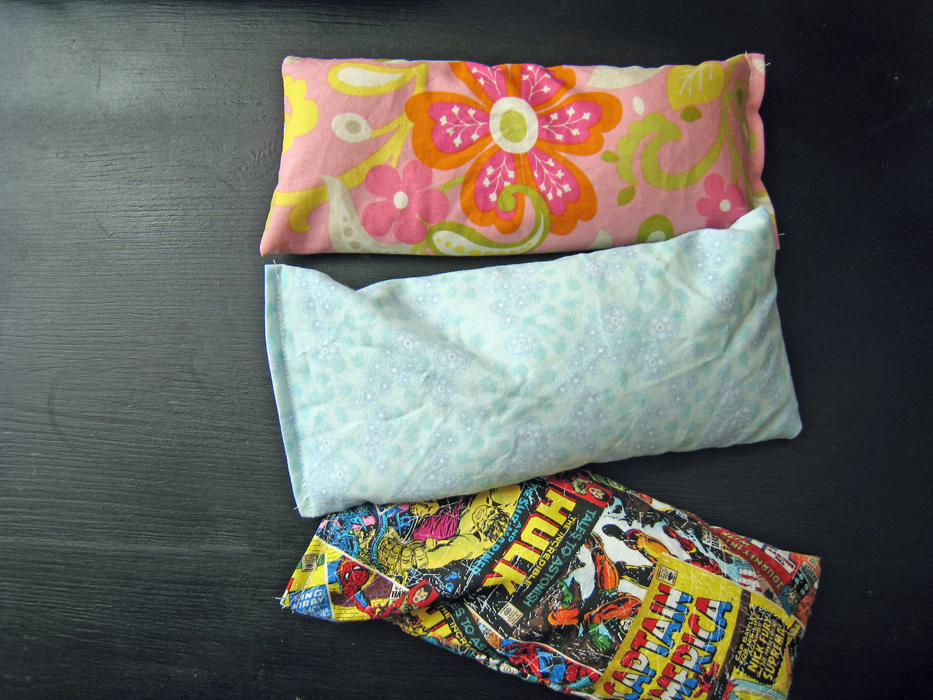
Before we get our hands busy, let’s talk about what a wheat bag is. Wheat bags, also known as heat packs or heat bags, are fabulously versatile pouches filled with wheat grains that can be heated in the microwave or cooled in the freezer. They’re wonderful for snuggling up with on a chilly evening, easing those pesky aches and pains, or simply as a comfy sleep companion. Making your own means you can customize it to your heart’s content with size, fabric, and even scents!
Why Make a Wheat Bag?
- Eco-Friendly: Ditch the disposable heat pads and go for something reusable, reducing waste and saving energy!
- Cost-Effective: Creating your own wheat bag can be a fraction of the cost of store-bought heat packs.
- Customizable: Tailor the size, shape, fabric pattern, and even add some lavender or chamomile for a calming scent.
- Therapeutic Crafting: Engage in a fun crafting session with the kids and reap the benefits of your creation later.
Materials You’ll Need
Gearing up for our little project is quite straightforward. Here’s what you’ll need:
- 100% cotton fabric (avoid synthetic as it might melt in the microwave)
- Wheat grains (ensure they’re clean and dry)
- Sewing machine or needle and thread
- Scissors or a fabric cutter
- Funnel or a paper cone for filling
- Measuring tape or ruler
- (Optional) Dried herbs or essential oils
- Pins or fabric clips
Step-by-Step Guide to Making Your Wheat Bag
Alright, creative parents, it’s time to get crafty! Let’s begin with the basics:
Step 1: Choose Your Fabric
Picking the right fabric is important for both safety and comfort. We recommend 100% cotton because it’s breathable and can safely withstand the heat of the microwave. Let your little ones choose a pattern or color they love – it’s a sure way to get them excited about this project!

Five Things Parents Should Know Before Starting a Wheat Bag DIY
Embarking on the journey of creating your own wheat bag is not just a productive way to spend time with your children, but also an opportunity to teach them crafting skills! Here are five vital things you need to know before you get started:
Preparing the Fabric and Wheat
Preparation is key to ensure a smooth crafting experience. Wash and iron your fabric beforehand to pre-shrink it and remove any residues. As for the wheat, be sure that it’s clean and bug-free. Consider purchasing wheat specifically meant for heat bags or packs.
Child Safety and Supervision
Remember, when crafting with children, safety should be your top priority. Keep sharp tools like scissors and needles out of reach when not in use and supervise the filling process closely. Kids will enjoy pouring the wheat, but an adult should handle the actual heating tests afterwards.
Right Sized Wheat Bag for the Family
Consider what size will work best for your family. Smaller bags are great for little ones’ boo-boos, while larger ones might be more effective for adult aches. But remember, larger bags take longer to heat and may be heavier. If in doubt, medium-sized may just do the trick!
Durability Matters
You want your handcrafted wheat bag to stand the test of time (and the microwave). Double stitch your seams for extra durability and consider using a zig-zag stitch if the fabric frays. It’s also a great time to check your handiwork and ensure there are no weak points where wheat could escape.
Understand the Microwave
Your microwave is the magic box that transforms the wheat bag to a source of heat or cold. But microwaves vary in power, so it’s crucial to start heating your bag at shorter intervals to find the perfect heating time. Remember never to overheat the bag, as this could scorch the wheat and fabric.
With these tips in mind, you’re well-prepared to start crafting a DIY wheat bag that’s not just functional but also personalized and full of love. Let’s continue with making your wheat bag!
Step 2: Cut and Sew the Fabric
Using a ruler and your fabric marker, measure and mark out the desired size for your wheat bag on the fabric. It’s wise to add an inch on each side for the seams. Once marked, cut out the fabric then fold it in half, right sides together, aligning the edges. Pin or clip the edges to keep the fabric from shifting and sew along the sides, leaving a small opening for filling. Remember to backstitch at the start and end of your sewing to secure the thread.
Step 3: Fill with Wheat
After sewing, turn your bag right side out, and use a funnel or paper cone to fill it with wheat. A good rule of thumb for filling is to go three-quarters full; this allows the wheat to move around, which in turn makes the bag more flexible. Hold off adding the wheat if you plan to add herbs or essential oils – mix them with the wheat before filling.
Step 4: Sew the Opening Closed
Once you’ve filled your bag with the right amount of wheat, it’s time to close up the opening. Tuck the raw edges inside, pin them to hold them closed, and then hand sew or use a sewing machine to stitch the opening closed securely.
Step 5: Heat Testing
Your DIY wheat bag is almost ready to provide cozy comfort! Conduct a heat test by heating the bag in 30-second intervals, with a break in between to shake the bag for even heat distribution. You’ll know it’s ready when the bag is comfortably warm to touch, typically after about 2-3 minutes in total, depending on the power of your microwave. Remember to be cautious and not overheat the wheat bag.
And there you have it! A wheat bag that is sure to become a treasured item in your household. Whether you’re warming up a bed on a cold night, soothing a tummy ache, or just seeking some relaxing warmth, your DIY wheat bag is there to provide that handmade touch of comfort.
Happy crafting, crafty parents! Your lovingly made DIY wheat bag is a testament to practical creativity and the joy of making something with your own two hands. Enjoy the warmth!
See more great Things to Do with Kids in New Zealand here. For more information see here
Disclaimer
The articles available via our website provide general information only and we strongly urge readers to exercise caution and conduct their own thorough research and fact-checking. The information presented should not be taken as absolute truth, and, to the maximum extent permitted by law, we will not be held liable for any inaccuracies or errors in the content. It is essential for individuals to independently verify and validate the information before making any decisions or taking any actions based on the articles.


