
Create Lasting Memories with Homemade Cooked Playdough!
Hey there, super parents! Are you ready to whip up some squishy, colorful fun that will get those little hands busy and creative juices flowing? Today, we’re diving into the whimsical world of homemade cooked playdough—a delightful sensory adventure for munchkins and a nostalgic trip for the young at heart. ??
Why Homemade Playdough? Because You’re Awesome!
Let’s be real—buying playdough is easy, but making it at home? That’s downright superhero territory. Not only do you get to control the ingredients (hello, peace of mind!), but you also create an educational activity that can teach your kiddos about measuring, mixing, and the joy of creating something from scratch.
Gather Your Supplies: The Adventure Begins
- Flour: The base of our dough—simple and wheaty!
- Salt: Helps preserve the dough and adds a bit of texture.
- Cream of tartar: The secret ingredient for elasticity.
- Water: H2O brings it all together.
- Vegetable oil: A touch of oil makes it smooth and less sticky.
- Food coloring: Unleash a rainbow of possibilities!
Step-by-Step to Sensory Heaven
Roll up your sleeves—it’s time to get doughy! Follow these simple steps and watch as your kitchen transforms into a playdough paradise.
- Mix flour, salt, and cream of tartar in a pot.
- Add water and oil to the mix. At this point, keep the food coloring aside—we’ll add it later for a splash of magic!
- Cook over medium heat, stirring constantly. It’s an arm workout and cooking lesson in one!
- Soon you’ll notice your concoction transforming into a clumpy mass. This is where the fun intensifies!
- When the dough pulls away from the sides and clumps in the center, you’ve reached the promised land. Turn off the heat! ?
Now hold your horses—it’s hot. Let the dough cool before you call in the tiny humans.
Adding Color: Let’s Paint the Town!
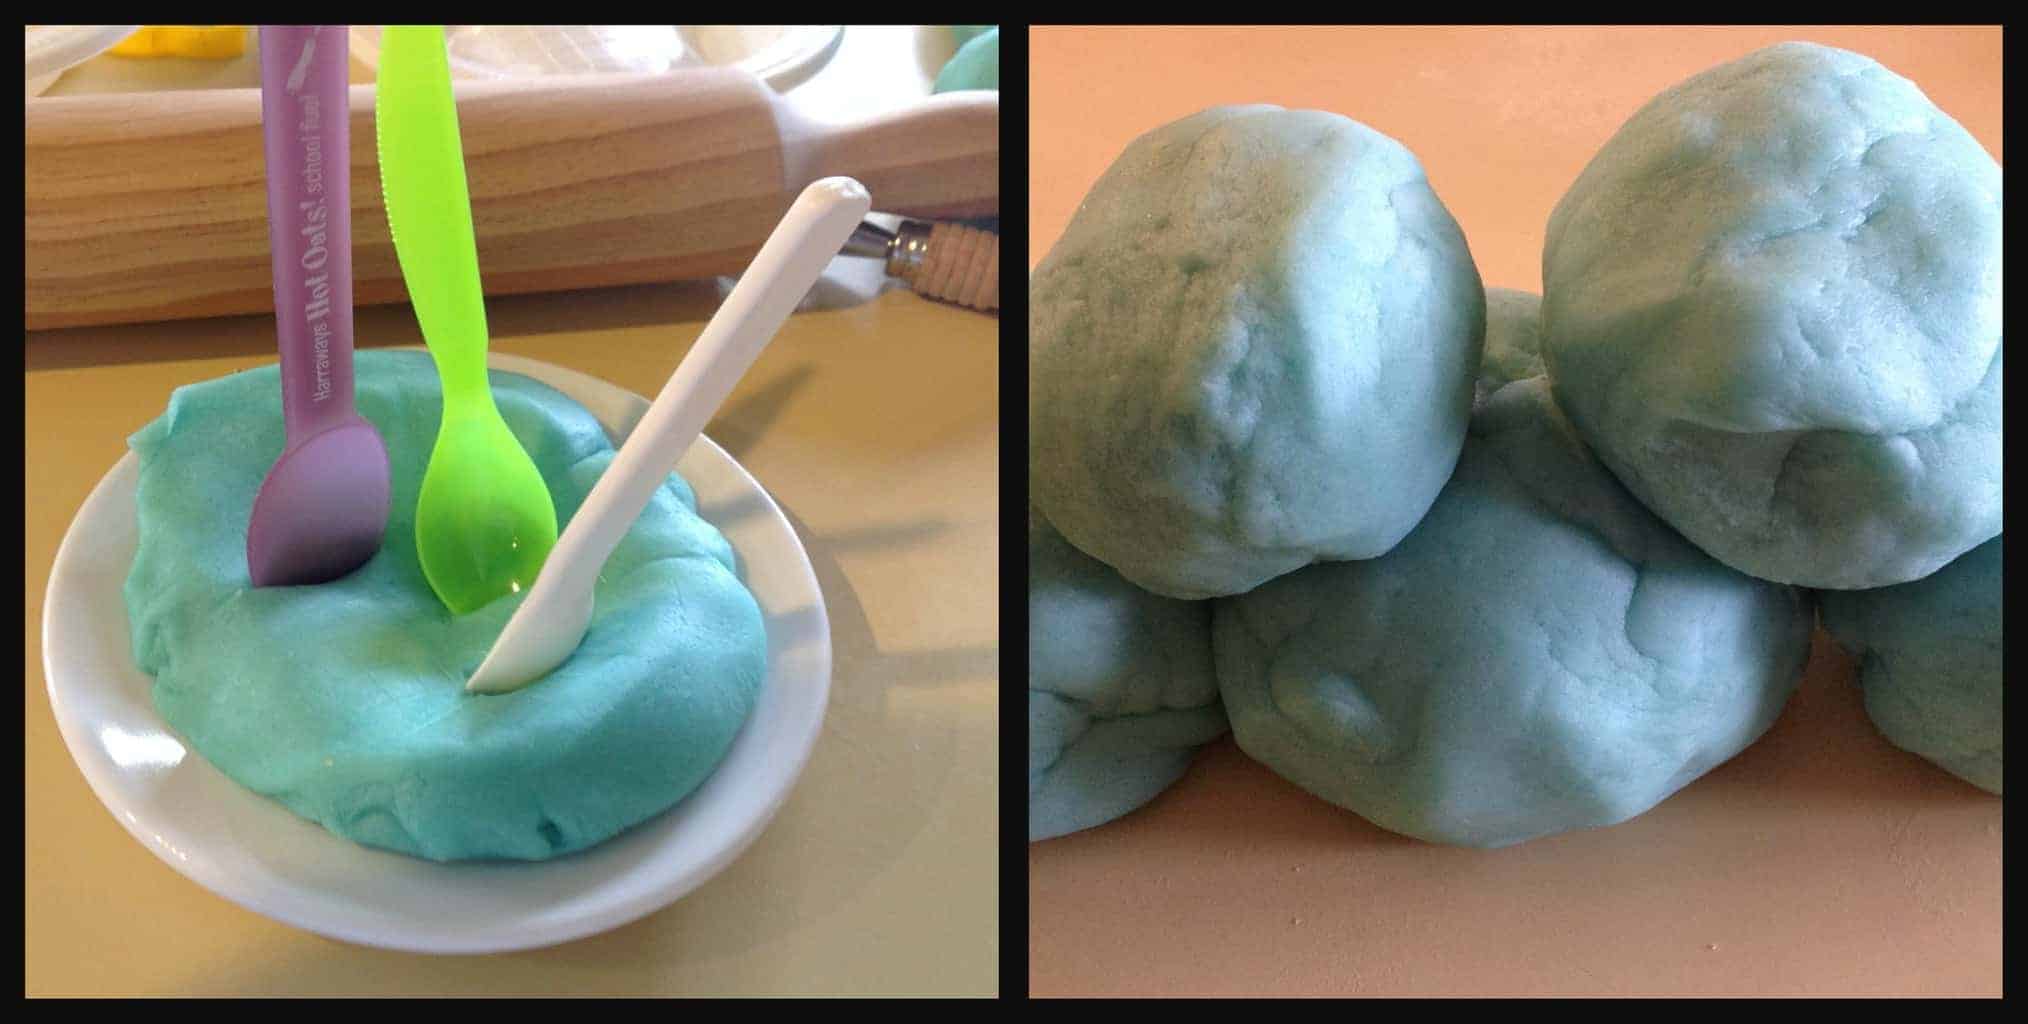
Divide the dough into balls—each one ready to turn into a vibrant masterpiece. Press a little dimple into each ball (like you’re poking a mini dough belly button!), and drop in your chosen food coloring. Knead it like you’re a bread master until you achieve uniform color. And guess what? You did it! You’re officially a playdough chef! ?
Pro Tip: If you’re concerned about stains, wear gloves, or knead the dough inside a plastic bag to avoid rainbow fingers.
Let the Games Begin!
Prepare for giggles, sculptures, squished shapes, and maybe a snail or two. As the kids play, they’ll be honing motor skills, sparking imagination, and learning about the world through tactile exploration. It’s not just playdough; it’s a developmental goldmine!
And when the playdough parade has marched its last march, pop those colorful creations into airtight containers. With proper storage, your homemade playdough can last for months, but the memories? Those last a lifetime. ?
So there you have it, amazing parents and guardians! That’s the start of your journey into the world of homemade cooked playdough. Stay tuned for the next chapter where we’ll explore advanced playdough techniques, maintenance tips, and fun educational games you can play with your dough creations!
But for now, bask in the glory of your successful culinary-craft fusion, and watch as your little ones delve into a world of imagination and joy. After all, it’s in these playful moments that love and learning intertwine perfectly.
Five Essential Tips for Parents When Making Cooked Playdough
1. All About the Consistency
One crucial aspect to watch for is the consistency of your playdough. It can be tempting to cook the dough either too little or too much. Aim for a state where it’s neither sticky nor crumbly—it should feel like commercial playdough. If it’s too sticky, cook a little longer. If it’s too dry, add a bit of water, a teaspoon at a time.
2. Safety First: Supervise the Cook!
Cooking requires heat and with heat comes caution. Always supervise the cooking process to prevent accidents. This is also a good time to teach your littles about kitchen safety, but let them know that watching from a safe distance is part of the fun!
3. Customize with Natural Dyes
If you’re cautious about the types of dyes your children interact with, you can opt for natural food colorings or even make your own from ingredients like beet juice (pink), turmeric (yellow), and spinach (green). They might not be as vibrant, but they’re a fantastic natural alternative!
4. Incorporating Learning and Fun
Use the playdough-making activity to incorporate learning. Count out loud as you measure the ingredients, discuss the color mixing to teach primary and secondary colors, and explore simple science by explaining the changes in the dough as it cooks.
5. Longevity Tips
To ensure your playdough stays fresh for as long as possible, store it in an airtight container or a zip-lock bag. If you notice the playdough starting to dry out over time, you can reincorporate moisture by kneading a little bit of water back into it.
With these tips at your disposal, you’re more than ready to embark on this joyous crafting adventure. Have fun, be creative, and enjoy the quality time with your kids!
See more great Things to Do with Kids in New Zealand here. For more information see here
Disclaimer
The articles available via our website provide general information only and we strongly urge readers to exercise caution and conduct their own thorough research and fact-checking. The information presented should not be taken as absolute truth, and, to the maximum extent permitted by law, we will not be held liable for any inaccuracies or errors in the content. It is essential for individuals to independently verify and validate the information before making any decisions or taking any actions based on the articles.


