
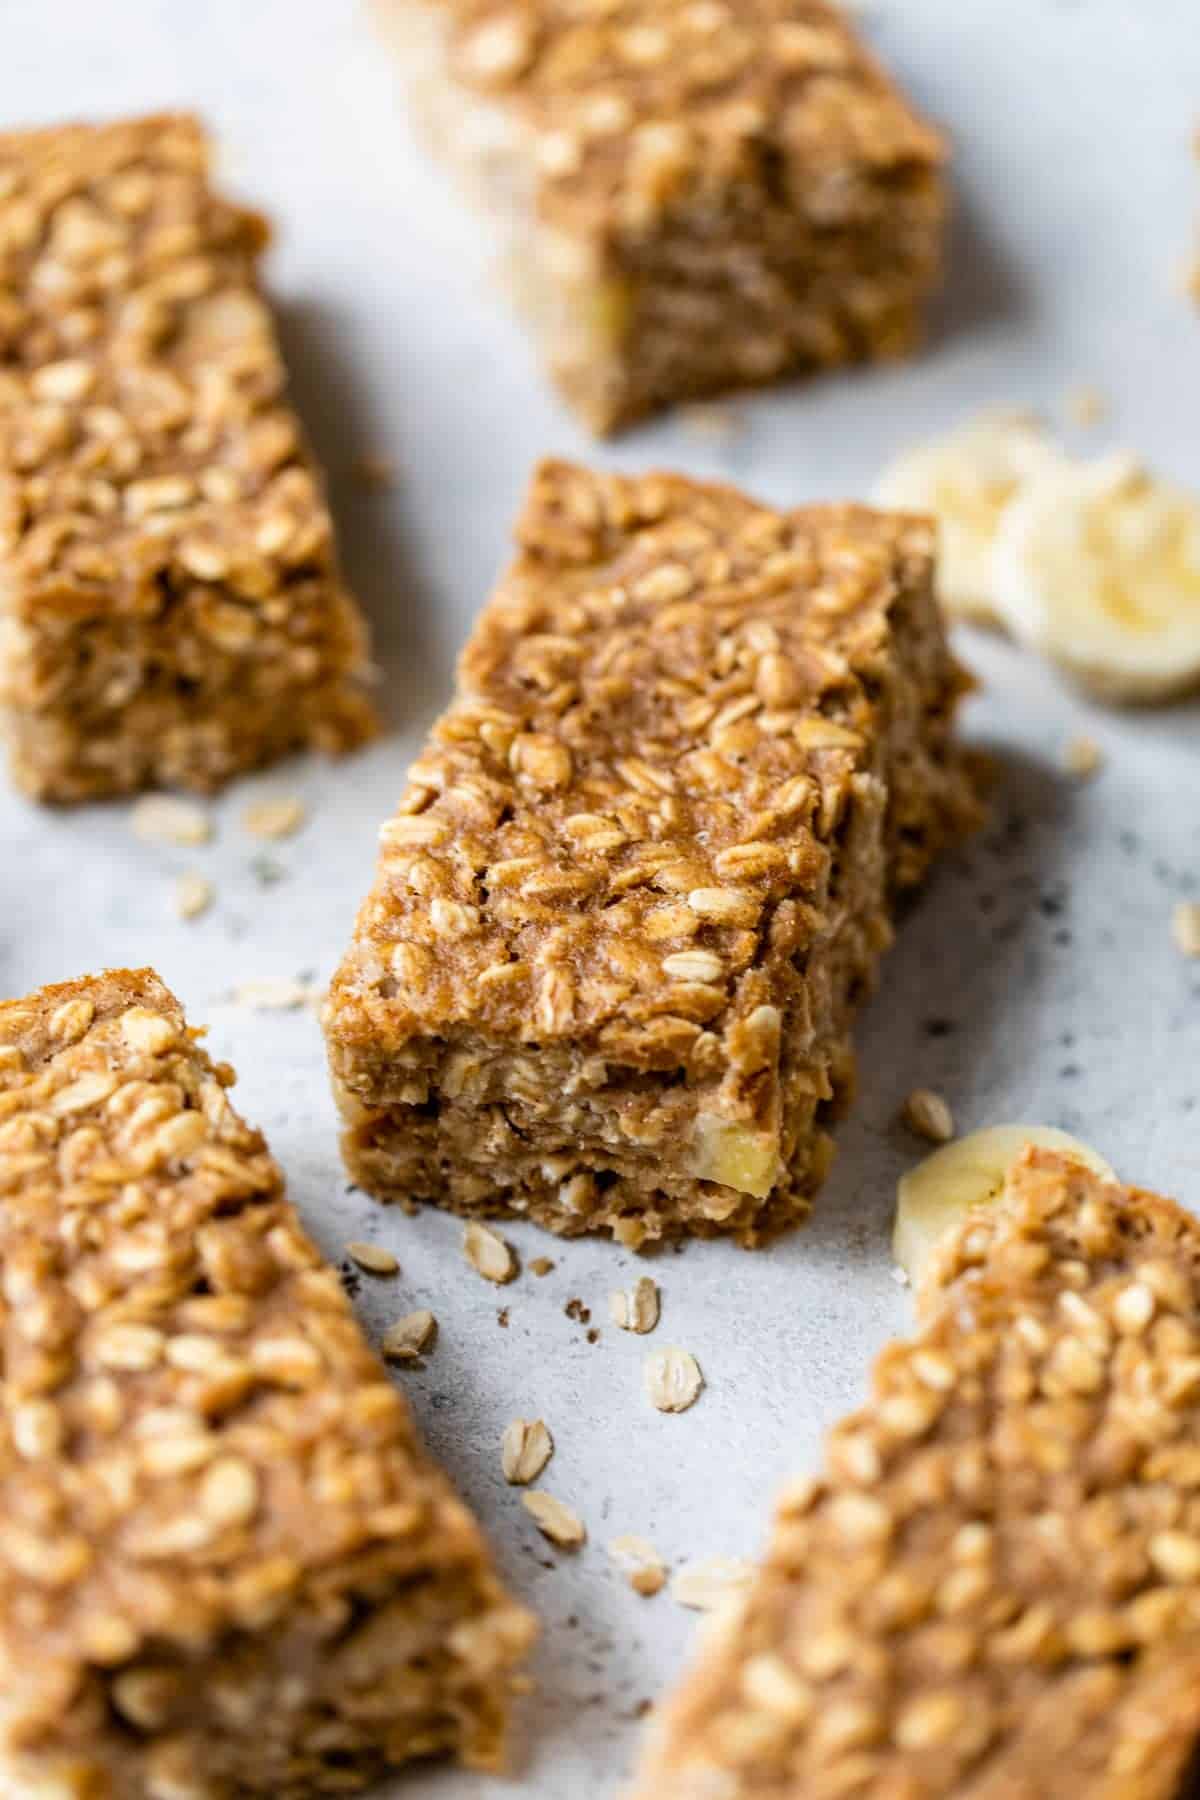
The Ultimate Parent’s Guide to Delicious and Nutritious Oat Bars
Hey there, awesome parents! ?
Are you on a quest for that perfect snack that’s both wholesome and delicious for your kids? Look no further! Oat bars are here to save the day – and your time! Let’s deep-dive into the world of oat bars, a snack that’s not only super easy to make but also customizable to suit even the pickiest of eaters. Get ready to become the top chef in your family’s eyes!
What Makes Oat Bars a Superstar Snack?
Before we get into the nitty-gritty of oat bar creation, let’s take a moment to appreciate why they’re a fantastic choice for your family.
- Health Benefits Galore: Oats are a powerhouse of nutrients, packed with fiber, protein, and essential vitamins and minerals. They help in keeping those little tummies full and provide sustained energy for all their activities.
- Quick & Easy: Whether it’s a hectic morning or a lazy Sunday, oat bars are a go-to snack that can be prepped in advance. Plus, they’re perfect for those on-the-go moments when your little ones need a quick bite.
- Adaptable Recipes: Oat bars are incredibly versatile. You can throw in your kids’ favorite nuts, seeds, fruits, or even a dash of chocolate to make them absolutely irresistible.
Choosing the Right Oats
Not all oats are created equal, my friends! Here’s a brief rundown on the types of oats you can use:
- Instant Oats: Super quick to cook but not the most nutrient-dense option. You might want to skip these for bars as they tend to give a mushier texture.
- Rolled Oats: The gold standard for oat bars! They offer a fantastic chew and hold together beautifully in bar form.
- Steel-Cut Oats: A tad too tough for a traditional oat bar, but you can partially cook them if you’re game for a little experiment!
For the very best results, let’s stick to rolled oats. They’re just about perfect for the texture we crave in a hearty oat bar.
Homemade or Store-Bought?
With the oodles of pre-packaged snacks filling up the store shelves, you might wonder if homemade oat bars are worth the extra love and effort. Spoiler alert: they absolutely are! Here’s why:
- Control Over Ingredients: Knowing exactly what’s in your kids’ snacks is such a win. Homemade bars let you pick quality ingredients and skip the unwanted preservatives and additives.
- Customizable Flavors: You’re the master of your kitchen kingdom! You get to decide what goes into your oat bars, ensuring they’re tailor-made to your family’s palate.
- Economic & Eco-friendly: DIY bars can be kinder on your wallet and the planet. Less packaging, less waste, and more savings? Yes, please!
Let me guide you through making your own oat bars that your kiddos will love and you’ll feel great about serving. We’ll start with a basic recipe and then explore variations to keep things exciting.
The Basic Oat Bar Recipe
Gather ’round, dear parents, for the simplest oat bar recipe to get you started!
You will need:
- 2 cups of rolled oats
- 1/2 cup of natural sweetener (like honey or maple syrup)
- 1/2 cup of your preferred nut butter (peanut butter, almond butter, etc.)
- A pinch of salt (to enhance flavor)
Here’s how it’s done:
- Preheat your oven to 350°F (177°C) and line an 8-inch square baking dish with parchment paper.
- In a large mixing bowl, combine the oats, sweetener, nut butter, and salt until the mixture is evenly coated.
- Transfer the mixture to the prepared baking dish, pressing down firmly to create an even layer.
- Bake in the oven for about 20-25 minutes, or until the bars are golden brown around the edges.
- Allow the bars to cool in the dish before slicing them into rectangles or squares.
Congratulations! You’ve just made your first batch of homemade oat bars. Store these delights in an airtight container, and you’ll have snacks ready all week long.
Creating delicious, wholesome oat bars is such a wonderful experience, and the best part is seeing the joy on your kids’ faces when they take that first bite.
5 Things Every Parent Should Know When Preparing Oat Bars
1. Texture Matters: The Art of Baking Oat Bars
Oat bars come in various textures, from chewy to crunchy. The bake time is critical here; a few minutes less in the oven result in chewier bars, while leaving them a bit longer creates a crunchier snack. Keep an eye on the oven and think about your family’s preference when setting your timer!
2. Natural Sweeteners: A Healthier Choice
Many recipes call for sugars, but as a health-conscious parent, opting for natural sweeteners like honey or pure maple syrup is a game-changer. Not only do they impart a unique flavor, but they’re a more nutritious option for your kids’ growing bodies.
3. Mix-Ins and Variations: Keeping It Interesting
Repeat after me: Variety is the spice of life! This adage rings true for oat bars as well. Keep your kids excited by mixing in dried fruits, seeds, coconut flakes, or different spices. These ingredients not only change the taste but can add a nutritional punch too.
4. All about Binders: Keeping Your Oat Bars Together
Have you ever made a bar that crumbled apart? The secret to avoiding that is in the binder! Whether you’re using nut butter, honey, or banana, the ratio of dry to wet ingredients is essential. Make sure your mixture sticks together nicely before baking.
5. Storage Solutions: Making Oat Bars Last
Storing oat bars correctly ensures they retain their texture and taste great days after baking. Always let them cool completely before stashing them away in airtight containers. For an extra fresh boost, you can line the container with parchment paper. Room temperature storage is fine, but if you want to keep them longer, freeze them and just thaw as needed!
How to Add Variety to Your Homemade Oat Bars
Introducing Superfoods
Want to amp up the nutrition? Chia seeds, flaxseeds, and hemp hearts are fantastic additions. They’re not only trendy but packed with protein, omega-3, and fiber.
Fruit it up!
Throw in some fresh or dried fruit to satisfy a sweet tooth naturally. Dried berries, raisins, or even chopped apples can do wonders.
Chocolate – Because We All Need a Little Indulgence
A few chocolate chips or a drizzle of melted dark chocolate can transform your oat bars into a delightful treat. Remember, dark chocolate has antioxidants – another win-win!
Ingredients Swap: Catering to Dietary Restrictions
It’s essential to cater to any dietary needs when making oat bars.
- For a gluten-free version – ensure your oats are certified gluten-free.
- If you need to go nut-free, try sunflower seed butter or soy butter.
- Vegan-friendly oat bars can be made by replacing honey with maple syrup or agave nectar.
Making oat bars is a delightful way to provide healthful treats for your children, with the bonus of creating magical baking moments together. So grab your mixing bowl, explore flavors, textures, and ingredients to craft the perfect oat bars for your family, and bask in the glow of happy munching and crunching. Enjoy, super snack-crafting parent!
For more great articles please see here. For more information see here
Disclaimer
The articles available via our website provide general information only and we strongly urge readers to exercise caution and conduct their own thorough research and fact-checking. The information presented should not be taken as absolute truth, and, to the maximum extent permitted by law, we will not be held liable for any inaccuracies or errors in the content. It is essential for individuals to independently verify and validate the information before making any decisions or taking any actions based on the articles.


