
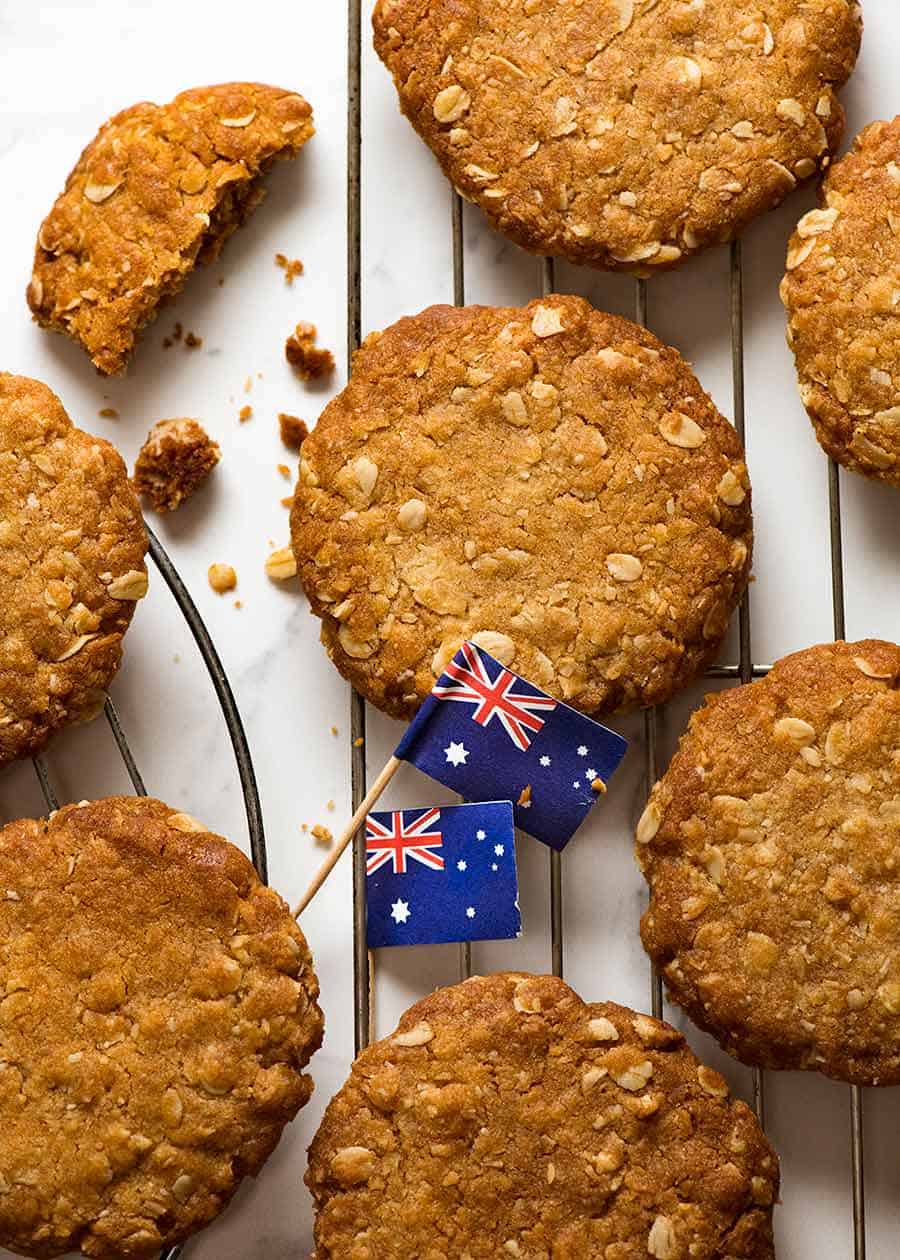
ANZAC Biscuits: A Beloved Australian Tradition
Warm welcomes to all the baking enthusiasts and history buffs out there! If you’re on the lookout for a recipe that’s not only scrumptious but is also steeped in rich history, then you’ve come to just the right place. We’re about to embark on a culinary journey that takes us back to the times of World War I with a delightful recipe for ANZAC biscuits. These treats are much more than just a cookie; they’re a symbol of remembrance and the enduring spirit of the Australian and New Zealand Army Corps (ANZACs).
Whether you’re here to pay tribute to the ANZACs on ANZAC Day or you just want to enjoy a bit of Australian heritage with your cuppa, this guide will help you whip up the most perfect ANZAC biscuits you’ve ever tasted. So, preheat your ovens, gather your ingredients, and let’s create some wonderfully chewy (or delightfully crunchy, if that’s your preference) memories!
What You’ll Learn:
- The history behind ANZAC biscuits
- Essential ingredients for authentic ANZAC biscuits
- Step-by-step instructions to make these traditional treats
- Tips for getting them just right – chewy or crunchy!
A Brief Stroll Down History Lane
Before diving into the recipe, let’s take a moment to appreciate the significance of these biscuits. During World War I, family members would send these durable snacks to soldiers abroad because they didn’t spoil easily and could survive the long journey overseas. Made with ingredients that did not require refrigeration and kept well for extended periods, ANZAC biscuits became a practical and heartwarming taste of home for the troops.
What Goes Into ANZAC Biscuits?
Gathering the right ingredients is the first step to making traditional ANZAC biscuits. Here’s what you’ll need:
- Oats: Rolled oats will give your biscuits that classic chewy texture.
- Desiccated coconut: Adds a touch of sweetness and a lovely, flaky texture.
- Flour: Plain all-purpose flour forms the base of the dough.
- Sugar: Golden or brown sugar adds a rich, caramel-like sweetness.
- Butter: The key to getting that rich, buttery flavor.
- Golden syrup: This cane sugar syrup is crucial for the authentic flavor and chewiness.
- Baking soda: Reacts with the golden syrup to give the biscuits a slight rise.
- Boiling water: Helps to dissolve the baking soda and syrup mixture.
While that’s your shopping list sorted, let me remind you of a golden rule in baking: precision is your friend. Measure these ingredients carefully, and you’re already halfway to biscuit bliss!
Starting the Batter
With ingredients ready, it’s time to break out the mixing bowl and wooden spoon! Begin by preheating your oven to 160°C (320°F) and line a baking tray with parchment paper. In a large bowl, combine the dry ingredients: oats, flour, coconut, and sugar. Give them a good mix to ensure everything is well distributed.
Now, it’s time for a little stovetop alchemy. In a small saucepan, melt the butter and golden syrup together over a gentle heat. Once fully melted, combine the baking soda with boiling water in a small dish and then add it to the butter and syrup. Be prepared to be dazzled – this concoction will froth up beautifully!
All that’s left is to pour the butter mixture into the dry ingredients, and stir until you have a cohesive dough. It should be sticky but firm enough to handle. If it’s too crumbly, you can add a tiny splash more boiling water, but take care; ANZAC biscuit dough should not be over-moistened.
If you’re bursting with excitement to see the final result, hold your horses! We’re just getting started and there’s more to come. So, roll up your sleeves and get ready to shape your dough into delightful little discs that are as satisfying to make as they are to munch on!

Five Things Parents Should Know When Preparing ANZAC Biscuits with Kids
Are you ready to introduce the little ones to the art of baking and the Anzac tradition? Here are five helpful pointers to ensure a fun and successful baking day.
1. Engage in a Mini History Lesson
As you gather your ingredients, take the chance to teach your kids about the significance of ANZAC Day. Explain how these biscuits were made to last the long travel to soldiers overseas. It’s a great way to mix learning with baking fun!
2. Baking as a Bonding Experience
Baking ANZAC biscuits is not just about following a recipe; it’s an opportunity for family bonding. Allow the kids to measure out ingredients, and stir the mix. They will love getting their hands ‘doughy’, and it’s a delightful way to build their confidence in the kitchen.
3. Safety First!
While it’s important to involve the kids in every step, parents should handle anything that involves heat. Melt the butter and syrup yourself and make sure little hands are at a safe distance. Always oversee their actions, especially when it’s time to bake.
4. Patience is Part of the Recipe
Kids may get anxious waiting for the biscuits to bake and cool down. Use this time to teach them about patience in cooking. Explain that waiting is part of what makes the biscuits so delicious – the flavors develop fully!
5. Creativity and Flexibility
Encourage creativity by letting the kids help with shaping the biscuits. They might not be perfectly uniform and that’s okay! This activity strengthens their motor skills and allows for some creative expression. Plus, oddly shaped biscuits are just as tasty.
Shaping and Baking Your ANZAC Biscuits
With your dough ready, it’s time to shape it into biscuits. Here’s a simple way to go about it:
- Scoop up about a tablespoon of dough per biscuit.
- Roll it into a ball and place it on the prepared baking tray.
- Flatten the balls slightly with a fork, leaving space between each biscuit as they will spread a bit while baking.
Pop the tray into the oven and bake for about 12-15 minutes, or until the biscuits are golden brown. If you prefer your ANZAC biscuits chewy, aim for closer to 12 minutes. For a crunchier bite, leave them in a bit longer, but keep a watchful eye to avoid burning.
Once baked to perfection, remove the biscuits from the oven and let them cool on the tray for a few minutes. Then, transfer them to a wire rack to cool completely. The aroma filling your kitchen will be utterly irresistible, and the biscuits will be just as delectable!
Storing Your ANZAC Biscuits
Should you manage to have any biscuits left after the initial tasting, they store incredibly well. Just pop them into an airtight container and they’ll keep for up to two weeks, retaining their delightful texture and flavor.
Now that you’re equipped with a tried-and-true ANZAC biscuit recipe, a pinch of history, and some insightful tips, you’re all set to bake a batch of these traditional treats that are perfect for any occasion – or simply for a little family fun in the kitchen. Happy baking!
See more great Things to Do with Kids in New Zealand here. For more information see here
Disclaimer
The articles available via our website provide general information only and we strongly urge readers to exercise caution and conduct their own thorough research and fact-checking. The information presented should not be taken as absolute truth, and, to the maximum extent permitted by law, we will not be held liable for any inaccuracies or errors in the content. It is essential for individuals to independently verify and validate the information before making any decisions or taking any actions based on the articles.


