
Homemade Apricot Jam: A Delightful Spread for the Whole Family
Welcome, fantastic parents! Are you looking to sweeten up your family’s breakfast and snack times with something utterly delightful and homemade? You’re in luck! Not only is homemade apricot jam an excellent source of fruity goodness, but it’s also a fun kitchen project that can involve the kids and create lasting memories. Packed with the natural sweetness of apricots and a hint of tartness, this jam is a hit in every household. So, let’s not wait any longer—onward to jam excellence!
Why Choose Homemade Apricot Jam?
Making your own apricot jam comes with a bounty of benefits. You control the ingredients (so long, preservatives!), you can adjust the sweetness, and the flavor is fresher and more vibrant than most store-bought varieties. Plus, as parents, we know you’re always on the hunt for ways to keep your family’s diet natural and healthy. And let’s not forget, apricots are rich in vitamins and antioxidants, making this jam not just tasty, but also nutritious!
Sourcing Your Apricots
The first step to jam perfection is to get your hands on ripe, juicy apricots. Depending on where you live, this might mean a trip to the local farmer’s market, an organic grocery store, or even picking them from your backyard. You’ll want fruit that’s firm yet gives a little when pressed. If you can’t find fresh apricots, don’t fret—frozen apricots can work in a pinch (just be sure to defrost them first).
Ingredients List
- 1 kg (about 2.2 lbs) fresh apricots, halved and pitted
- 750 g (about 3 cups) granulated sugar, you can adjust according to taste
- Juice of 1 large lemon
- A splash of water (if needed)
Tools You’ll Need
- Large heavy-bottomed pot
- Wooden spoon
- Sharp knife
- Cutting board
- Jars with lids for storage
- Optional: Funnel, Ladle, Jar lifter
Before you begin, make sure you have all your tools and ingredients ready. It makes the process smoother and much more enjoyable, especially if your little ones are helping. Remember always to supervise children in the kitchen to keep the jam-making fun and safe.
Prep Work Before the Action
Preparing the fruit is a breeze and a chance to get the kids involved. After washing the apricots, slice them in half and remove the pits. Some prefer to chop the apricots finely, but for a more rustic jam, just a rough chop or even leaving them halved will do. Then, place your apricots in the pot and coat them with the sugar and lemon juice. Let the mixture sit for a bit—this helps the sugar dissolve and draws out the fruit’s natural juices.
Now it’s almost time to turn on the stovetop and start the magic. But before we kick off the cooking process, let’s talk about preparing your jars. Properly sterilized jars are crucial for your jam’s shelf life and safety. You can sterilize them by boiling the jars and lids for a few minutes, or using hot soapy water followed by drying in a low temperature oven.
Keep following these simple steps, and soon enough, you’ll have a pot of golden, sweet homemade apricot jam ready to bring a smile to every face at your table. Stay tuned for the cooking phase where we’ll spill all the secret tips and tricks to ensure your jam is a spreadable success!

5 Things Parents Should Know When Preparing Apricot Jam
As we gear up for the cooking phase of our apricot jam adventure, here are five essential tips for busy parents to ensure jam-making success:
1. The Ripeness of the Apricots Makes a Difference
Ripe apricots contribute to the wonderful flavor of your jam. Choose apricots that are slightly soft to the touch but not mushy. Underripe apricots lack the sweetness and may result in a tart jam, while overripe ones can be too mushy and compromise the jam’s texture.
2. A Little Pectin Goes a Long Way
While not included in this particular recipe, apricots contain natural pectin that should help the jam set. However, if you’re looking for a firmer consistency, adding a commercial pectin can help. Follow the instructions on the pectin packaging for the best results.
3. Patience is Key: Slow Cooking is Your Friend
Don’t rush the cooking process. Slow cooking the apricots will allow the flavors to develop fully and the natural pectins to activate, helping the jam to thicken. A controlled simmer also prevents burning and keeps the sugar from crystallizing.
4. Sterilize Your Jars to Ensure Safety and Longevity
No matter how delicious your jam turns out, if your jars aren’t sterilized properly, the jam could spoil or harbor bacteria. Invest a few extra minutes in sterilizing your jars to keep your apricot jam safe and extend its shelf life. Plus, it’s a great science lesson for the kids!
5. Adjust the Sweetness to Your Taste
When it comes to sugar, more is not always better. Start with the amount of sugar recommended in the recipe, but don’t hesitate to adjust according to your family’s taste preferences. Some like it sweeter, while others prefer a more natural fruit flavor.
Let’s Get Cooking: The Jam Making Process
With our preparations complete and our top tips covered, it’s time to turn on the heat and get cooking. Place your pot of apricots, sugar, and lemon juice over medium heat and stir until the sugar has fully dissolved. Once the sugar is dissolved, increase the heat to reach a gentle boil. Stay attentive and stir the mixture occasionally to prevent sticking and burning.
As the mixture boils, it will start to reduce and thicken. This is where the science of jam-making really happens! For about 20-30 minutes, you’ll watch your concoction transform from a soupy mixture to a sticky, jammy delight. Use the “freezer test” to check if your jam is ready: simply place a small plate in the freezer, and when you think your jam is done, spoon a small amount onto the plate. After a minute in the freezer, run your finger through the jam – if it wrinkles and doesn’t flood back into the gap, it’s ready.
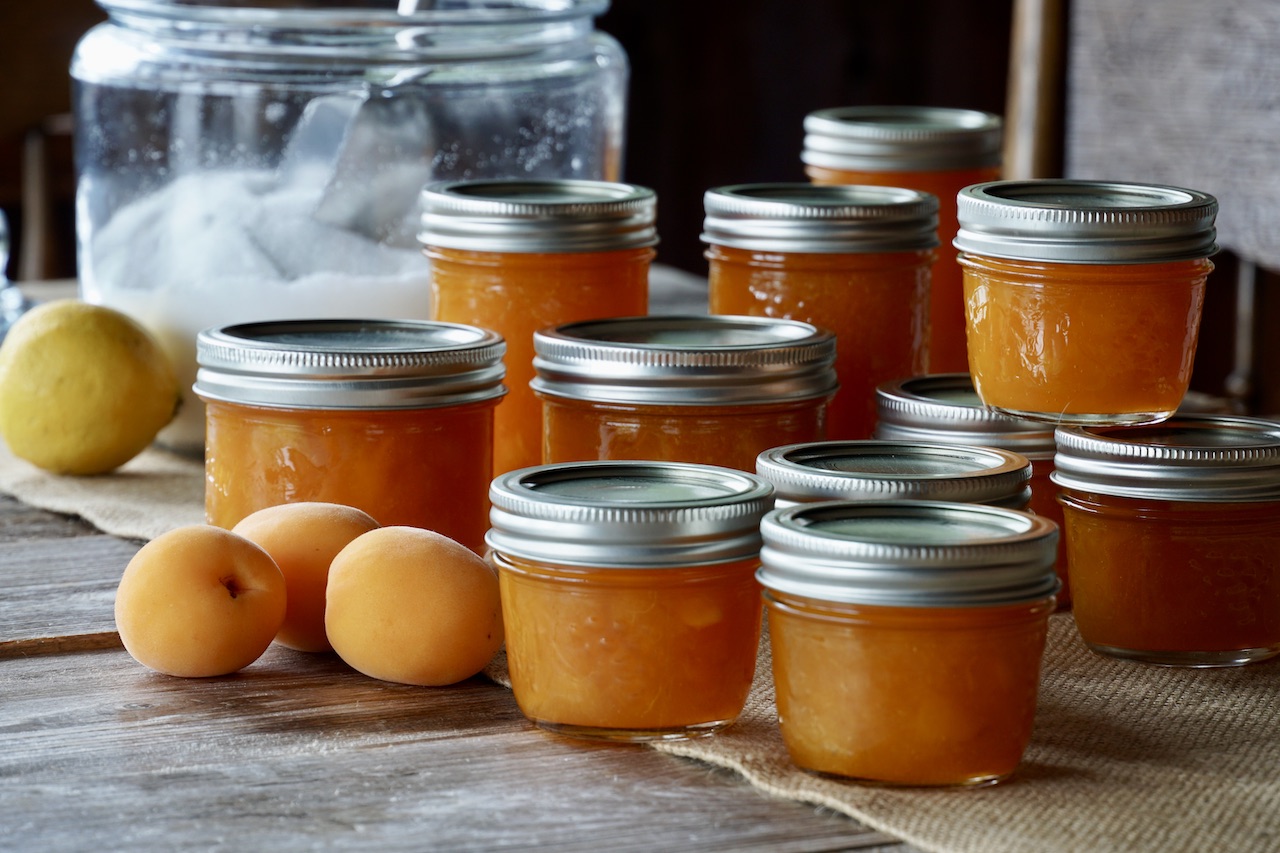
Once your jam has passed the test, remove the pot from the heat and skim off any foam that has formed on the top to give your jam a clearer appearance. Then, carefully ladle the hot apricot jam into your prepared jars, leaving about a 1/4 inch of headspace at the top. Wipe the rims clean, seal with the lids, and process the jars in a boiling water canner for 10 minutes for safe keeping.
When the jars are cool enough to handle, check the seals and store them in a cool, dark place. If any jars haven’t sealed properly, refrigerate them and use them first.
Voilà, dear parents! You’ve just made a batch of luscious apricot jam that’s ready to be slathered on toast, dolloped on yogurt, or paired with creamy cheese on a cracker. Your family will be so grateful for the sweet, tangy flavors and the love you’ve stirred into every jar. Enjoy the fruits of your labor, and remember, every time you spread a bit of your homemade apricot jam, you’re spreading a bit of home and heart, too.
For more great articles please see here. For more information see here
Disclaimer
The articles available via our website provide general information only and we strongly urge readers to exercise caution and conduct their own thorough research and fact-checking. The information presented should not be taken as absolute truth, and, to the maximum extent permitted by law, we will not be held liable for any inaccuracies or errors in the content. It is essential for individuals to independently verify and validate the information before making any decisions or taking any actions based on the articles.


