
Whip Up the Sweetest Treat: Your Go-To Guide for Caramel Slice Recipes
Hello there, sweet-toothed parents! Are you ready to dive into the delightful world of caramel slices? Whether you’re baking for a school event or simply looking to treat your family, we’ve got all the tips and tricks you need to create this deliciously rich dessert. In this guide, you’re bound to find a caramel slice recipe that’ll have everyone asking for seconds!
What Is a Caramel Slice?
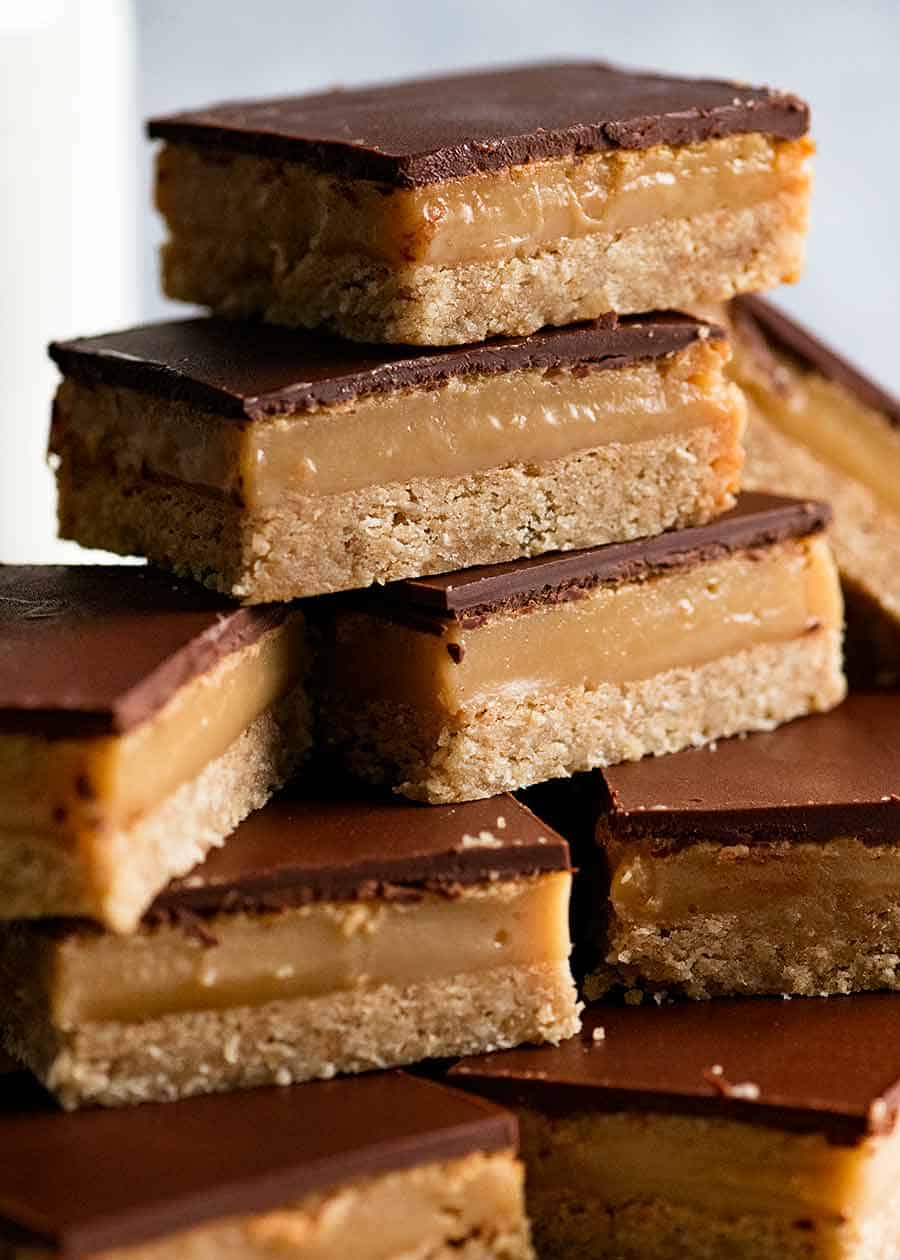
A caramel slice, also known as millionaire’s shortbread or caramel shortcake, is a heavenly three-layered dessert. It starts with a crumbly biscuit base, followed by a gooey layer of golden caramel, and is topped off with a smooth chocolate coating. It’s the perfect combination of textures and flavors that will make your taste buds dance!
The Classic Caramel Slice Recipe
Before we explore variations, let’s start with the classic caramel slice recipe that has proven time and again to be a crowd-pleaser.
Ingredients:
- For the Base:
- 1 cup plain flour
- 1/2 cup desiccated coconut
- 1/2 cup brown sugar
- 125g unsalted butter, melted
- For the Caramel:
- 2 cans sweetened condensed milk
- 2 tablespoons golden syrup
- 125g unsalted butter
- For the Chocolate Topping:
- 200g dark or milk chocolate
- 2 tablespoons vegetable oil or coconut oil
Method:
- Prepare the Base: Preheat your oven to 180°C (350°F). Line a square baking pan with baking paper. In a bowl, combine the flour, coconut, and brown sugar. Add the melted butter and mix until combined. Press the mixture into the baking pan and bake for 15-20 minutes, or until lightly golden. Allow to cool.
- Make the Caramel: In a medium saucepan, combine the condensed milk, golden syrup, and butter. Stir over low heat for 10-15 minutes until the mixture thickens slightly. Pour over the cooled base and bake for 20 minutes. Remove from oven and allow to cool completely.
- Add the Chocolate Topping: Melt the chocolate and oil together using a double boiler or in the microwave on short bursts, stirring until smooth. Pour over the caramel layer, smoothing it out with a spatula. Refrigerate until the chocolate sets, about 2 hours.
- Slice and Serve: Once set, lift the caramel slice out of the pan using the baking paper and cut into squares or bars. Let it come to almost room temperature before serving for the best texture and flavor experience.
Customizing Your Caramel Slice
The beauty of caramel slices is that they’re incredibly versatile. Here are some creative twists you can add to your recipe to make these treats your own:
- Add a pinch of sea salt to the caramel layer to create a salted caramel slice.
- Mix in some chopped nuts like pecans or walnuts to the base or sprinkle on top of the chocolate for added crunch.
- Drizzle white chocolate over the top for a decorative touch and an extra hint of sweetness.
- Experiment with different types of chocolate for the topping – white chocolate, semi-sweet, or even a chocolate swirl can make your caramel slice stand out.
Now that you’re armed with the basics and some creative ideas, it’s time to preheat your oven and get baking! Remember, the true joy of caramel slices is found not just in their rich flavors but also in the smiles they bring to your family’s faces. So, tie on your apron, gather your ingredients, and let’s make some beautiful memories one sweet slice at a time!
Up next, we’ll delve into some frequently asked questions about caramel slices to ensure your baking journey is as smooth as caramel. Stay tuned!

Five Things Parents Should Know When Preparing Caramel Slice Recipes
1. The Importance of Quality Ingredients
Starting with high-quality ingredients is key to the perfect caramel slice. Fresh, unsalted butter, pure vanilla extract, and top-notch chocolate can make all the difference in taste. Opt for a good quality sweetened condensed milk for a smooth, rich caramel layer.
2. Patience is a Virtue with Caramel
Making caramel requires a watchful eye and a bit of patience. Cook it low and slow, stirring constantly to prevent burning. It’s ready when it turns into a beautiful golden brown, not before.
3. Achieving the Perfect Base
The base should be firm but not rock-hard. Be sure to press the biscuit base mixture firmly into the pan for an even layer that holds up to the caramel. Bake it until it’s just golden brown—overbaking can lead to a tough crust that’s difficult for little teeth to navigate.
4. Chilling is Crucial
After adding each layer, it’s important to let the caramel slice chill thoroughly. This ensures that the caramel sets and the chocolate hardens, making it easier to cut into neat, irresistible slices.
5. Size and Storage Are Key
Cut your caramel slices into kid-friendly sizes. Smaller pieces make it easier for children to handle and also help to control portion sizes. Store the slices in an airtight container in the fridge to maintain freshness and to keep the chocolate from melting.
With these tips in mind, your journey through caramel slice creation will be as sweet as the dessert itself. Get ready to see those little eyes gleam with joy as you present them with your homemade batch of caramel goodness. The aroma of chocolate and caramel wafting through the air is a clear sign that something magical is in store. Happy baking!
As you get more comfortable in your caramel-slice crafting, you’ll find that experimenting can lead to even more delectable variations. Maybe it’s adding a hint of orange zest for a zingy twist, or incorporating a layer of peanut butter for an extra decadent treat. The sky—and your imagination—is the limit!
Keep in mind that many schools have policies regarding nuts, so if your caramel slices are destined for the bake sale table, be sure to check these guidelines first. Go nut-free if necessary by skipping the added walnuts or pecans and opting for nut-free chocolate options—you’ll still end up with a dessert that’s sure to disappear quickly!
Understanding that practicing makes perfect will take the pressure off the first attempt. Even if your slices aren’t bakery-display ready on your first try, they’ll taste wonderful. Plus, making them together as a family might just become a new tradition. That’s truly what baking is all about—making memories, sharing laughs, and enjoying delicious treats fresh from your own oven.
So there you have it, the complete caramel slice guide that’s sure to make you the superstar in your household. What an amazing way to show your love! The house is about to be filled with the sweet scent of baking, laughter, and the best kind of sticky fingers. It’s caramel slice time!
Don’t forget to bookmark this guide for the next time your kitchen turns into caramel slice central! Happy baking!
For more great articles please see here. For more information see here
Disclaimer
The articles available via our website provide general information only and we strongly urge readers to exercise caution and conduct their own thorough research and fact-checking. The information presented should not be taken as absolute truth, and, to the maximum extent permitted by law, we will not be held liable for any inaccuracies or errors in the content. It is essential for individuals to independently verify and validate the information before making any decisions or taking any actions based on the articles.


