
Indulge Your Family With a Quick and Scrumptious Chocolate Puddings Recipe!
Hey there, fellow parents! Are you on the lookout for a chocolate pudding recipe that’s not only super yummy but also easy to make? I know, between school runs, work commitments, and the never-ending pile of laundry, finding time to create a delicious dessert can feel like mission impossible. But fear not! I’ve got your back with a foolproof chocolate puddings recipe that will have your little ones grinning from ear to ear.
Why Parents Love This Chocolate Pudding Recipe
Before we dive into the gooey goodness, let’s talk about why this recipe will become your new go-to.
- It’s Quick: Time is of the essence, and this recipe respects that. In under 30 minutes, you’ll have a dessert that’s ready to eat or chill for later.
- Minimal Ingredients: With simple, pantry-staple ingredients, you won’t need to make an emergency dash to the store.
- Kid-Friendly: Kids love chocolate, and chocolate pudding is a classic favorite. It’s a surefire way to bring smiles to the dinner table.
- Customizable: This basic recipe can be jazzed up with various toppings and mix-ins, making it a versatile treat for any occasion.
- Comforting: There’s something nostalgic and comforting about a bowl of homemade pudding – it’s like a hug in dessert form!
Ingredients for Your Chocolate Puddings Delight
Gather these easy-to-find ingredients, and you’re halfway to pudding paradise:
- 1/2 cup (100g) granulated sugar
- 1/4 cup (30g) unsweetened cocoa powder
- 3 tablespoons (24g) cornstarch
- 1/4 teaspoon salt
- 2 3/4 cups (650ml) milk
- 2 tablespoons (30g) unsalted butter
- 1 teaspoon vanilla extract
Step-by-Step Guide to Chocolate Pudding Bliss
Now, let’s turn those simple ingredients into a chocolate extravaganza!
- First, grab a medium saucepan and whisk together the sugar, cocoa powder, cornstarch, and salt.
- Gradually stir in the milk, ensuring the mixture is smooth and cornstarch is fully dissolved.
- Heat the saucepan over medium heat, stirring constantly until the mixture thickens and comes to a boil. This should take about 5 to 10 minutes. Be patient and keep stirring to prevent any lumps or burning.
- Once boiling, let it boil for 2 minutes while you continue to stir. Your arms might get a little exercise here, but it’s all for a good cause:
(Note: This article will include additional steps in its continuation).
Serving and Storage Suggestions
Your chocolate pudding can be served warm (perfect for those chilly evenings) or cold (an ideal treat when the sun’s out). If you’d like to chill it, just press a piece of plastic wrap directly against the surface of the pudding to prevent a skin from forming, and pop it into the fridge to cool for about 2 hours.
When it comes to storage, you’ll find this pudding keeps well in the fridge for up to 3 days. Make it ahead of time and have a fantastic dessert waiting for your family whenever sweet cravings hit!
So there you have it, the start of a mouthwatering journey to chocolate pudding heaven. Stay tuned to learn how to finish off your pudding perfectly and explore creative variations that will make this dessert as unique as your family!
Now, roll up your sleeves and get ready for some pudding magic. Your apron is calling, and it’s time to answer the sweet summons of homemade chocolate pudding!
(Continued in the next section)
5 Things Parents Should Know When Preparing Chocolate Pudding
As a parent, it’s all about being prepared. So, before you begin crafting this delightful treat, here are five essential tips you should know:
- Prep Everything in Advance: Mise en place is French for “putting in place.” By measuring all your ingredients ahead of time, you’ll make the process smoother and prevent any “oops” moments, like forgetting the cocoa in the cupboard!
- Choose the Right Cocoa: When it comes to chocolate pudding, the cocoa matters. Opt for good quality, unsweetened cocoa powder to ensure your pudding has the richest chocolate flavor. Remember, this is the star of your pudding show!
- Stir, Stir, Stir: Continuous stirring is the secret to a silky-smooth texture. Arm workout aside, you’ll thank yourself as you savor each creamy spoonful without a single lump.
- Milk Matters: Full-fat milk will give your pudding a luxurious feel, but if you’re mindful of calories, low-fat or non-dairy alternatives work wonderfully too. Just be aware that the creaminess may vary slightly.
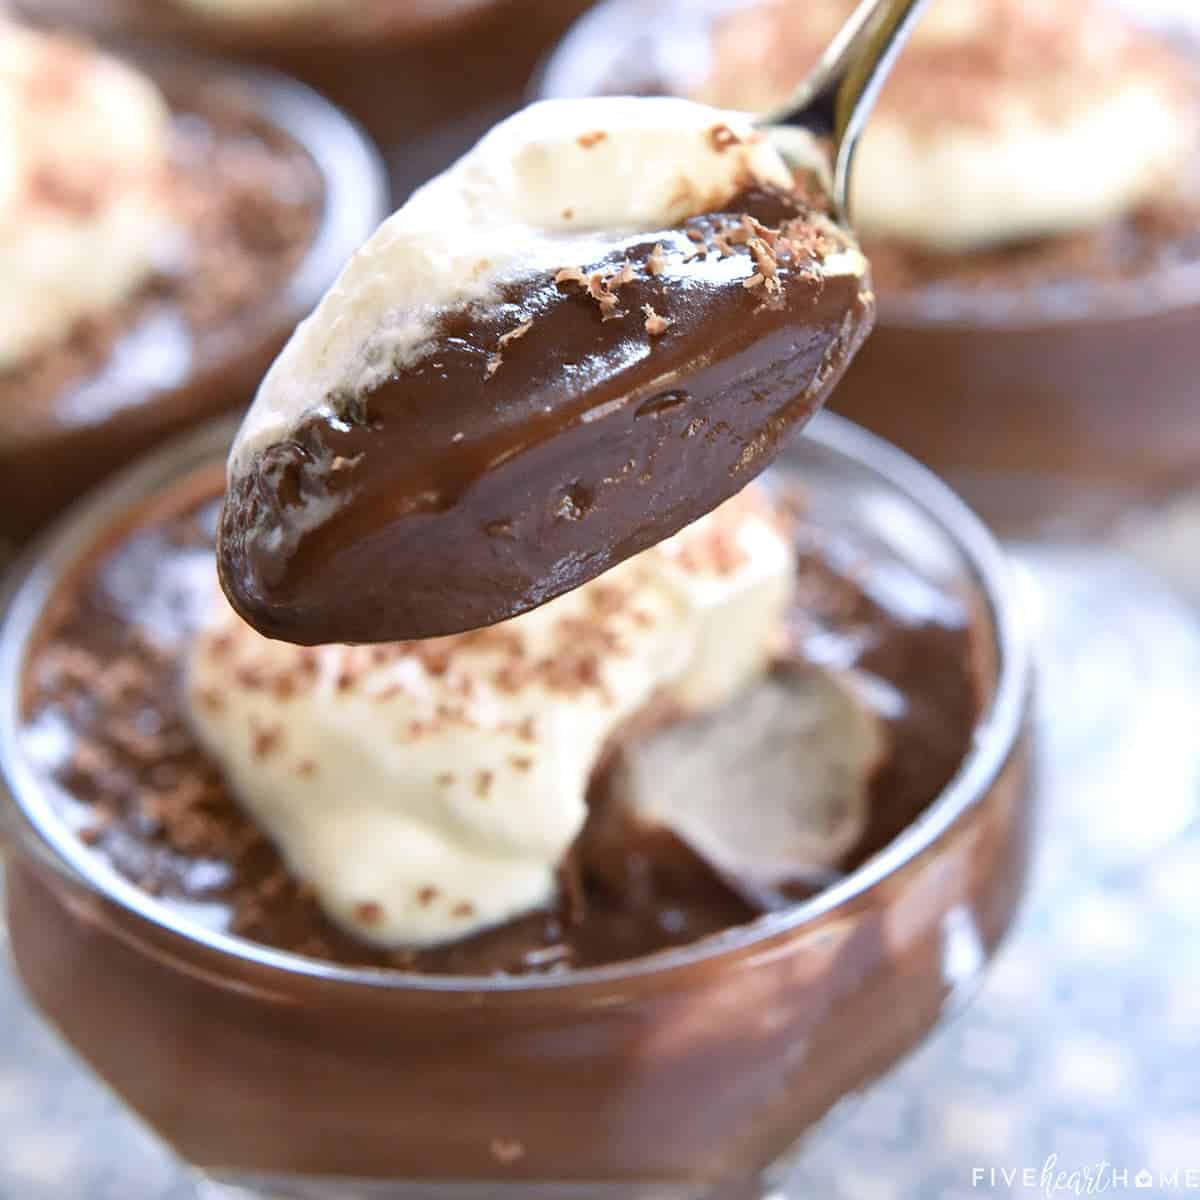
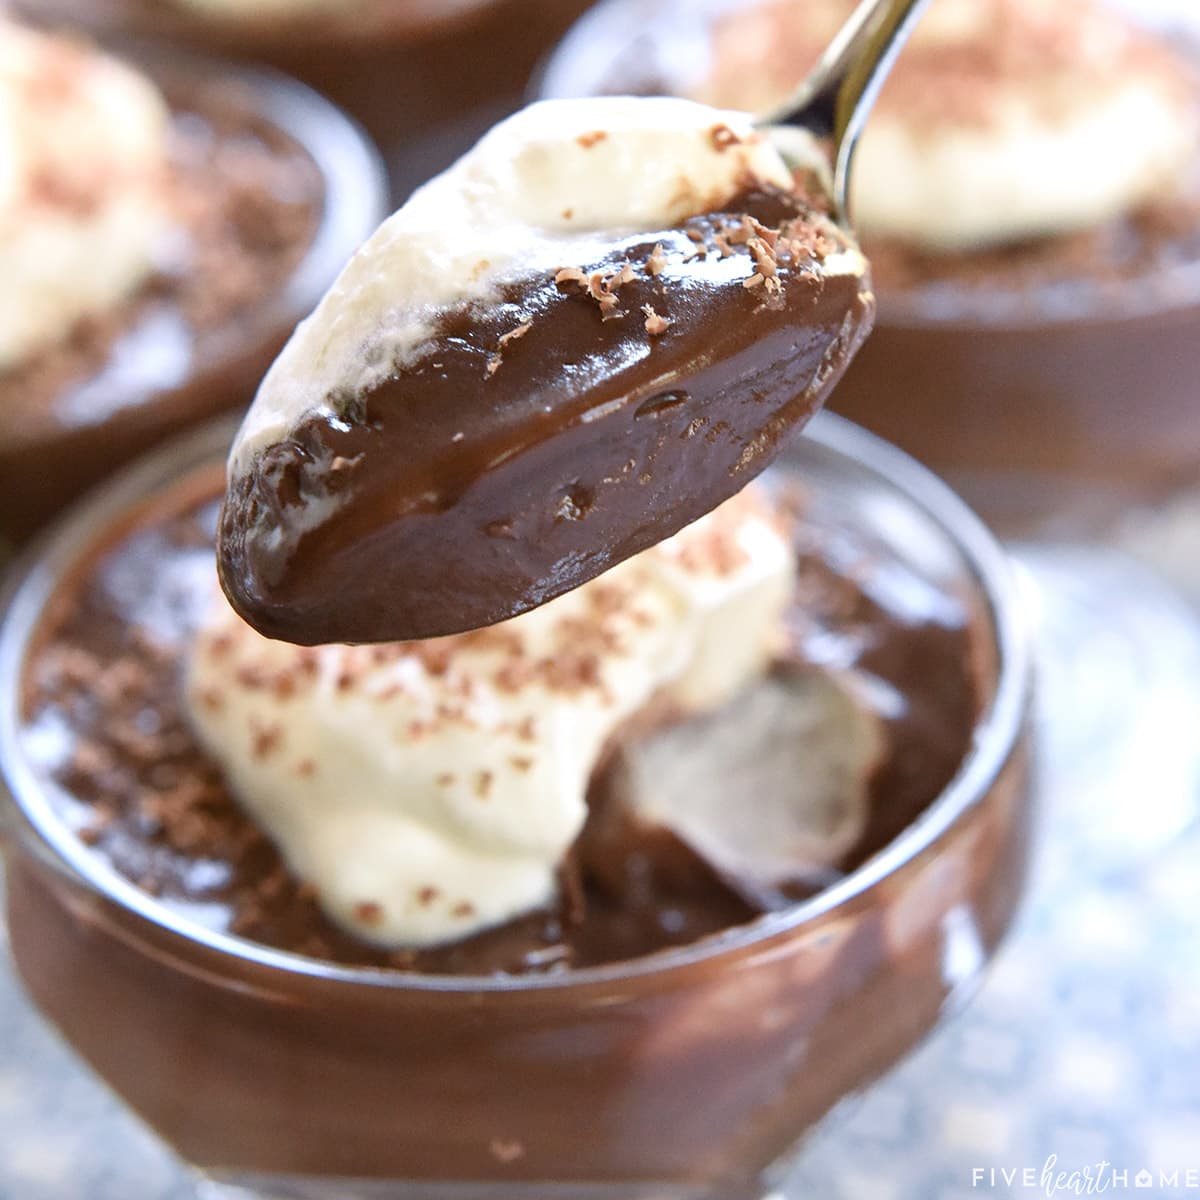
- Play with Toppings: From whipped cream and chocolate shavings to fresh berries or chopped nuts, toppings can turn your chocolate pudding into a new dessert every time! Let your family mix and match their favorites for a personalized pudding experience.
Finishing Your Chocolate Pudding with Flair
As we complete our pudding prep, here’s how to wrap things up flawlessly:
- After boiling for two minutes, remove from the heat and stir in the butter and vanilla extract. These final touches add a sumptuous depth of flavor and an extra glossy finish.
- To serve your pudding with pizzazz, pour it into individual serving dishes. If you’re feeling extra fancy, layer it with fruit or cookie crumbles for a decadent parfait!
- Make it a family affair and let your kids decorate their own servings. It’s a fun way to get them involved and excited about the food they eat.
Creative Variations to Sweeten the Deal
Once you’ve mastered the classic chocolate pudding, why not mix it up?
- Chocolate Mint Pudding: Add a few drops of mint extract along with the vanilla for a refreshing twist.
- Mocha Pudding: Stir in a teaspoon of instant espresso powder to appeal to the coffee lovers in your household.
- Spicy Chocolate Pudding: A pinch of cinnamon and a dash of cayenne pepper can bring a warm, intriguing twist to your dessert.
- Peanut Butter Chocolate Pudding: Swirl in a couple spoonfuls of peanut butter for a nutty, indulgent variation.
Remember, recipes are just a starting point. Don’t be afraid to experiment with different flavors and toppings to create your family’s signature pudding!
Equipped with all this knowledge, there’s nothing left to do but to get started. Enjoy the process, enjoy the pudding, but most importantly, enjoy the heartwarming moments that come with sharing something homemade with your loved ones. Happy pudding making!
(Continued in the next section)
For more great articles please see here. For more information see here
Disclaimer
The articles available via our website provide general information only and we strongly urge readers to exercise caution and conduct their own thorough research and fact-checking. The information presented should not be taken as absolute truth, and, to the maximum extent permitted by law, we will not be held liable for any inaccuracies or errors in the content. It is essential for individuals to independently verify and validate the information before making any decisions or taking any actions based on the articles.


