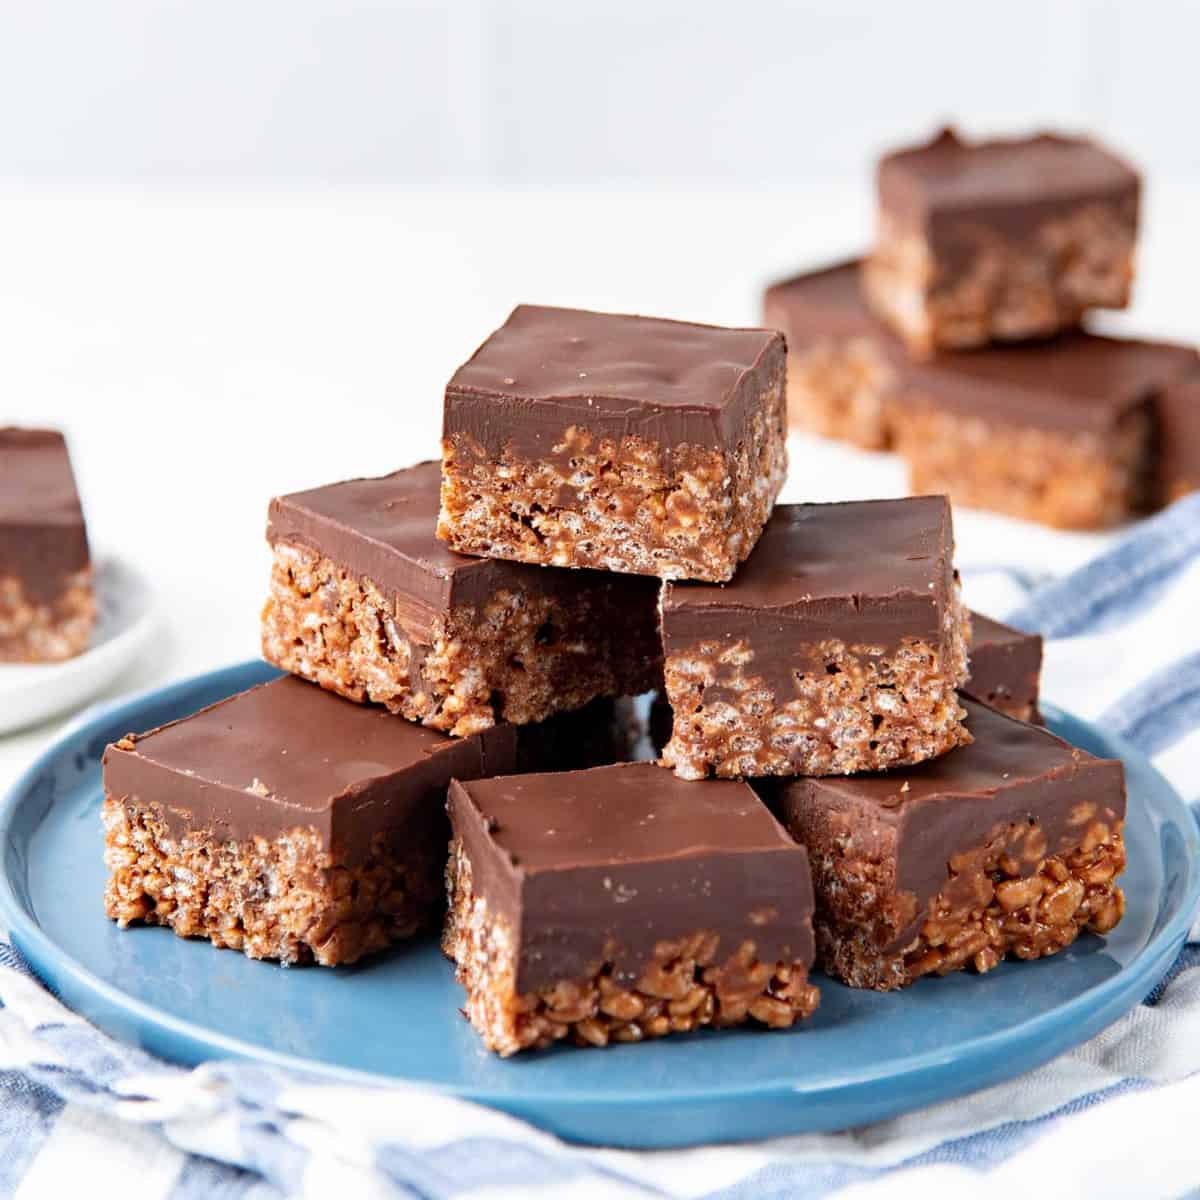
Ultimate Guide to Delicious Mars Bar Slice Recipes for the Whole Family
Hey there, amazing parents! Are you ready to become the superheroes of snack time? Well, hold on to your capes because we’re diving into the chocolatey, caramel-filled world of Mars Bar slices! Whether it’s for after-school treats, birthday bashes, or just because, these no-bake delights are about to become your secret weapon in the battle against the munchies.
Why Mars Bar Slices are the Ultimate Treat
Mars Bar slices are not only mouth-wateringly good, but they also tick so many boxes when it comes to convenience and versatility. Here’s why these gooey goodies will get a thumbs up from both the kiddos and you:
- No-bake nirvana: Forget the oven! All you need is a microwave or stovetop to create these easy-peasy treats.
- Quick and simple: With just a few ingredients and minutes, you’ll have a dessert that’s ready to impress.
- Flexible and fun: Mix in your family’s favourite extras to put a personalized spin on each batch.
- Kid-approved: The perfect mix of chocolate, caramel, and that signature crunch guarantees smiles all around.
Your Mars Bar Slice Shopping List
Before we start our culinary adventure, let’s get all our delicious ingredients ready. Here’s what you’ll need for a classic Mars Bar slice:
- Mars Bars
- Butter or margarine
- Golden syrup or honey
- Rice Krispies or similar puffed rice cereal
- Milk chocolate
- Optional toppings: sprinkles, nuts, dried fruit, or anything else your heart fancies!
Gather up these goodies and get ready for some sticky, sweet fun!
Step-by-Step Classic Mars Bar Slice Recipe
Now the moment we’ve all been waiting for! Follow these simple steps and you’ll have a batch of irresistible Mars Bar slices in no time:
Ingredients:
- 4 Mars Bars, chopped
- 1/4 cup (60g) butter
- 1 tablespoon golden syrup
- 3 cups (90g) puffed rice cereal
- 200g milk chocolate, melted
Method:
- Line an 8-inch square baking tin with parchment paper, ensuring it covers the sides to assist with removal later.
- In a large, microwave-safe bowl, combine the chopped Mars Bars, butter, and golden syrup. Microwave in 30-second bursts, stirring between each until the mixture is smooth and well combined. Be careful not to overheat.
- Add the puffed rice cereal to the melted Mars mixture. Gently fold together until the cereal is completely coated with the chocolate caramel goodness.
- Press the mixture firmly into the lined baking tin. A spatula or the back of a spoon works perfectly for evening it out.
- Pour the melted milk chocolate over the top of the slice, using a knife or spatula to spread it out into a smooth layer.
- For a fun twist, sprinkle your choice of optional toppings over the chocolate layer before it sets.
- Refrigerate the slice for at least 1 hour, or until the chocolate has set firmly.
- Once set, lift the slice out of the tin using the overhanging parchment paper as handles. Place on a cutting board and cut into squares or bars.
- Serve up the slices and watch as they disappear right before your eyes!
Voila! You’ve just created a snack that’s set to become a legend in your household. But why stop there? Keep reading as we dive into creative variations that will keep your Mars Bar slice game strong.

5 Essential Tips for Perfect Mars Bar Slices Every Time!
Things to Know Before You Start Melting!
As you embark on this sweet journey, there are a few key things to keep in mind to ensure your Mars Bar Slices turn out splendidly. Let’s go through five essential tips to remember:
1. Quality Ingredients Matter
Starting with high-quality ingredients is crucial for the best taste and texture. Choose well-known brands for your Mars Bars and chocolate to ensure consistency in your slices.
2. Gentle Heat is Your Friend
When melting down the Mars Bars and butter, do it gently, using short bursts in the microwave or a low heat on the stove. Overheating can cause the mixture to separate or burn, affecting the final taste and appearance.
3. Getting the Right Consistency
Your mixture should be smooth and glossy after melting. If it looks too thick, consider adding a little more butter or syrup to lighten the texture before mixing in the cereal.
4. Press Firmly, But Not Too Hard
While pressing the mixture into the baking tin, aim for an even, compact layer. Pressing too hard can result in a dense, hard slice, while not pressing enough could make it fall apart.
5. Patiently Let it Set
Refrigeration is key! Let your slices set for at least an hour before cutting. This ensures a clean cut and helps maintain the shape. If you’re in a rush, a stint in the freezer can speed up the process without compromising the texture.
Armed with these tips, youre all set to create the perfect Mars Bar Slices. Gather the eager little helpers around and get ready for some deliciously fun times in the kitchen!
For more great articles please see here. For more information see here
Disclaimer
The articles available via our website provide general information only and we strongly urge readers to exercise caution and conduct their own thorough research and fact-checking. The information presented should not be taken as absolute truth, and, to the maximum extent permitted by law, we will not be held liable for any inaccuracies or errors in the content. It is essential for individuals to independently verify and validate the information before making any decisions or taking any actions based on the articles.


