
Whip Up Delightful Pikelets: A Perfect Snack for Kids
Hey there, awesome parents! ? Are you on the hunt for a snack that’s not only scrumptious but also a cinch to whip up with your little helpers? Look no further! Pikelets, the cute cousins of pancakes, are here to save the snack time. They are light, fluffy, and just the right size for kiddo hands. In this guide, we’ll walk you through the nitty-gritty of making pikelets that are sure to put big smiles ? on your kids’ faces. So, aprons on and let’s get flipping!
What Are Pikelets?
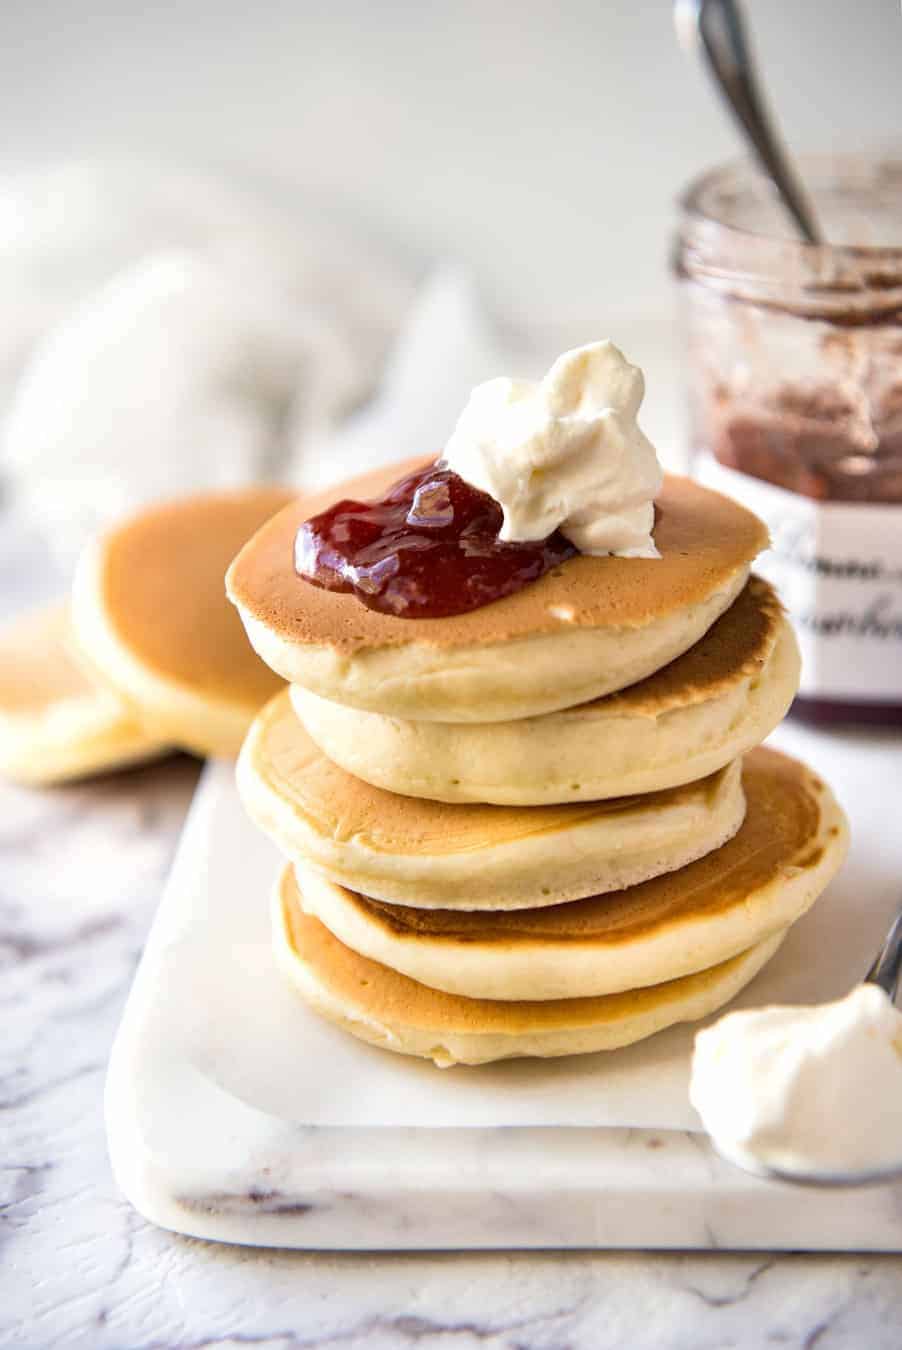
Pikelets are the snacky bundle of joy originating from the UK but loved worldwide. These mini pancakes are a bit thicker and definitely lighter, which makes them a perfect pick for breakfast, lunchboxes, or just a treat to enjoy on a lazy afternoon. What’s more, they’re versatile! Dress them up with fruits, syrups, or a dollop of cream – they’re the canvas for your culinary art!
Ingredients You’ll Need
- All-purpose flour (a healthier twist? Try wholemeal!)
- Sugar (because a little sweetness never hurts)
- Baking powder (for that lovely lift)
- Salt (just a pinch!)
- Milk (cow’s, almond, soy—any works)
- An egg (free-range happiness)
- Butter (for that golden touch)
Step-by-Step Guide to Making Perfect Pikelets
Ready to get those pikelets griddling? Here’s your step-by-step guide to the simplest and yummiest pikelets you’ll ever make. Let’s make some snack magic happen:
Step 1: Mix the Dry Ingredients
Whisk together your flour, sugar, baking powder, and salt in a large bowl. This is a great time to chat with your kiddos about measuring quantities and the magic of baking powder. Oh, the bubbles it will make!
Step 2: Blend the Wet Ingredients
In another bowl, crack that egg and beat it with a dash of milk. It’s a mini science lesson for the little ones as they watch the liquids combine.
Step 3: Combine and Mix
Make a well in the center of your dry ingredients and slowly pour in the egg and milk mixture, stirring well but gently. This is all about finesse, teaching patience as the ingredients come together into a smooth batter.
Step 4: Let the Batter Rest
Give your batter a little naptime. Let it rest for about 15 minutes. This helps the ingredients get to know each other and results in fluffier pikelets.
Step 5: Cook Those Little Beauties
Heat a non-stick pan over medium heat and brush it with butter – it’s time to sizzle! Drop spoonfuls of your batter onto the pan. Bubbles will appear; when they burst, it’s time to flip. Each side should be a golden glimpse of deliciousness.
Step 6: Topping Time!
This is where creativity peaks! Gather fruits, syrups, or even a squeeze of lemon and sugar. Let your kids splash on their favorite toppings and create their own edible masterpieces.
Nutritional Tips for Health-Conscious Parents
As a bonus for those who keep an eye on nutrition, pikelets can be made healthier without skipping the fun. Use wholemeal flour for extra fiber or sprinkle in some chia seeds for omega-3s. You can even swap sugar for honey and opt for low-fat milk to keep things lighter.
Ready to become the pikelet pro of your household? Stay tuned for more insider tips, fun facts, and variations to keep the pikelet game strong. Happy pikelet prepping, dear parents!
5 Essential Tips for Parents Preparing Pikelets
When it comes to whipping up a batch of kid-friendly pikelets, there are some insider tips to make the process even more fun and foolproof. Here’s what savvy parents should know:
1. Getting the Batter Just Right
The consistency of your batter is key to pikelet perfection. Aim for a mixture that’s thick enough to hold its shape when spooned into the pan, yet not too stiff. If the batter is too runny, your pikelets may spread too much and not puff up. If it’s too thick, they might be dense. Adjust with a little extra flour or milk if needed to hit the sweet spot.
2. The Perfect Pan and Temperature
A non-stick frying pan will be your best friend for pikelet-making. To test if the pan is hot enough, sprinkle a few droplets of water onto it. If they dance around before evaporating, you’re good to go. Keep the flame at a medium level – too hot, and the pikelets will burn before they puff up; too cool, and they won’t cook through properly.
3. Portion Control is Key
To keep pikelets uniform in size, use a tablespoon or an ice cream scoop to pour the batter into the pan. This not only ensures they cook evenly but also makes it easier for the kids to handle and eat. Plus, they’ll look super cute on the plate!
4. Flip with Confidence
Wait for the bubbles! Don’t rush to flip the pikelets. Once the bubbles on the surface pop and leave little holes, that’s your golden ticket to flip. A flat spatula will make this task a breeze, and it can be a fun skill for the kids to master – with careful supervision, of course!
5. Storage and Reheating
Pikelets make fantastic leftovers! Let them cool completely, then store them in an airtight container. They can be refrigerated for a few days or even frozen. When you’re ready for more pikelet fun, simply warm them up in a toaster or a pan for a quick and delicious treat.
Parents can turn pikelet-making into an extraordinary experience with a touch of preparation and a sprinkle of creativity. From selecting the perfect toppings to learning the ideal flip, each step is an opportunity for fun and learning. So, gather those ingredients and let the pikelet adventure begin!
Creative Variations to Keep Kids Excited
Once you’ve mastered the basic pikelet, don’t stop there! Keep your kids on their toes with some tasty twists:
- Add a drop of vanilla extract or a sprinkle of cinnamon to the batter for a flavor boost.
- Make them colorful with a handful of rainbow sprinkles or blueberries mixed into the batter.
- Turn the pikelets into educational shapes using cookie cutters – think letters, numbers, or animals!
- Go savory with grated cheese and corn kernels for an after-school snack surprise.
- Create a pikelet party spread by setting up a topping bar. Let the kids’ imaginations run wild as they customize their stack.
With these suggestions in your parenting toolkit, pikelets are bound to become a beloved tradition in your family’s kitchen. They not only fill the tummy but also warm up the hearts with shared moments and giggles. The simplicity of pikelets allows them to be a backdrop for a variety of flavors and creative expressions, making them an all-time favorite for everyone.
Embrace the power of the pikelet and watch as your kitchen transforms into a place of joy, experimentation, and quality time. The beauty of this recipe lies in its ability to bring the family together, serving up not just a snack but a plateful of memories.
For more great articles please see here. For more information see here
Disclaimer
The articles available via our website provide general information only and we strongly urge readers to exercise caution and conduct their own thorough research and fact-checking. The information presented should not be taken as absolute truth, and, to the maximum extent permitted by law, we will not be held liable for any inaccuracies or errors in the content. It is essential for individuals to independently verify and validate the information before making any decisions or taking any actions based on the articles.


