
Easy and Delicious Jelly Slice Recipe for Families
Hello, super moms and dads out there! Are you searching for that perfect sweet treat to make your family gatherings even more special? Or perhaps you’re on the lookout for a fun recipe to prepare with your kiddos on a lazy afternoon? Look no further – our Jelly Slice recipe is here to save the day and sprinkle some joy into your kitchen!
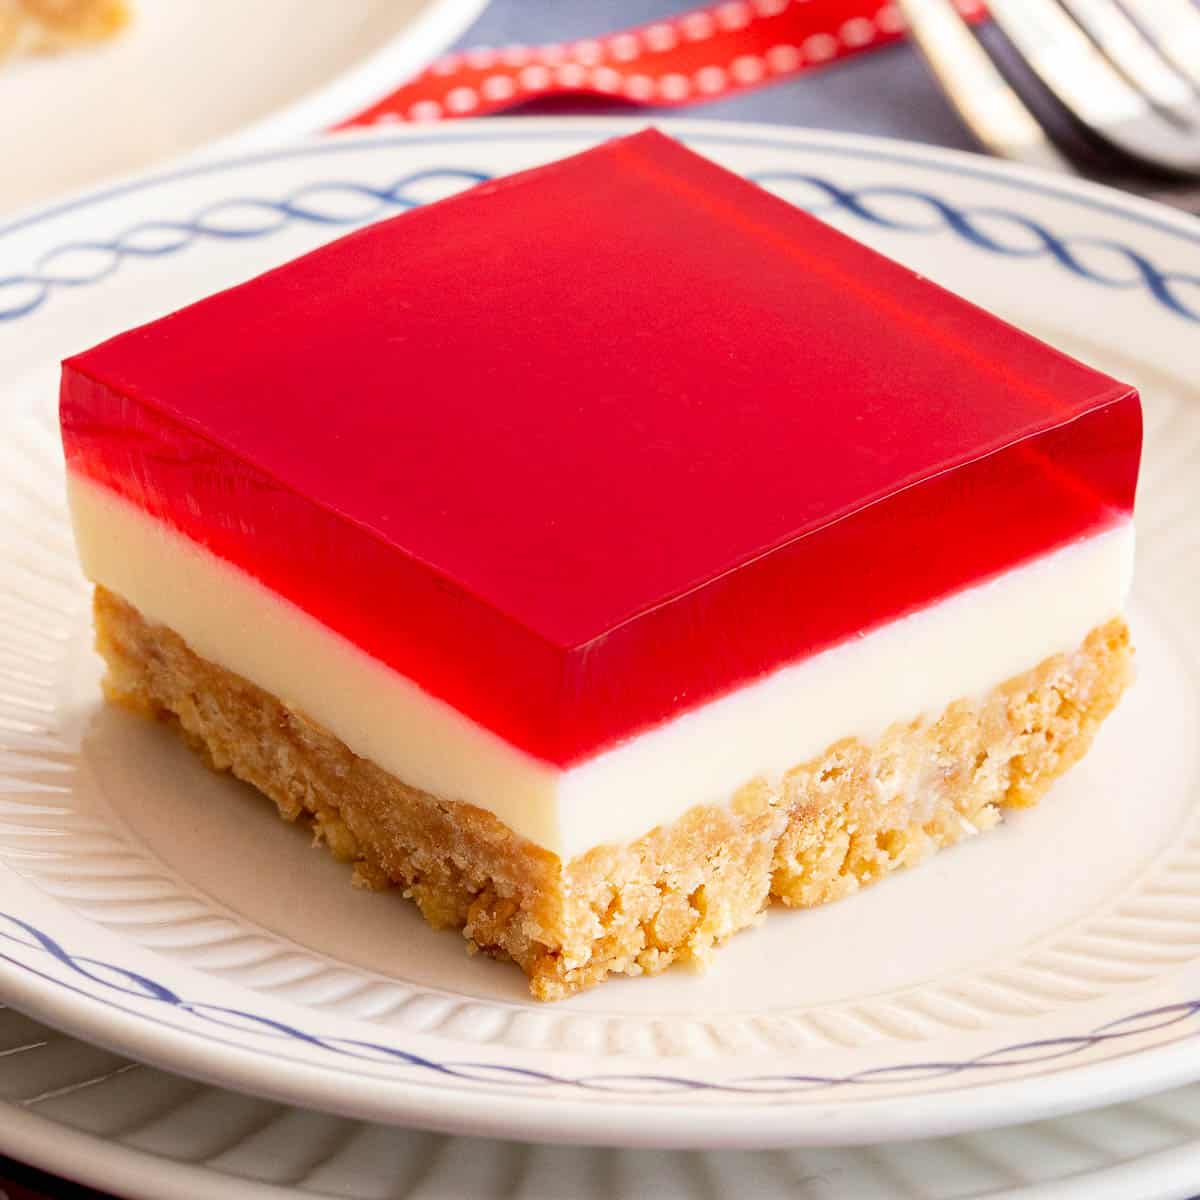
Jelly slices are a beloved classic – combining a crunchy biscuit base, a creamy filling, and a bright jelly topping. Not only do they look absolutely amazing with their vibrant layers, but they also taste like a little slice of heaven. Best of all, this recipe is incredibly easy to make and a huge hit with kids and adults alike!
Let’s roll up our sleeves, create some magical kitchen moments, and build memories along with a scrumptious treat. We’ve broken this recipe down into simple, manageable steps, so even if you’re not a pro baker, you can still whip up this delightful dessert with ease. Just follow along, and you’ll be the star of the snack table in no time!
What You’ll Need for Your Homemade Jelly Slice
- A packet of your favorite biscuits (we love using Marie or digestive biscuits for that perfect crunchy base!)
- Unsalted butter (melted)
- Sweetened condensed milk
- Lemons (for that zesty kick in your creamy layer)
- Plain gelatin (to set your creamy middle layer just right)
- Flavored jelly crystals (pick a color and flavor that makes your family smile)
- Boiling water (for dissolving your jelly crystals)
Note: The exact quantities of each ingredient will be provided further below, so keep reading to get the full details!
Preparing the Biscuit Base
First things first – every great jelly slice starts with a solid foundation. That’s where your biscuits come in to play. You’ll need to turn them into fine crumbs, so if you have a food processor, it’s time to let it shine! No processor? No worries – a rolling pin and some elbow grease will do the trick too. Just make sure to have a good-quality baking pan at hand to press your delicious base into.
Mix the biscuit crumbs with melted butter for that perfectly firm yet crumbly texture. Press it down into your lined pan and voilà, your base is ready to chill in the fridge. This allows it to set beautifully while you work on the subsequent layers.
Whipping Up the Creamy Center
Now for the heart of your jelly slice – the creamy, dreamy center. It’s a mixture of sweetened condensed milk, fresh lemon juice, and dissolved gelatin. This layer is what sets your jelly slice apart, giving it a rich, tangy flavor that pairs wonderfully with the sweet jelly and the crunchy base.
Once you’ve mixed your creamy filling to silky perfection, pour it over your chilled biscuit base. Back into the fridge it goes, to set before you add the jewel-like jelly layer on top. The anticipation is building!
The Jewel on the Crown: The Jelly
Finally, it’s time to prepare the jelly layer. Dissolve your jelly crystals in boiling water and let the mixture cool but not set. Patience is vital here – if the jelly is too hot when poured, it may melt the creamy layer, so allowing it to cool is key.
Gently pour your cooled jelly over the set creamy layer, and guess what – your part is almost done! One last chill in the fridge, and your magnificent jelly slice creation will be ready to enchant your family’s taste buds.
While we’ve given you a sneak peek into the magic of making a jelly slice, there’s still more to come. Stick around for the detailed measurements, additional tips for perfecting your jelly slice, and creative variations to impress at your next family dessert table.
Stay tuned for our next section which will walk you through every step in detail, and let’s embark on this sweet culinary adventure together. Your kitchen is about to become the heart of fun, flavor, and family time!
Keep your aprons tied, your spoons ready, and your taste buds eager. Preparing a jelly slice is not just about following a recipe – it’s about creating joy and sharing love, one delicious layer at a time. Get ready to indulge in a dessert that’s as delightful to look at as it is to devour. We’re just getting started, and the best is yet to come!

5 Key Tips for Parents Preparing the Perfect Jelly Slice
1. Choose the right biscuits: Opt for biscuits that are not overly sweet as they will serve as the base and should complement, not overpower, the sweetness of the condensed milk layer and the jelly topping. Digestive biscuits are an excellent choice for achieving that perfect balance.
2. Get the kids involved: Making jelly slices is a great opportunity for a fun family activity. Allow your children to crush the biscuits, press the base into the pan, or stir the jelly. It’s a wonderful way to introduce them to cooking and spend quality time together.
3. Time your layers: Patience is crucial when setting your layers. Ensure the biscuit base is completely cool before adding the creamy layer. Similarly, wait until the creamy layer is firmly set before gently pouring on the jelly. This avoids any mixing of layers and keeps those beautiful, distinct lines.
4. Perfect the creamy layer: When adding lemon juice to the condensed milk, make sure it mixes in well. This not only helps the layer to set due to the reaction between the citrus and dairy, but also ensures an even tangy taste throughout the slice.
5. Decorating is fun: Involve the family in choosing the jelly flavor and color. This not only makes the preparation more enjoyable but also personalizes the treat. After the jelly layer has set slightly, you can add fruit pieces or sprinkles for extra fun and a pop of color.
Now that you’re equipped with these top tips, let’s dive into the full recipe with precise measurements and instructions to create your family’s new favorite treat!
Full Recipe and Measurements
Biscuit Base Ingredients:
- 250 grams of plain biscuits, finely crushed
- 150 grams of unsalted butter, melted
Creamy Layer Ingredients:
- 1/2 cup of lemon juice (approximately 2 lemons)
- 400 grams of sweetened condensed milk (1 can)
- 5 teaspoons of gelatin powder
- 1/4 cup of boiling water
Jelly Topping Ingredients:
- 85 grams of flavored jelly crystals
- 1 cup of boiling water
- (Optional) fruit pieces for decorating
Instructions:
Step 1: Line a rectangular baking pan with parchment paper, with overhang on the sides for easy removal.
Step 2: Combine the crushed biscuits with melted butter and press the mixture firmly into the bottom of the pan to form the base. Refrigerate for 30 minutes to set.
Step 3: In a small bowl, dissolve the gelatin in boiling water and allow it to cool slightly. In a separate bowl, mix the sweetened condensed milk and lemon juice. Add the dissolved gelatin to the condensed milk mixture and stir thoroughly. Pour over the biscuit base and refrigerate for 2 hours or until set.
Step 4: Prepare the jelly as per the packet instructions, but using only 1 cup of boiling water for a firmer jelly that will hold its shape well. Allow the mixture to cool to room temperature.
Step 5: Once the creamy layer is set and the jelly has cooled, gently pour the jelly over the creamy layer. If desired, add fruit decorations at this stage. Return to the fridge and let it set for 3-4 hours, or until completely firm.
Step 6: Use the parchment paper overhang to lift the set jelly slice out of the pan. Slice it into squares or bars using a knife dipped in hot water for clean cuts. Serve and watch the slice become an instant hit!
Now, it’s your turn to create this colorful, delicious, and joy-filled treat. Remember, making jelly slice with your loved ones is as delightful as enjoying the sweet outcome. May every slice be a celebration of your family’s togetherness!
For more great articles please see here. For more information see here
Disclaimer
The articles available via our website provide general information only and we strongly urge readers to exercise caution and conduct their own thorough research and fact-checking. The information presented should not be taken as absolute truth, and, to the maximum extent permitted by law, we will not be held liable for any inaccuracies or errors in the content. It is essential for individuals to independently verify and validate the information before making any decisions or taking any actions based on the articles.


