
Ultimate Pavlova Cake Recipe: A Delightful Treat for Your Family
Hey there, sweet-toothed pals and loving parents! Are you ready to whisk up some sugary joy with a show-stopping dessert that’s as fun to make as it is to eat? Today we’re going to explore the heavenly world of Pavlova cake, a meringue-based dessert named after the Russian ballerina Anna Pavlova. This dessert is not only irresistible but also a perfect project to involve the kiddos and create some sweet family memories. So, aprons on, smiles ready, and let’s make a Pavlova cake that will have your loved ones asking for seconds!
Why You’ll Love This Pavlova Cake Recipe
- Simple Ingredients: With just a handful of ingredients, most of which you probably already have in your pantry, this Pavlova cake is straightforward and fuss-free.
- Customizable: Top off your Pavlova with fresh fruits of your choice, flavored whipped cream, or delectable sauces—make it uniquely yours.
- Perfect for Any Occasion: Whether it’s a birthday, holiday gathering, or just a weekend family treat, Pavlova cake suits any event splendidly.
- Gluten-Free Goodness: Naturally gluten-free, Pavlova is a fantastic dessert option for those with dietary restrictions.
Ingredient Roundup
Before we start whipping up our meringue, let’s make sure we have everything we need. For this scrumptious Pavlova cake, you’ll need:
- 4 large egg whites, at room temperature
- 1 cup of caster sugar or superfine sugar
- 1 tsp of white vinegar
- 1/2 tablespoon of cornstarch
- 1 tsp of pure vanilla extract
- For the topping:
- 1 cup of heavy cream
- 2 tablespoons of sugar
- Fresh fruit (think berries, kiwi, and passionfruit)
- Mint leaves for garnish (optional)
Pavlova Cake: Step by Step Guide
Now, onto the fun part! Follow these steps, and you’ll be on your way to creating a delectably elegant dessert that’s as light as a cloud and as flavorful as your sweetest dreams.
1. Meringue Base
Start by preheating your oven to 300°F (150°C) and lining a baking sheet with parchment paper. Draw a 9-inch circle on the parchment paper as a guide for your Pavlova. Flip the paper over so the pencil mark doesn’t touch the meringue.
2. Whisking Egg Whites
Using a clean, dry mixing bowl (preferably metal or glass), beat the egg whites on medium speed until soft peaks form. Gradually add the sugar, one tablespoon at a time, continuing to beat until the meringue becomes glossy and holds stiff peaks.
3. Adding Cornstarch and Vinegar
Sift the cornstarch onto the beaten egg whites, add the vinegar, and fold in gently with a rubber spatula. This step is crucial as it stabilizes the meringue and ensures that your Pavlova will have a crisp exterior with a soft, marshmallow-like interior. Don’t forget to add the vanilla extract for that extra touch of flavor!
4. Shaping and Baking
Spoon the meringue onto the parchment paper within the circle you’ve drawn, smoothing the sides and top with a spatula. Remember, Pavlova is a rustic dessert, so you don’t have to aim for perfection—its charm is in its whimsical shape!
Place the meringue in the oven and reduce the temperature to 250°F (120°C). Bake for about 1 hour and 15 minutes, or until the meringue is dry to the touch. Turn off the oven and let the Pavlova cool completely inside. This slow cooling process helps prevent cracking.
5. Whipped Cream Topping
While your Pavlova is cooling, whip the heavy cream with sugar until soft peaks form. This will be your creamy topping that sits gloriously on your meringue base.
Stay tuned for more steps to assembling your Pavlova masterpiece, including how to arrange the toppings for a dazzling finish that’s sure to captivate your family’s hearts (and stomachs!). But before we get there, always remember: the best ingredient of all is a generous sprinkle of joy!
5 Things Parents Should Know When Preparing Pavlova Cake
1. Plan Ahead – Patience Required!
Making a Pavlova is a bit of a culinary adventure, one that’s perfect for bonding, but it also requires a bit of patience and planning. The key to a great Pavlova is slow baking and cooling to prevent cracks and ensure that marshmallowy center we’re all after. Remember to start early, as cooling time is crucial to achieving the right texture.
2. Room Temperature Ingredients
Your egg whites should be at room temperature to reach their full volume potential when whisked. If you’ve forgotten to take them out of the fridge in advance, just place them in a bowl of warm water for a few minutes, and they’ll be ready to go.
3. Clean Utensils
Any traces of grease or water can prevent your egg whites from forming stiff peaks, so make sure your mixing bowl and beaters are clean and completely dry before you start. It might be a good opportunity to educate your little helpers on the importance of cleanliness when cooking!
4. Involving Kids
Preparing Pavlova is a wonderful way to engage children in the kitchen. They can help with tasks such as measuring ingredients, cracking eggs (just be ready for a potential mess!), and decorating the finished cake. Just supervise closely during the baking and handling of the oven.
5. Toppings Galore
Picking out toppings for your Pavlova can be a creative activity for the entire family. Let your kids choose their favorite fruits and maybe even create patterns on their little slices. Mint leaves, chocolate shavings, or a drizzle of fruit sauce can add that extra ‘wow’ factor to your creation.
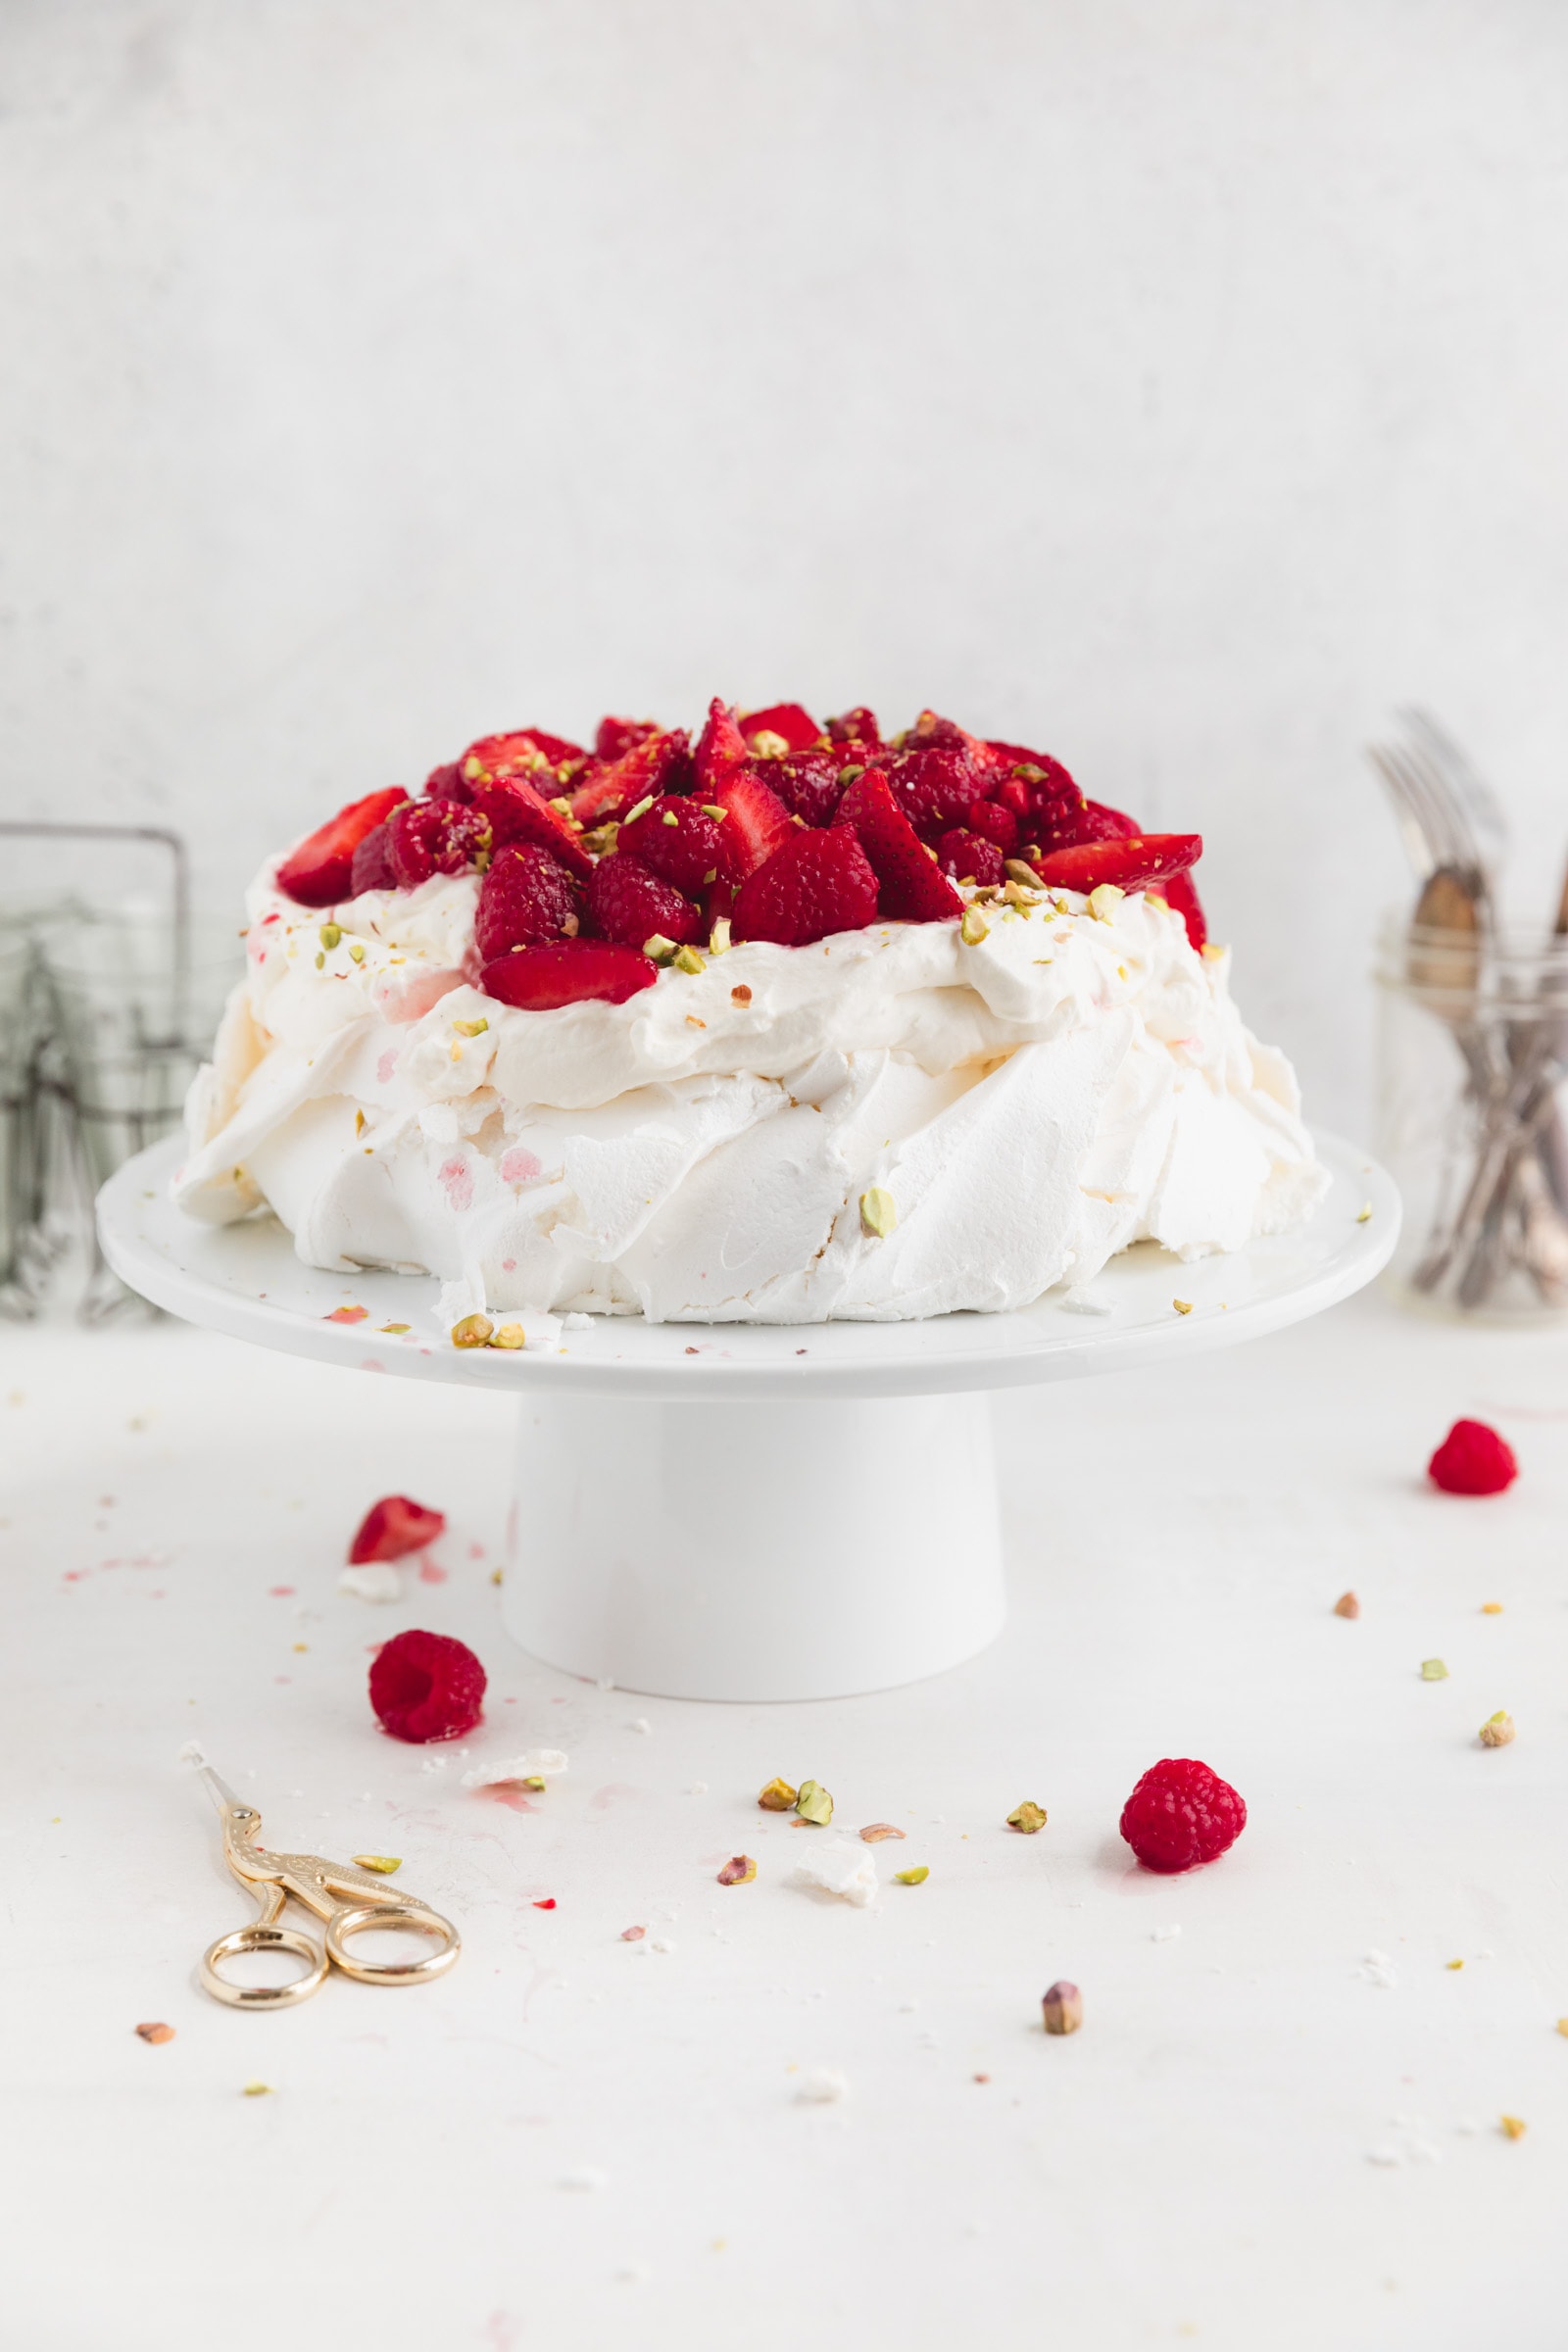
Assembling Your Pavlova Masterpiece
With the meringue base cooled and the whipped cream at the ready, it’s time to assemble your Pavlova. Spread the whipped cream generously over the meringue, and then let your creativity blossom as you arrange the fresh fruit on top. Remember, the beauty of a Pavlova is in its rustic charm, so there’s no need for perfection. A sprinkle of mint leaves will add a pop of color and a hint of freshness to this delightful dessert.
As a friendly reminder, Pavlova is best enjoyed on the day it’s made, but should you have leftovers, cover them loosely with foil and store in the refrigerator. The texture may change slightly, but it will still be delicious!
There you have it, a Pavlova cake recipe that’s sure to brighten up any family gathering. Mixing, whisking, and decorating a Pavlova can be a joyful and educational experience for the whole family. Embrace the mess, have fun with the process, and savor every sweet bite of your homemade dessert. And remember, the smile on your kids’ faces when they take that first bite is the sweetest reward!
Before we sign off, one last tip: take pictures! Documenting your Pavlova adventure can be as rewarding as eating it. You’ll appreciate those photos of flour-dusted noses and fruit-topped smiles for years to come. Now, go forth and bake memories!
For more great articles please see here. For more information see here
Disclaimer
The articles available via our website provide general information only and we strongly urge readers to exercise caution and conduct their own thorough research and fact-checking. The information presented should not be taken as absolute truth, and, to the maximum extent permitted by law, we will not be held liable for any inaccuracies or errors in the content. It is essential for individuals to independently verify and validate the information before making any decisions or taking any actions based on the articles.


