
Kid-Friendly Nachos: A Wholesome, Fun Recipe for the Whole Family!
Hey there, amazing parents!
If you’re looking to add a sprinkle of joy and a dash of nutrition to your family meals, then you’ve come to the right place! Nachos don’t just have to be a concession stand snack – they can be a colorful, healthy, and absolutely scrumptious meal that brings everyone together. In this ultimate guide, we’re serving up the perfect recipe for kid-friendly nachos that will have your little ones cheering for more. So grab your aprons, whet your appetites, and let’s dive into the fun world of nachos!
Why Nachos Make the Perfect Family Meal
Let’s face it, coming up with meals that are quick to prepare, nutritious, and kid-approved can often feel like a juggling act. But nachos? They tick all the boxes!
- Customizable: The beauty of nachos lies in their versatility. Whether your family has picky eaters or adventurous palates, everyone can tailor their portion to their tastes.
- Nutritious: By selecting the right ingredients, nachos can transform into a nutrient-packed meal. Think whole grains, lean proteins, and plenty of veggies!
- Fun to Eat: There’s something about eating with your hands and building your own perfect bite that delights kids of all ages – and let’s be honest, adults too!
- Quick: Time is always of the essence, and nachos can be whipped up in a flash. Perfect for those evenings when after-school activities take over!
Ingredients for Your Nacho Nirvana
Starting with a good foundation is key. Here’s what you’ll need to create nachos that tickle the taste buds and nourish the body:
- A bag of whole-grain or corn tortilla chips – The sturdier, the better, to hold all those yummy toppings!
- Protein – Think beyond the ground beef; shredded chicken, black beans, and even tofu can be great options.
- Cheese – Choose a mix of cheddar and Monterey Jack for that glorious melt, but don’t be afraid to try dairy-free alternatives!
- Veggies – The sky’s the limit! Bell peppers, tomatoes, onions, corn, and jalapeños for the brave souls.
- Toppings – Round it out with some diced avocado, a dollop of Greek yogurt (a great sour cream substitute!), and a sprinkle of cilantro.
With the essentials ready, how about some creative twists? For the little ones, try using cookie cutters to make star or heart-shaped tortilla chips. Not only does it add an element of play to the meal, but it’s also a sneaky way to make it extra special.
Assembling Your Masterpiece
The layering process is where the magic happens. Start by spreading an even layer of chips on a parchment-lined baking sheet. This creates the canvas for your edible artwork! Next, sprinkle on your choice of protein and veggies – remember, getting the kids involved here can be a fun way to introduce them to new flavors and encourage healthier eating habits.
Now for the best part – cheese! A generous shower of your chosen cheeses goes over the top, making sure there’s a little (or a lot!) on each chip. Then, pop the tray into a preheated oven and let the heat work its melty magic.
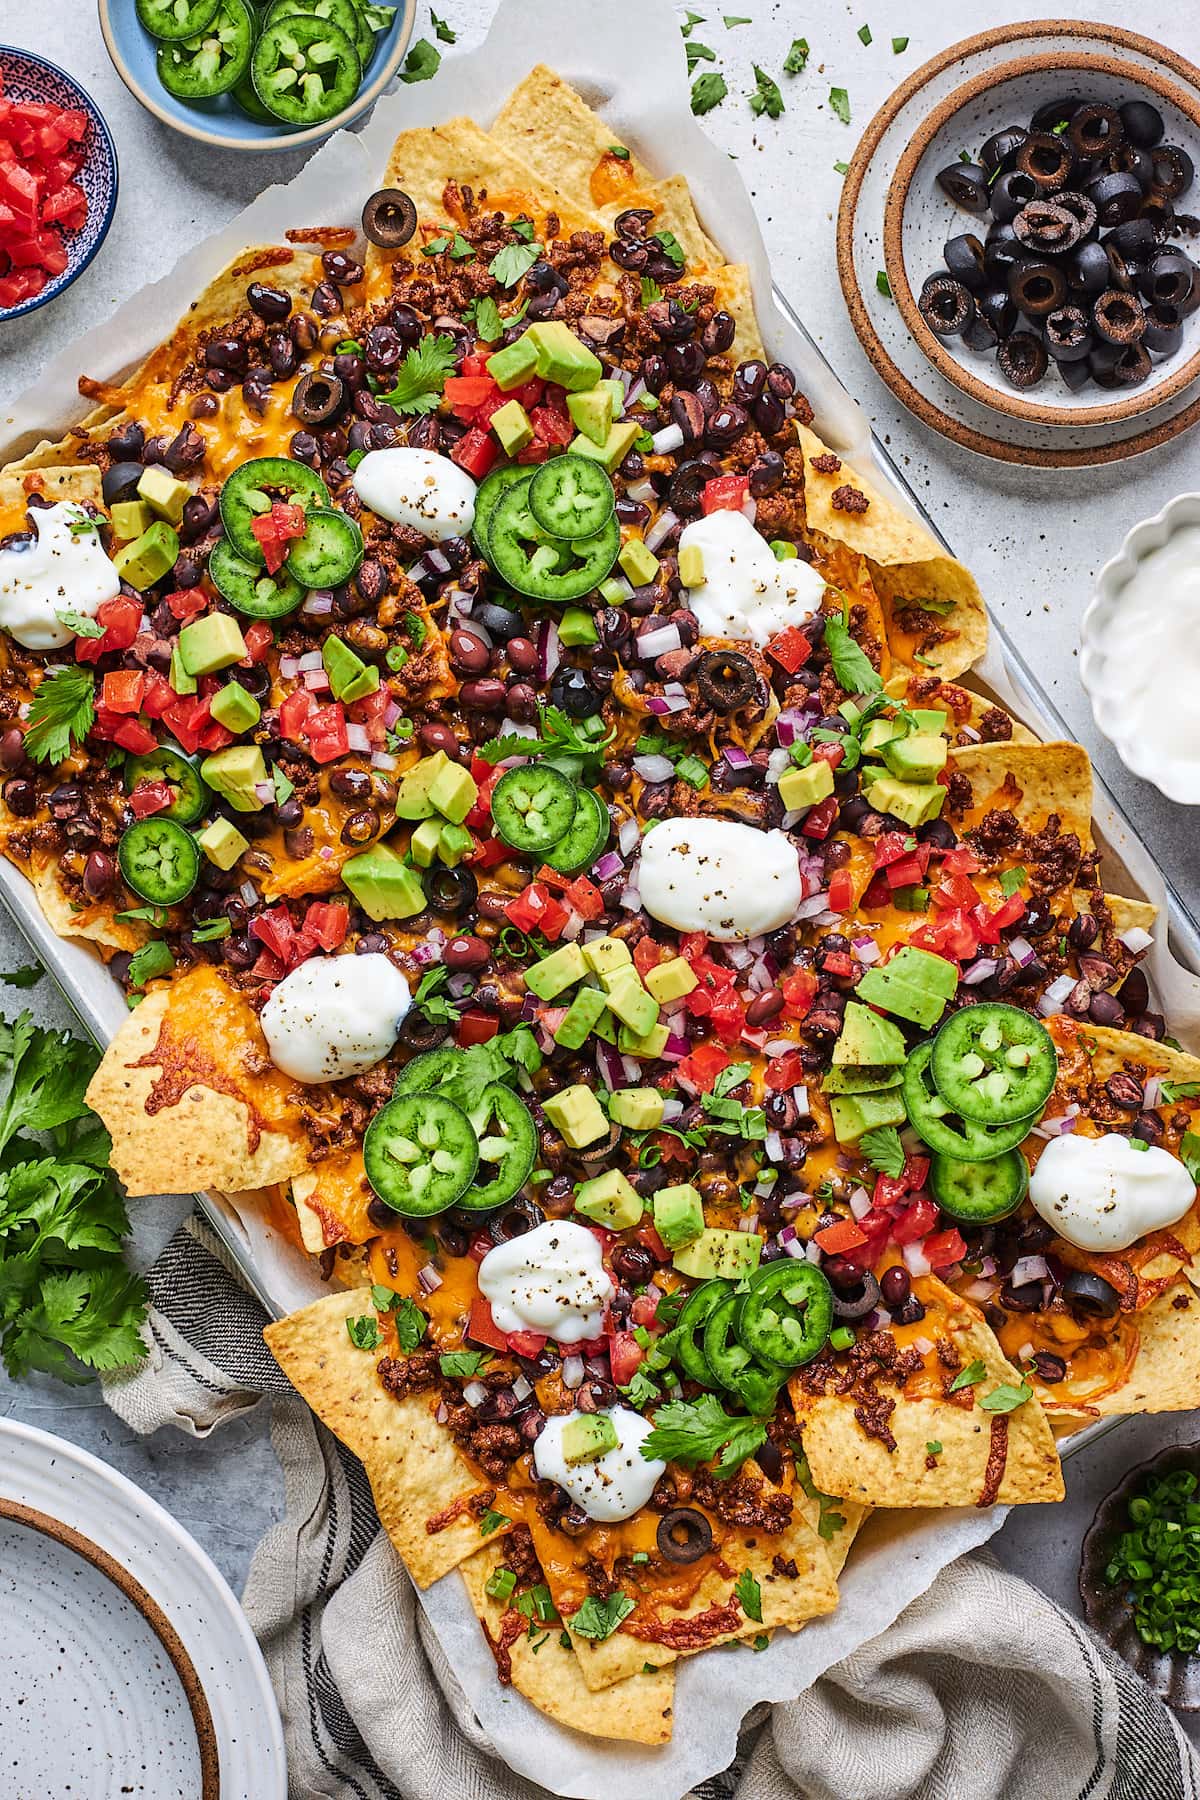
When it’s all bubbly and golden, it’s time to add the final touches. A scattering of fresh toppings like diced avocado, chopped cilantro, and spoons of Greek yogurt adds a burst of freshness that balances the richness of the melted cheese and the crunch of the chips. And voilà! You’ve got a plate of nachos that’s as delightful to look at as it is to devour.
By now, your mouth must be watering, and you might just be as excited as the kiddos to get this nacho party started! Stay tuned as we walk you through the process step-by-step, sharing tips and tricks to ensure your nacho night is a hit. So grab those ingredients, call over the little helpers, and let’s make some nacho magic together!
Ready to become the nacho champion? Alrighty, let’s keep this delicious train moving and delve into the recipe details. Before you know it, you’ll be the proudest parent on the block, serving up nachos that are as nutritious as they are yummy!

5 Things Parents Should Know When Preparing Kid-Friendly Nachos
- Safety First: Ensure that you have kid-safe utensils and tools on hand if you’re involving the children in the cooking process. Also, supervise any interaction with the oven, and handle the baking sheet yourself to prevent burns.
- Balance the Nutrients: While nachos can be a treat, aiming for a balance of protein, fiber, and vegetables can turn this snack into a meal. Offer a variety of veggies and proteins to make it not only colorful but also full of the necessary nutrients growing bodies need.
- Control the Salt: Tortilla chips can be high in sodium, so opt for a reduced-salt version when possible. This is particularly important for a child’s diet where too much salt can be a concern.
- Creative Engagement: Use this cooking opportunity to teach your kids about healthy eating habits. Let them choose some of the veggie toppings or help rinse and drain the beans, which can pique their interest in the foods they eat.
- Leftover Logic: Nachos are best enjoyed fresh, but if you’ve got extras, consider how you can reuse the toppings. Leftover grilled chicken, beans, or veggies can be repurposed into wrap fillings, omelet stuffers, or salad boosters the next day.
Step-by-Step Kid-Friendly Nachos Recipe
- Preheat your oven to 375 degrees Fahrenheit (190 degrees Celsius).
- Grab a baking sheet and line it with parchment paper for easy cleanup.
- Create the first layer of nachos by spreading out the tortilla chips evenly on the baking sheet.
- Have your kids sprinkle their choice of protein – like shredded chicken or black beans – over the chips.
- Next, add a rainbow of veggies. Bell peppers, diced tomatoes, and sweet corn are all colorful and healthy choices.
- Cover the chips, protein, and veggies with a hearty helping of cheese. Use as little or as much as you’d like.
- Slide the baking sheet into the oven and bake for about 10 minutes, until the cheese is melted and bubbly.
- While the nachos are in the oven, prepare your fresh toppings. Dice the avocado, chop the cilantro, and measure out the Greek yogurt.
- Once the nachos are done, let them cool slightly and then let everyone decorate their servings with the fresh toppings.
- Enjoy the smiles and compliments as your family digs into their personalized plate of wholesome nachos!
Now that you’re equipped with a full rundown on creating a nacho feast fit for even the tiniest of taste testers, nothing can stand between you and a lively and nutritious family meal. Remember, the beauty of nachos is that they’re a canvas waiting for your unique family touch – mix it up, play with flavors, and have a blast with this family-friendly favorite!
So what are you waiting for? Let the nacho fiesta begin!
For more great articles please see here. For more information see here
Disclaimer
The articles available via our website provide general information only and we strongly urge readers to exercise caution and conduct their own thorough research and fact-checking. The information presented should not be taken as absolute truth, and, to the maximum extent permitted by law, we will not be held liable for any inaccuracies or errors in the content. It is essential for individuals to independently verify and validate the information before making any decisions or taking any actions based on the articles.


