
Delightful Jelly Slice Creations for Family Fun Time!
Hey there, wonderful parents and guardians! Are you ready to whisk away into a world of colorful, jiggly joys with your kids? I’ve got just the thing for you – scrumptious recipes for jelly slices that will bring giggles and smiles to your kitchen. These pretty layered desserts are not just impressive to look at, but are a blast to make with your tiny helpers. So, let’s create some sweet memories with these easy, fruity, and absolutely delightful jelly slice recipes!
Understanding the Magic of Jelly Slices
Before we dive into the sugary deep end, let’s understand what makes jelly slices a fabulous choice for family baking adventures:
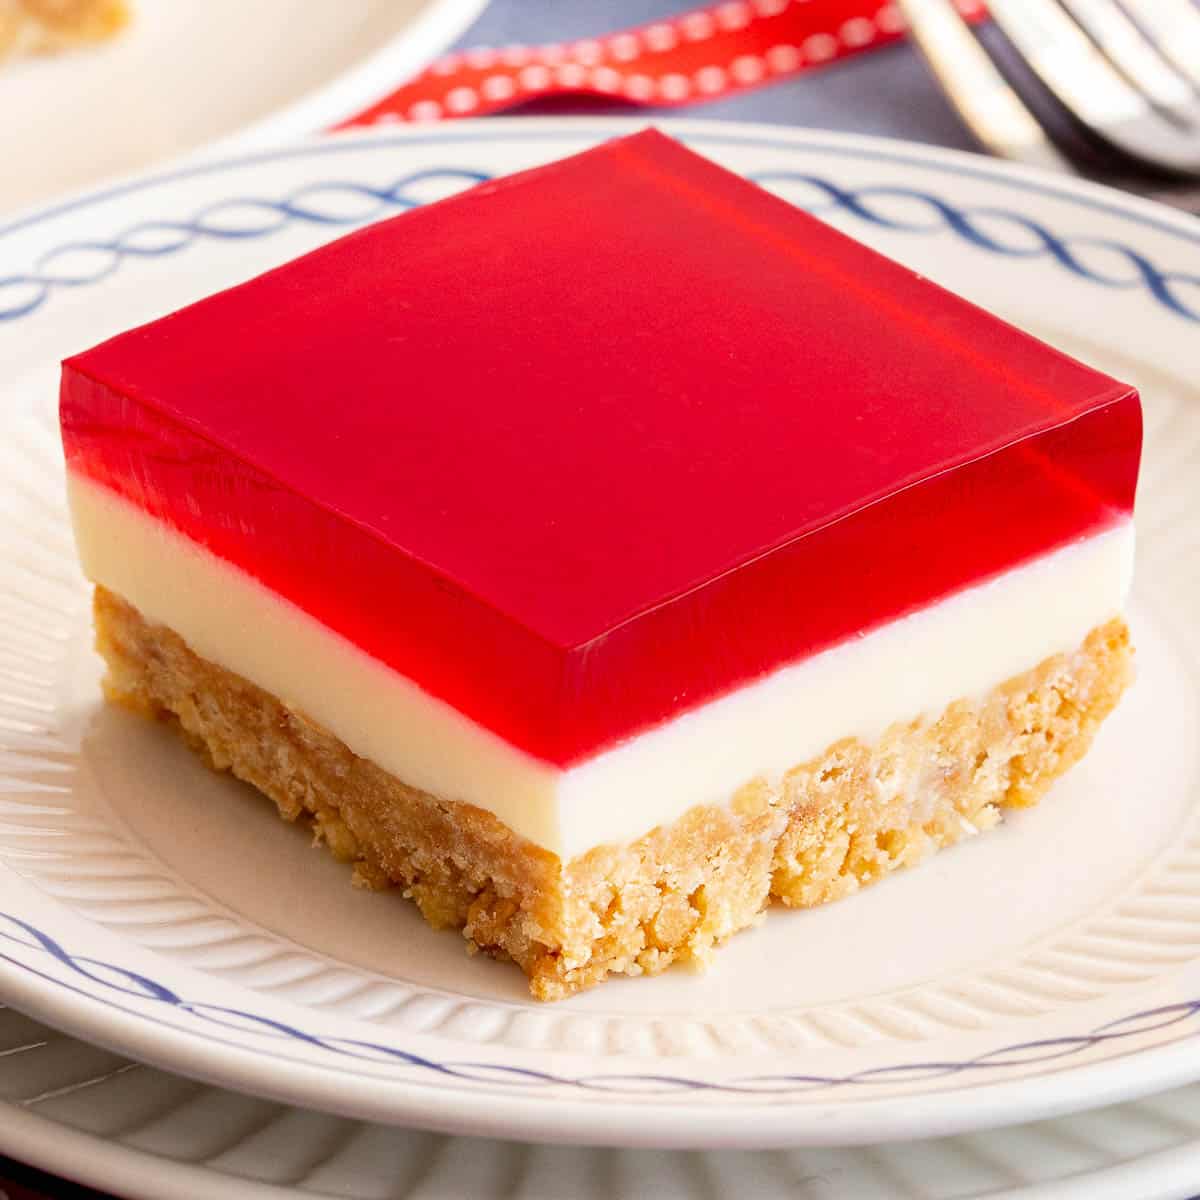
- Simple Ingredients: With a base of crushed biscuits, a middle layer of creamy filling, and a top layer of colorful jelly, the ingredients are straightforward and easily customizable.
- Kid-Friendly: The process is so simple that it’s a perfect opportunity for your kids to jump in and get their hands a little messy. Measuring, mixing, and layering – it’s all a fun learning experience!
- Perfect for Any Occasion: Whether it’s a playdate, birthday party, or just a Saturday afternoon, a jelly slice fits right in and adds a dash of joy.
Gathering Your Tools and Ingredients
Ready to get started? Here’s what you’ll need:
Essential Baking Tools:
- An 8×8-inch square baking dish or a rectangular slice tin
- Baking paper or parchment to line your dish for easy removal
- A food processor for easy biscuit crushing (Alternatively, a rolling pin and a ziplock bag can work too!)
- A mixing bowl and a simple hand mixer or a spoon for stirring
Key Ingredients:
- Your choice of plain biscuits for the base (like Graham crackers or Digestives)
- Unsalted butter to bind the base
- Sweetened condensed milk for the middle layer’s creamy dreamy texture
- Lemon juice to add a zesty twist and help thicken your filling
- Your favorite flavor of jelly or gelatin powder for that wobbly top layer
Pro Tip: You can also add a touch of creativity with additions like fresh fruit, a pinch of spices, or even food coloring to make your jelly slice uniquely yours. Let your imagination and your kid’s creativity be your guide!
Classic Jelly Slice Recipe – Step by Step
Alright, chefs-in-the-making, let’s start with a classic recipe that’s always a hit. Follow these simple steps, and you’ll have a fabulous jelly slice ready in no time!
Creating the Base
We begin by crafting a firm foundation – the biscuit base. This part is super fun for the kids, as they can help crush the biscuits into fine crumbs (and maybe sneak a piece or two, we won’t tell!). Here’s how:
- Line your baking dish with parchment paper, leaving some overhang for easy removal later.
- In your food processor (or using the rolling pin method), crush the biscuits until they resemble fine crumbs.
- Melt the unsalted butter and mix it thoroughly with your biscuit crumbs until the mixture is moist and sticks together when pressed.
- Transfer the mixture to your lined dish and press down firmly to create an even layer. A little tip – the back of a spoon or a flat-bottomed glass can really help to get it nice and compact.
- Chill the base in the refrigerator while you prepare the middle layer. This helps it firm up to hold the next layer perfectly.
With the base chilling, you’re one step closer to that perfect jelly slice. Aren’t you excited? I know I am! But for now, let’s pause and take a breath, because you’ve just completed the first chapter of your jelly slice adventure.
In our next update, get ready to learn how to mix up the dreamy middle layer, and nail that wobbly jelly topping that’ll crown your delicious creation. So, stay tuned, and remember to keep smiling – because the best ingredient of all is a spoonful of joy!
And remember, when it comes to cooking with your kids, the journey is just as sweet as the jiggly jelly slice waiting for you at the end. So enjoy every mix, every layer, and every burst of laughter along the way.
Five Things Parents Should Know When Making Jelly Slices
1. Patience is Key
When embarking on the jelly slice journey, remember that each layer needs time to set, especially the middle and top jelly layers. This isn’t an express dessert, so you’ll have to plan ahead. Make your jelly slice a day in advance of your event or family gathering to ensure each layer sets perfectly.
2. Encourage Cleanliness
It’s essential to instill good habits from the start, so make hand washing a fun ritual before any cooking activity. Ensuring your little ones’ hands are clean before they start will help maintain hygiene in the kitchen. Have aprons ready too, to keep those adorable outfits stain-free.
3. Individualize the Experience
To make the cooking experience even more special, allow the children to have some autonomy. Provide a selection of food dyes, flavors, or toppings so they can personalize their jelly slices or even sculpt individual mini versions in cupcake liners. This not only cultivates creativity but also gives them a sense of pride in their unique creations.
4. Safety First
While we love involving kids in the kitchen, always prioritize safety. Make sure hot items like melted butter are handled by adults and that children are supervised throughout the process. Keep sharp objects out of reach, and introduce them to tools that are age-appropriate.
5. Embrace the Mess
Let’s face it – baking with children can get messy. But that’s part of the fun! Set up your workspace with easy-to-clean materials, have towels on hand for spills, and remember that it’s all part of the memorable experience. Embrace the flour on noses and jelly on fingers, as these moments make the best stories later on!
Preparing the Middle Layer
Now, for the creamy center that brings the bite – the middle layer. This is where the magic happens, mixing sweetened condensed milk with a tangy punch of lemon to create that creamy wonder. Care for another round of layering fun? Off we go!
- In a mixing bowl, combine the sweetened condensed milk with freshly squeezed lemon juice. The kids will love helping with the squeezing! The acidity from the lemon will thicken the mixture as you stir.
- Pour this creamy concoction over the chilled biscuit base and spread to form a smooth layer. Once again, children can help with the spreading, maybe even creating patterns with the back of a spoon.
- Return the dish to the refrigerator and let the middle layer set. This usually takes a couple of hours, so it’s a good time for a break. Perhaps read a story or play a little game with your kitchen assistant(s) while you wait.
With the middle layer setting, anticipation builds for that final wobbly layer. While we’re waiting, why not discuss with your kids what colors they might like the jelly to be or if they’d enjoy fruit pieces set into the jelly for added surprise and texture. The possibilities are truly endless!
Topping It Off with Jelly!
We’ve made it to the crowning glory of our jelly slice – the jelly itself! Even though these recipes are a breeze, there’s nothing like seeing that gleaming layer come together. Hang tight, because soon you’ll have a complete, ecstatically yummy jelly slice masterpiece!
- Prepare the jelly according to the package instructions, but make sure it cools before pouring it over the set middle layer. If it’s too hot, it can melt the creamy layer and we wouldn’t want that, would we?
- When the jelly is cool yet still liquid, gently pour it over the middle layer. A trick to prevent dents is to pour the jelly over the back of a spoon so it spreads evenly without causing any disturbance.
- One last time, back into the fridge it goes. This is the longest wait as the jelly needs to fully set, but patience will be rewarded with those perfect jelly slices!
There you have it, a delightful dessert that’s been a team effort from start to finish. Once the jelly is set, slice up your creation and serve it to the applause of friends and family. What a beautiful bonding activity and a delectable treat all rolled into one!
And remember, when it comes to cooking with your kids, the journey is just as sweet as the jiggly jelly slice waiting for you at the end. So enjoy every mix, every layer, and every burst of laughter along the way. Happy slicing, everyone!
For more great articles please see here. For more information see here
Disclaimer
The articles available via our website provide general information only and we strongly urge readers to exercise caution and conduct their own thorough research and fact-checking. The information presented should not be taken as absolute truth, and, to the maximum extent permitted by law, we will not be held liable for any inaccuracies or errors in the content. It is essential for individuals to independently verify and validate the information before making any decisions or taking any actions based on the articles.


