“`html
Delicious and Nutritious: Salmon Rissoles – A Guide for Busy Parents
Hello, fabulous foodie families! ?? Are you on the hunt for a dinner idea that’s both nutritious for the kids and delightful for the parents? Well, have I got good news for you! Today, we’re talking about the wonderfully versatile – drumroll, please – Salmon Rissoles!
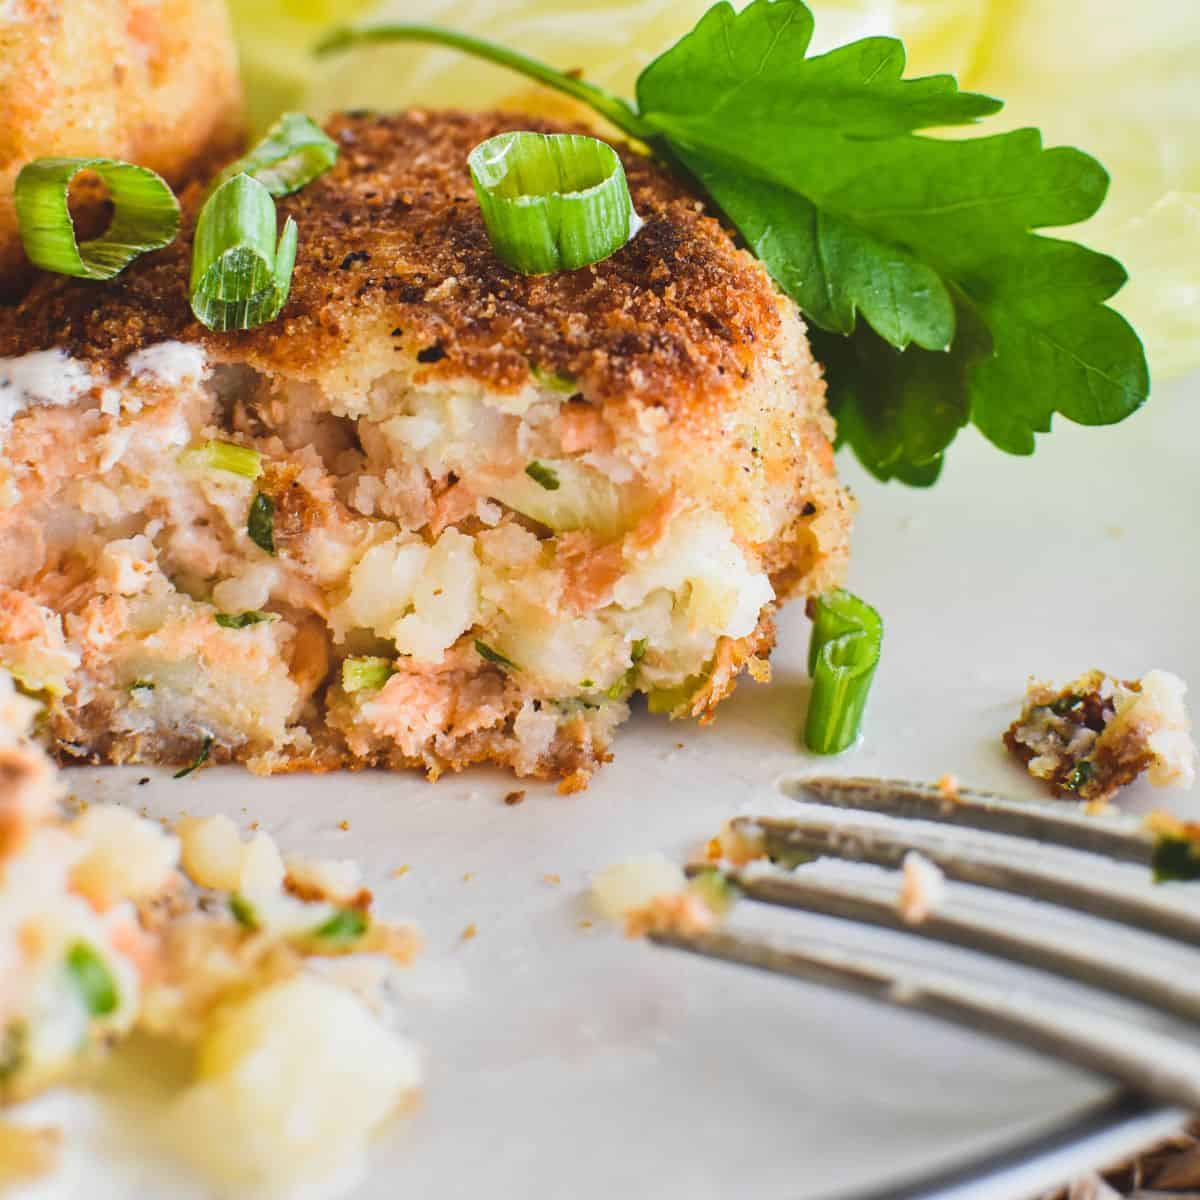
Now, I can hear some of you saying, “Rissoles? What are those?” Let’s demystify this dish before we dive in. Rissoles are delightful patties made from minced or ground meat – in this case, salmon – and are often mixed with breadcrumbs, herbs, and spices, then pan-fried to golden perfection. ?
Not only are these little patties a hit among the kiddos, but they’re also packed with omega-3s, protein, and a splash of fun. And don’t worry; I’ve designed this guide with you, my busy parent compadres, in mind. Fast, easy, and – most importantly – absolutely scrumptious. Let’s get cooking!
Why Salmon Rissoles are a Smart Choice for Your Family
Before we jump into the “how”, let’s chat about the “why”. Salmon is a superhero in the food world, boasting a high content of essential fatty acids, omega-3s, which are known for supporting brain development and reducing inflammation. Plus, salmon is a fantastic source of vitamin D – crucial for bone health – and B vitamins, which keep our energy levels up and our bodies running smoothly.
But here’s the real kicker: salmon rissoles can easily be hidden with all sorts of veggies. So, if you’ve got picky eaters who turn their noses up at anything green, this recipe could be your ticket to a peaceful, veggie-filled dinner.
Gather Your Ingredients
One of the joys of salmon rissoles is that they’re relatively simple to whip up, and you can find all the ingredients in your local supermarket. Here’s what you’ll need to get started:
- Fresh or canned salmon
- Breadcrumbs or panko for that irresistible crunch
- One juicy lemon for a citrusy zing
- An egg to bind all that goodness together
- Herbs and spices like dill, parsley, or chives for the perfect flavor
- Your trusty salt and pepper
- A dash of olive oil for frying
Keep in mind that this list is just your starting block. One of the fantastic things about rissoles is how adaptable they are. Got leftover veggies? Throw them in. Want to spice things up? Add some chili flakes or paprika. The only limit is your imagination – and what’s currently in your pantry.
Preparing Your Salmon
Whether you’ve gone for fresh or canned salmon, the preparation steps are simple. If you’re using fresh salmon, you’ll need to cook it first. Poaching or baking is the way to go, and don’t stress, you want it just-cooked because it’ll get another round of heat once turned into rissoles. Flaking the cooked salmon is a fun step for the little helpers in your kitchen, just make sure it’s cooled down enough.
For the canned-salmon aficionados, drain the salmon and get rid of any pesky bones – we want smooth sailing for our little eaters. Go ahead and flake the salmon into a bowl, ready for the next step.
“`
This starting portion of the article sets the stage for a family-friendly guide on making salmon rissoles. It begins by explaining what salmon rissoles are and why they are a good choice for family meals. It then provides a list of ingredients and starts discussing the preparation steps, leaving the reader anticipating further directions in an upcoming continuation of the guide.

“`html
Five Things Parents Should Know When Preparing Salmon Rissoles
Preparing meals for your family should be as joyful as it is nutritious. With salmon rissoles on the menu, you’re in for an experience that ticks both boxes! Keep these five key tips in mind to ensure a smooth sailing meal prep:
- Fresh vs. Canned Salmon: Using fresh salmon will always give you the edge in terms of flavor and texture. However, canned salmon can be super convenient and is a great pantry staple. If you opt for fresh salmon, remember to remove the skin and bones before cooking. For canned, ensure it’s well-drained and checked for any bones.
- Breadcrumb Alternatives: Gluten or breadcrumbs not your thing? No problem! Try substituting with crushed oats, almond meal, or gluten-free breadcrumbs to suit your family’s dietary needs while still achieving that delightful crunch.
- Involve Your Little Chefs: Kids are more likely to eat what they’ve helped prepare. From measuring and mixing to shaping the patties, there’s plenty for tiny hands to do. Plus, it’s a fun way to teach them about healthy eating and cooking. Just remember to supervise closely during the actual cooking process.
- Herbs and Spices are Your Friends: Encourage your children to explore a variety of tastes by adding different herbs and spices to your rissoles. Not only will this enhance the flavor, but it also provides an opportunity for your wee ones to learn about seasoning and develop their palates.
- Prep in Advance: Life gets busy, we totally get it. To lighten the load, consider preparing your salmon mixture in advance. You can refrigerate it for a few hours or even freeze the shaped patties ready to be cooked at a later date. This makes for a swift and stress-free dinner when time is of the essence.
Lets Get Mixing!
It’s time to roll up your sleeves and get those hands a little messy – all for the love of food, of course.
Combine your cooked or drained salmon, breadcrumbs, egg, squeezed lemon juice, and all your chosen herbs and spices in a big bowl. This is where fun meets functionality: as you mix, you’re encouraging kids to get tactile and you’re making sure everything is nicely homogenized for the tastiest rissole outcome.
Once everything is nicely mixed, the fun part begins – shaping! Guide your kids to mold the mixture into patties of a size that you find just right for your family. Around the size of your palm is usually a good gauge for a satisfying serving that cooks through evenly.
Time to Cook Those Rissoles!
Heat a non-stick pan with a bit of olive oil over a medium heat. Once the pan is ready, place your patties with a gentle sizzle and fry them until they’re gloriously golden brown on each side. This usually takes about 4-5 minutes per side, and here’s where you employ your most vigilant watching – we want a lovely crust, not a charred disk!
Remember, the egg in the mixture means we need to ensure they’re thoroughly cooked through. Once finished, remove the rissoles from the pan and lay them on a paper towel to soak up any excess oil, so each bite is crispy yet not greasy.
Serving Up Goodness
Pat yourself, and your helpers, on the back because it’s time to serve up those scrumptious salmon rissoles! They’re fabulous with a simple green salad, a dollop of tartare sauce, or even a squeeze of fresh lemon. For the kiddos, consider cutting the rissoles into bite-sized pieces and serve with a side of sweet potato fries for a meal they’ll request time and time again.
“`
For more great articles please see here. For more information see here
Disclaimer
The articles available via our website provide general information only and we strongly urge readers to exercise caution and conduct their own thorough research and fact-checking. The information presented should not be taken as absolute truth, and, to the maximum extent permitted by law, we will not be held liable for any inaccuracies or errors in the content. It is essential for individuals to independently verify and validate the information before making any decisions or taking any actions based on the articles.


