Spinach & Ricotta Triangles: A Loveable Snack for the Whole Family
Hey there, amazing parents! Are you on the lookout for a scrumptious snack that’s not just irresistibly tasty but also brimming with goodness? Look no further! These delightful spinach & ricotta triangles are just what you need to bring a bit of culinary magic into your kitchen and the tummies of your little ones. Let’s embark on a flavorful journey that combines the creamy texture of ricotta with the vibrant, nutrient-packed leaves of spinach, all wrapped tightly in a golden, flaky pastry. Excited? So are we!
Why Spinach & Ricotta Triangles?
Before we tap into our inner chefs, let’s talk about why these triangles are the superheroes of snack time. Spinach is a well-known superfood, rich in iron, vitamins A, C, and K, fiber, and a host of minerals that contribute to strong bones and a healthy body. Combine this green wonder with ricotta cheese, which is packed with protein, calcium, and essential fats, and you’ve got yourself a snack that’s as nutritious as it is delicious.
What You’ll Need
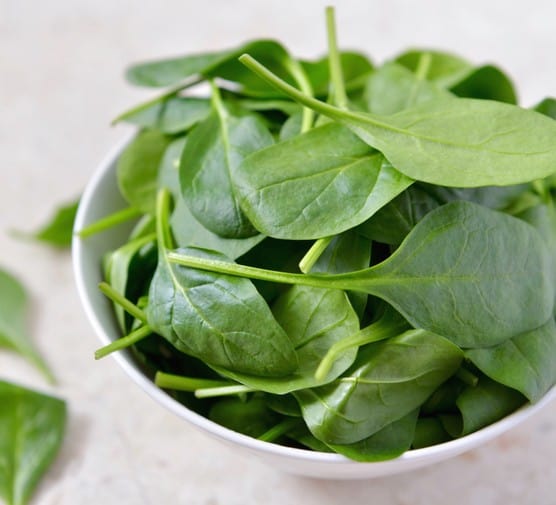
- Fresh spinach leaves – not only are they a powerhouse of nutrition, but they also add that fantastic pop of color that makes the triangles a visual feast.
- Ricotta cheese – for that ultra-smooth, creamy texture that kids (and adults) go crazy for.
- Phyllo pastry – the secret to creating those perfectly crisp layers that are music to your ears with every bite.
- Spices and flavors – a pinch of nutmeg, some minced garlic, and perhaps a dash of lemon zest to elevate the taste to heavenly heights.
Step-by-Step Guide to Spinach & Ricotta Triangle Success
Don’t worry, you don’t need to be a gourmet chef to pull these off. Our straightforward guide will ensure your triangles come out perfect every time. So, tie on your apron, preheat the oven, and let’s get those triangles baking to golden perfection.
Step 1: Prepping your Spinach
Let’s begin by preparing those lush leaves. You’ll want to wash the spinach thoroughly to remove any grit and then wilt it in a pan. Pro tip: Spinach cooks down significantly, so don’t be shy about piling it high! Cool it down, squeeze out the excess water, and chop it up ready for your cheesy mixture.
Step 2: The Creamy Ricotta Mixture
Mix your drained and chopped spinach with creamy ricotta cheese. Feel free to enhance the mixture with some parmesan for that extra cheesy kick, a whisked egg to bind it all together, and seasonings of your choice. Nutmeg complements the spinach beautifully – sprinkle with love!

Step 3: Assembling the Triangles
Next up, it’s time to assemble! Lay out a sheet of phyllo pastry and cut it into strips. Brush each strip lightly with melted butter or olive oil – this helps achieve that delightful crunch. Place a dollop of your spinach and ricotta mixture on one end of each strip, then fold it over into a triangle, continuing to fold in the same manner until you reach the end of the strip. Seal with a touch more butter or oil, and voila, your triangles are formed.
Step 4: Baking to Perfection
Arrange your triangles on a baking sheet lined with parchment paper, giving them a little space to breathe. Bake in a preheated oven at 180°C (350°F) until they are puffed up and golden brown, which should take about 15-20 minutes. Keep an eye on them to ensure they don’t over-brown.
Step 5: Enjoy the Yummy Goodness!
Once they’re done, let them cool slightly – this will be the hardest part because they’ll smell amazing! Serve them up to your eagerly awaiting family and watch those triangles disappear one by one. They make a great lunchbox treat or an after-school snack and are just as good served at a family gathering or potluck.
5 Things Parents Should Know in Preparing Spinach & Ricotta Triangles
- Quality of Ingredients Matters: Using the freshest spinach and a high-quality ricotta will make all the difference in the flavor of your triangles. Choose organic and fresh where possible for a rich taste and nutrient boost.
- Preparation is Key: Have all your ingredients ready to go before you start assembling. Phyllo pastry dries out quickly, so keep it covered with a damp towel while you work, and only take out what you need, when you need it.
- Kids Can Help Too: Involve your little chefs in the process! They can help mix the filling, brush the pastry with butter, and even learn to fold the triangles – it’s a fantastic way to get them interested in cooking and nutrition.
- Freezing is an Option: If you’re looking to save time, prepare a large batch and freeze them before baking. Later, you can bake them straight from frozen, just add a few extra minutes to the baking time. This makes for a quick and easy snack any day of the week.
- Spice it Up: Don’t be afraid to experiment with flavors. You can add chopped sun-dried tomatoes, olives, feta, or even some cooked chicken for a non-vegetarian twist. This is a versatile recipe that can be adapted to fit your family’s taste preferences.
Final Thoughts
There you have it – the complete guide to crafting delightful spinach and ricotta triangles that your family will adore. With this easy and flexible recipe, you’ll be sure to sneak in those greens in the most mouthwatering way. Spinach and ricotta triangles are not just a tasty treat; they’re a testament to the fun and joy that can come from cooking and enjoying food together as a family. Give them a try, and you might just find they become a cherished part of your recipe repertoire!
