
Yummy YoYo Recipes for Kids: A Wholesome Guide for Parents
Welcome, Super Moms and Dads, to your go-to resource for whipping up some delicious fun with yo-yo recipes that are sure to bring smiles to your little ones’ faces! ??
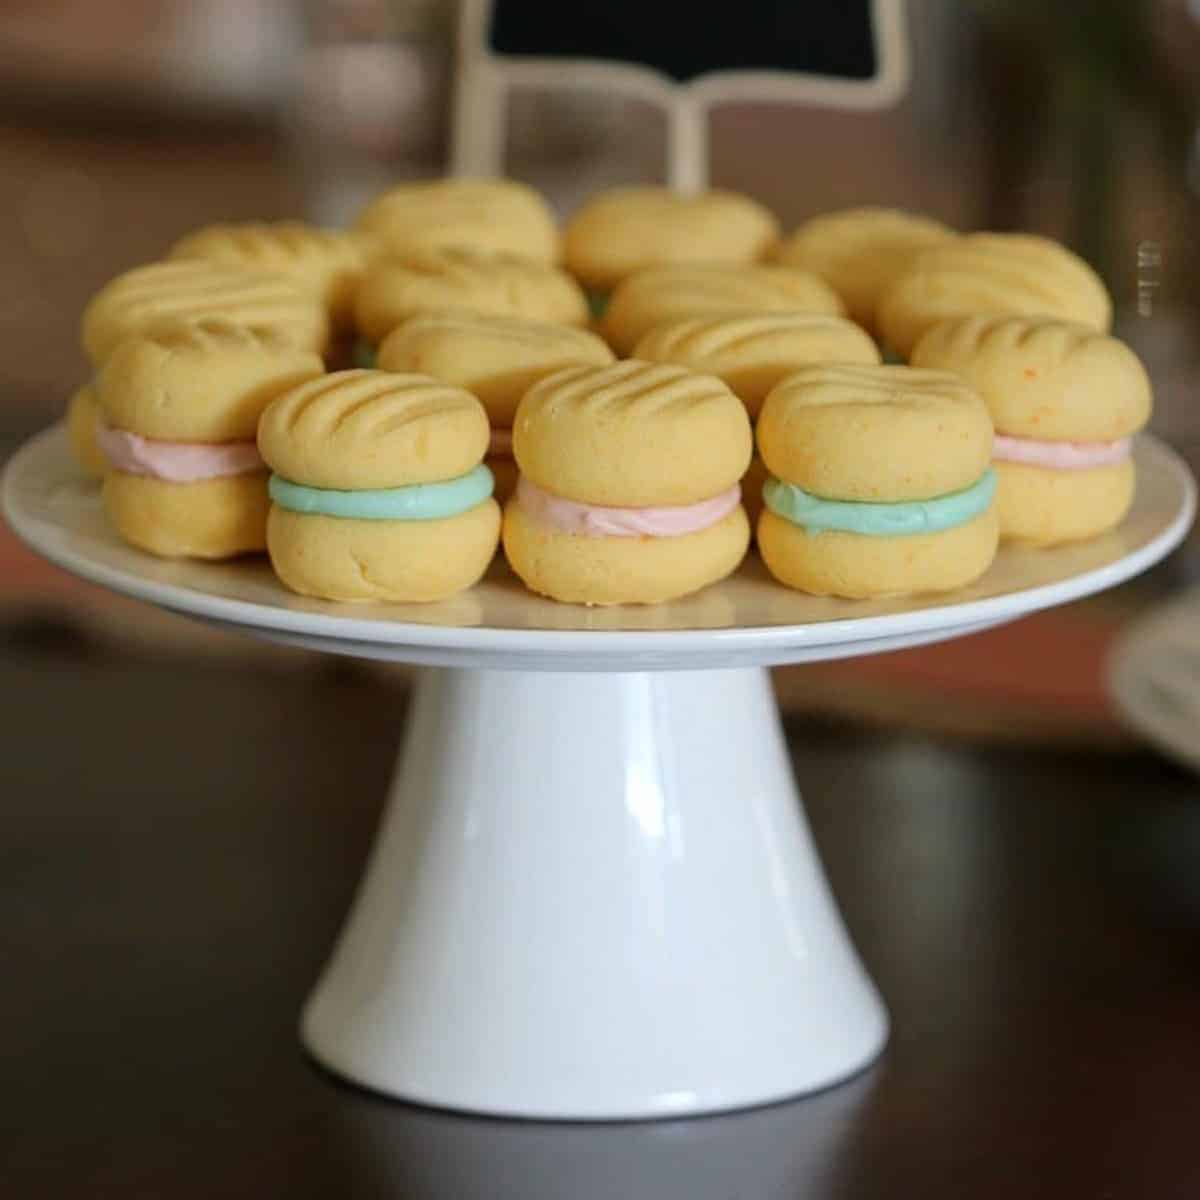
What Are Yo-Yo Biscuits?
Yo-yo biscuits are a delightful treat hailing from Down Under, where they are a beloved classic for afternoon teas and children’s snack time. These sweet treats are akin to shortbread sandwiches with a creamy filling that simply melts in your mouth, and guess what? They’re incredibly easy to make! ?
Why Homemade Yo-Yo Biscuits?
You might be pondering why you should opt for homemade yo-yos when store-bought ones are just a shelf away. One word: customization! You get to decide what goes into your biscuits, making it not just a crafty kitchen adventure but also an opportunity to pick wholesome, nutritious ingredients for your kiddo’s delight. Plus, the shared experience of baking together can become precious family memories. ???
The Essential Yo-Yo Biscuit Recipe
Let’s start with the essential yo-yo biscuit recipe that you can later tweak to your heart’s content. It’s a simple, fail-proof formula that promises fun in the kitchen and yum on the plate.
Ingredients:
- 1 cup all-purpose flour (or a gluten-free alternative!)
- 1/2 cup custard powder (the secret ingredient!)
- 3 tablespoons confectioners’ sugar
- 2 sticks unsalted butter, softened
- 1 teaspoon pure vanilla extract
- A pinch of salt
Buttercream Filling:
- 1/2 stick unsalted butter, softened
- 3/4 cup confectioners’ sugar
- 1 tablespoon custard powder
- 1 teaspoon pure vanilla extract
Instructions:
- Preheat your oven to 180°C (350°F) and line a baking sheet with parchment paper.
- In a bowl, whisk together the flour, custard powder, confectioners’ sugar, and a pinch of salt.
- In another bowl, beat the butter and vanilla extract until creamy.
- Gently fold the dry ingredients into the butter mixture until just combined.
- Roll the dough into small balls and place them on the baking sheet. Gently flatten each ball with a fork.
- Bake for 10-12 minutes or until lightly golden. Allow them to cool on a wire rack.
- For the filling, combine the butter, confectioners’ sugar, custard powder, and vanilla until smooth.
- Once the biscuits are cool, spread the buttercream on one and sandwich with another biscuit.
Voila! Your classic yo-yo biscuits are ready to steal the show at snack time! ?
Nutritional Tips for Healthier Yo-Yo Biscuits
As we promised, it’s time to take these yo-yos to the next level with some healthy tweaks. Here’s how you can adjust the recipe for a more nutritious punch:
- Swap all-purpose flour for whole wheat or oat flour for added fiber.
- Reduce the sugar and add a dash of honey or maple syrup for natural sweetness.
- Use a dairy-free butter alternative for those with lactose sensitivities.
- Get creative with the filling – add a teaspoon of fruit puree for flavor and vitamins.
Fun Variations to Explore
We all know that variety is the spice of life! And when it comes to yo-yo biscuits, the sky is the limit.

Yummy YoYo Recipes for Kids: A Wholesome Guide for Parents
Welcome, Super Moms and Dads, to your go-to resource for whipping up some delicious fun with yo-yo recipes that are sure to bring smiles to your little ones’ faces! ??
Five Things Parents Should Know in Preparing Yo-Yo Biscuits
Before we jump into the delightful variety of yo-yo biscuits you can create, let’s equip you with some essential tips for making sure your baking adventure is both fun and fruitful:
1. Quality Ingredients Matter
Using high-quality ingredients is the secret to tasty yo-yo biscuits. Opt for real butter for that melt-in-your-mouth experience and pure vanilla extract for the best flavor.
2. The Right Texture
Yo-yo biscuits are known for their crumbly texture. To achieve this, take care not to overwork the dough. Mix until just combined for that perfect tender bite.
3. Even Sizes for Perfect Pairs
Since yo-yo biscuits are sandwiched, make sure your dough balls are even in size. Use a cookie scoop if you have one – it’s a real game-changer for uniform biscuits!
4. Patience is Key
Allow your biscuits to cool completely before applying the creamy filling. If you’re too hasty, the lovely buttercream might just melt away.
5. Safe Storage
Store your yo-yo biscuits in an airtight container to keep them crunchy and fresh. They can last up to a week, but let’s be real, they’re too tasty to not finish sooner!
Healthy Eating & Allergy Awareness
Being mindful of your child’s diet and potential allergies is paramount. Here are some considerations when preparing yo-yo biscuits:
- Always check the ingredients for potential allergens.
- Substitute regular flour with almond or coconut flour for a gluten-free alternative.
- Opt for unsaturated fats like margarine if watching saturated fat intake.
- Limit the sugar or opt for natural sweeteners like stevia for a health-conscious twist.
- Involve your kids in the baking process making it an educational moment about nutrition and food choices.
The Essential Yo-Yo Biscuit Recipe Continued…
Back to our basics! Now that we’ve got our tips down, let’s continue with the fun part – whipping up these delightful biscuits!
Instructions Continued:
- To add a touch of creativity, why not use cookie cutters to make fun shapes? Just remember to adjust the baking time for smaller sized biscuits.
- Got everything sandwiched up? Dip half of the yo-yo in melted chocolate and sprinkle some rainbow sprinkles for a dash of color and extra pizzazz!
- Remember, ovens vary, so keep an eye on your biscuits as they bake. They should be a lovely light golden color – not too pale and not too brown.
Once you’ve mastered the basic yo-yo biscuit, the world of flavors is your playground. Get creative and experiment with different fillings and toppings. Just keep fun and health in balance, and snack time will be a hit!
Fun Variations to Explore
Let’s get those creative juices flowing with variations to the classic yo-yo. Here are some exciting ideas:
- Press a thumbprint into each biscuit before baking and fill it with a dollop of jam after they’re cooled – voila, thumbprint yo-yos!
- Mix in some lemon zest into the dough and the filling for a citrusy twist that brings freshness and zing.
- Add cocoa powder to the dough for chocolate yo-yos that are irresistibly decadent.
- How about a seasonally spiced yo-yo with a blend of cinnamon and nutmeg to warm up those chilly afternoons?
- Lastly, grinding some nuts like almonds or pecans into the dough can add a lovely texture and nutty flavor – plus some additional protein!
Engage Your Kids in the Kitchen
Baking yo-yo biscuits with your children is a wonderful opportunity to teach them about measuring, following instructions, and the joy of creating something from scratch. It can also be a bonding experience that they’ll cherish for years to come. Encourage them to make their own variations and enjoy watching their inner chef shine!
. For more information see here
Disclaimer
The articles available via our website provide general information only and we strongly urge readers to exercise caution and conduct their own thorough research and fact-checking. The information presented should not be taken as absolute truth, and, to the maximum extent permitted by law, we will not be held liable for any inaccuracies or errors in the content. It is essential for individuals to independently verify and validate the information before making any decisions or taking any actions based on the articles.


