
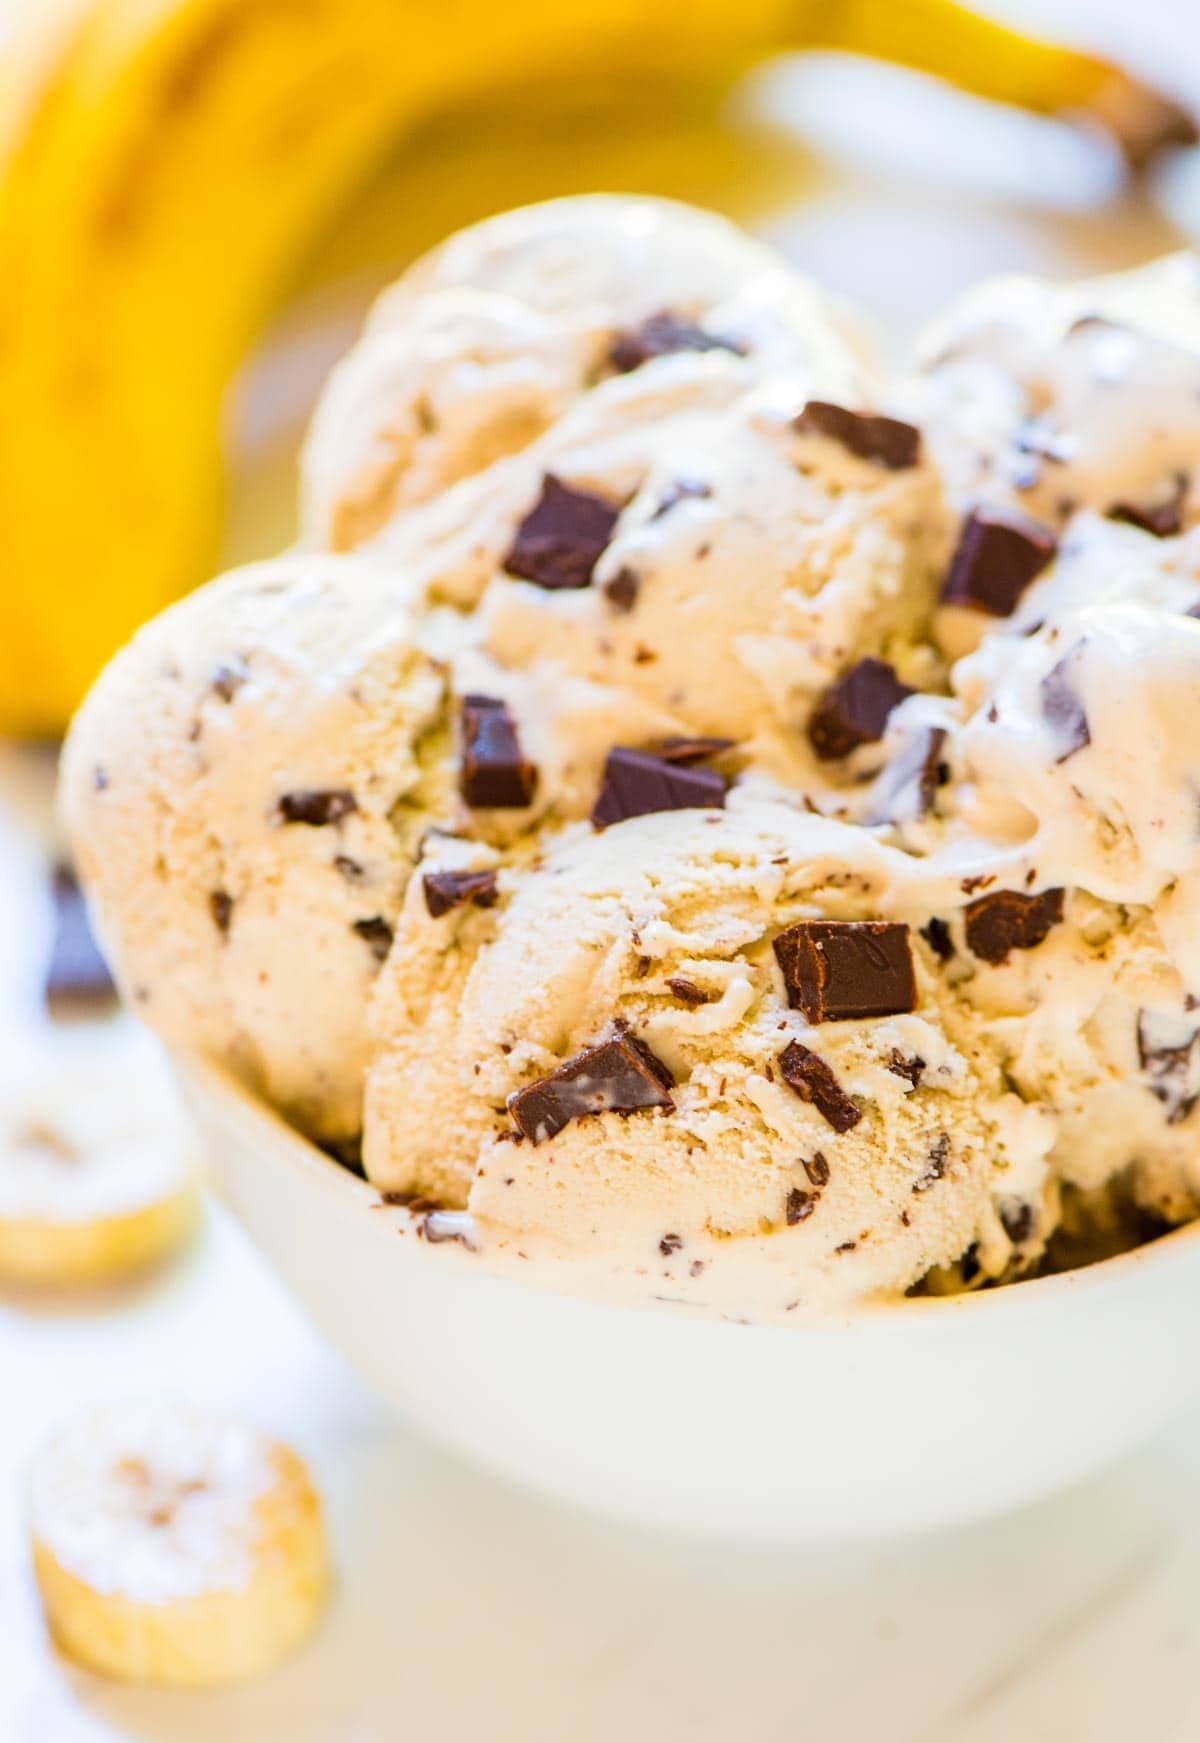
Kid-Friendly Banana Ice Cream: A Wholesome Treat for the Whole Family!
Hey there, sweet-toothed parents and guardians! Are you on the lookout for a treat that’s not only mouthwateringly delicious but also on the healthier side for your little ones? Well, you’ve hit the jackpot with our delightful guide on how to make banana ice cream right from the comfort of your home. It’s a banana bonanza that promises creamy goodness without the added guilt. So, let’s split into the fun world of homemade ice cream that will have both kids and grown-ups going bananas!
What’s All the Appeal with Banana Ice Cream?
Before we peel into the step-by-step recipe, let’s talk about why banana ice cream is climbing to the top of the snack ladder. This fruity concoction isn’t merely tasty; it’s a treasure trove of benefits:
- Healthy Ingredients: Bananas are naturally sweet and brimming with nutrients, meaning we can skip the added sugars and preservatives often found in store-bought ice creams.
- Easy and Fun to Make: With just a few simple ingredients and steps, this could become your go-to activity for family fun time.
- Allergy-Friendly: Gluten-free, nut-free, dairy-free – you name it, banana ice cream can cater to it, making it an inclusive dessert option for various dietary needs.
- Eco-Conscious Choice: Utilize those overripe bananas that might otherwise be tossed away, reducing food waste and helping out dear Mother Earth.
Gearing Up: What You’ll Need
Before we get frozen in our tracks, let’s ensure we have everything handy. Here’s what you’ll need to whip up your batch of happiness:
- 3 large ripe bananas
- A pinch of pure love (aka your favorite mix-ins – think cinnamon, vanilla extract, cocoa powder, or peanut butter)
- Food processor or a high-powered blender
- Freezable container (because you’ll want to savor it for as long as you can!)
- Your best spoon (for taste testing, of course!)
The Banana Ice Cream Blueprint
Let’s get to the creamy core of the matter. Follow these simple steps to create your blissful batch of banana ice cream:
- Prep Your Bananas: Peel and chop the bananas into small chunks. Place them on a baking sheet lined with parchment paper and freeze until solid, ideally overnight. By doing this, you’re ensuring a creamy texture that’s just irresistible.
- Blend Till Smooth: Toss your frozen banana pieces into the food processor or blender and let it rip! Blend until the mixture is smooth and creamy. You might have to stop a few times to scrape down the sides – it’s a part of the ice cream-crafting adventure!
- Mix It Up: Now is the time to add your pinch of love, those delightful mix-ins. Want a swirl of peanut butter, a sprinkle of cocoa powder, or a dash of vanilla extract? Go for it! This step is all about tailoring the treat to your family’s tastes.
- Freeze for Perfection: Once everything is mixed to perfection, transfer the mixture to your freezable container. Spread it evenly and cover it. For the firm ice cream texture, freeze it for at least 2 hours before serving.
- Serve and Enjoy: Scoop your homemade banana ice cream into bowls or cones and watch your family’s eyes light up with joy. It’s sundaes on a Monday or any day, really!
Creating homemade banana ice cream is more than just a way to treat your taste buds; it’s about making memories and indulging in the sweet simplicity of life’s pleasures. As we continue, we’ll explore irresistible flavor combinations, nutrition tips, and fun ways to involve the kids in the ice cream-making extravaganza. So, grab those bananas, and let’s freeze the day with a scoop of smile-inducing banana ice cream!

5 Things Every Parent Should Know When Preparing Banana Ice Cream
- Choosing the Right Bananas: Not all bananas are created equal when it comes to making ice cream. Look for bananas that are ripe to overripe – they should have a yellow peel with a fair amount of brown spots. This level of ripeness means a sweeter flavor and creamier texture for your ice cream.
- Prepping is Key: Slicing the bananas before freezing them is a game-changer. Small, evenly-cut pieces freeze better and blend more easily, preventing any strain on your blender and leading to a smoother finish.
- Patience Makes Perfect: While you might be tempted to pop those frozen bananas into the blender as soon as they’re hard, giving them a full overnight freeze ensures they’re thoroughly solid, which is critical for getting that rich, ice-cream-like consistency without needing to add any liquids.
- Personalize Your Pint: Banana ice cream is like a blank canvas for your culinary creativity. Encourage your kids to brainstorm their favorite flavors. Letting them choose their mix-ins can make them more excited about the healthy treat they’re helping to create.
- Storage Smarts: If you happen to have leftovers (a big “if,” we know!), use an airtight container to store the banana ice cream in the freezer. Pressing a piece of parchment paper against the surface before sealing it can help keep ice crystals from forming, ensuring your next scoop is just as creamy as the first.
Next-Level Banana Ice Cream: Tips and Tricks You’ll Love
For those eager to elevate their banana ice cream game even further, here are some additional tips and tricks:
- Layer on the Toppings: When it comes to toppings, the sky’s the limit! Nuts, granola, fresh fruit, chocolate chips, or even a drizzle of honey can turn a simple bowl of banana ice cream into a sundae extravaganza.
- Nutrition Boost: Add a scoop of protein powder or a spoonful of chia seeds to give your banana ice cream a nutritional upgrade. This can be especially helpful if you’re looking to incorporate more protein or fiber into your child’s diet.
- Texture Tactics: For those who enjoy a bit of crunch, consider adding a handful of cacao nibs or crushed cookies during the last few pulses of blending for a surprisingly delightful texture.
- Friendship Through Food: Involve your kids’ friends in the process by hosting a banana ice cream party. It’s a fun way to teach kids about the joys of cooking, sharing, and enjoying food together.
- Teachable Moments: Use this ice cream-making experience as a way to teach your kids about the importance of choosing natural ingredients over processed ones. It’s a lesson in nutrition they can literally taste!
With this treasure trove of tips, your banana ice cream is sure to be a hit. Not only will you be serving up smiles, but you’ll also be dishing out a healthy dose of wholesome ingredients. Happy blending!
For more great articles please see here. For more information see here
Disclaimer
The articles available via our website provide general information only and we strongly urge readers to exercise caution and conduct their own thorough research and fact-checking. The information presented should not be taken as absolute truth, and, to the maximum extent permitted by law, we will not be held liable for any inaccuracies or errors in the content. It is essential for individuals to independently verify and validate the information before making any decisions or taking any actions based on the articles.


