
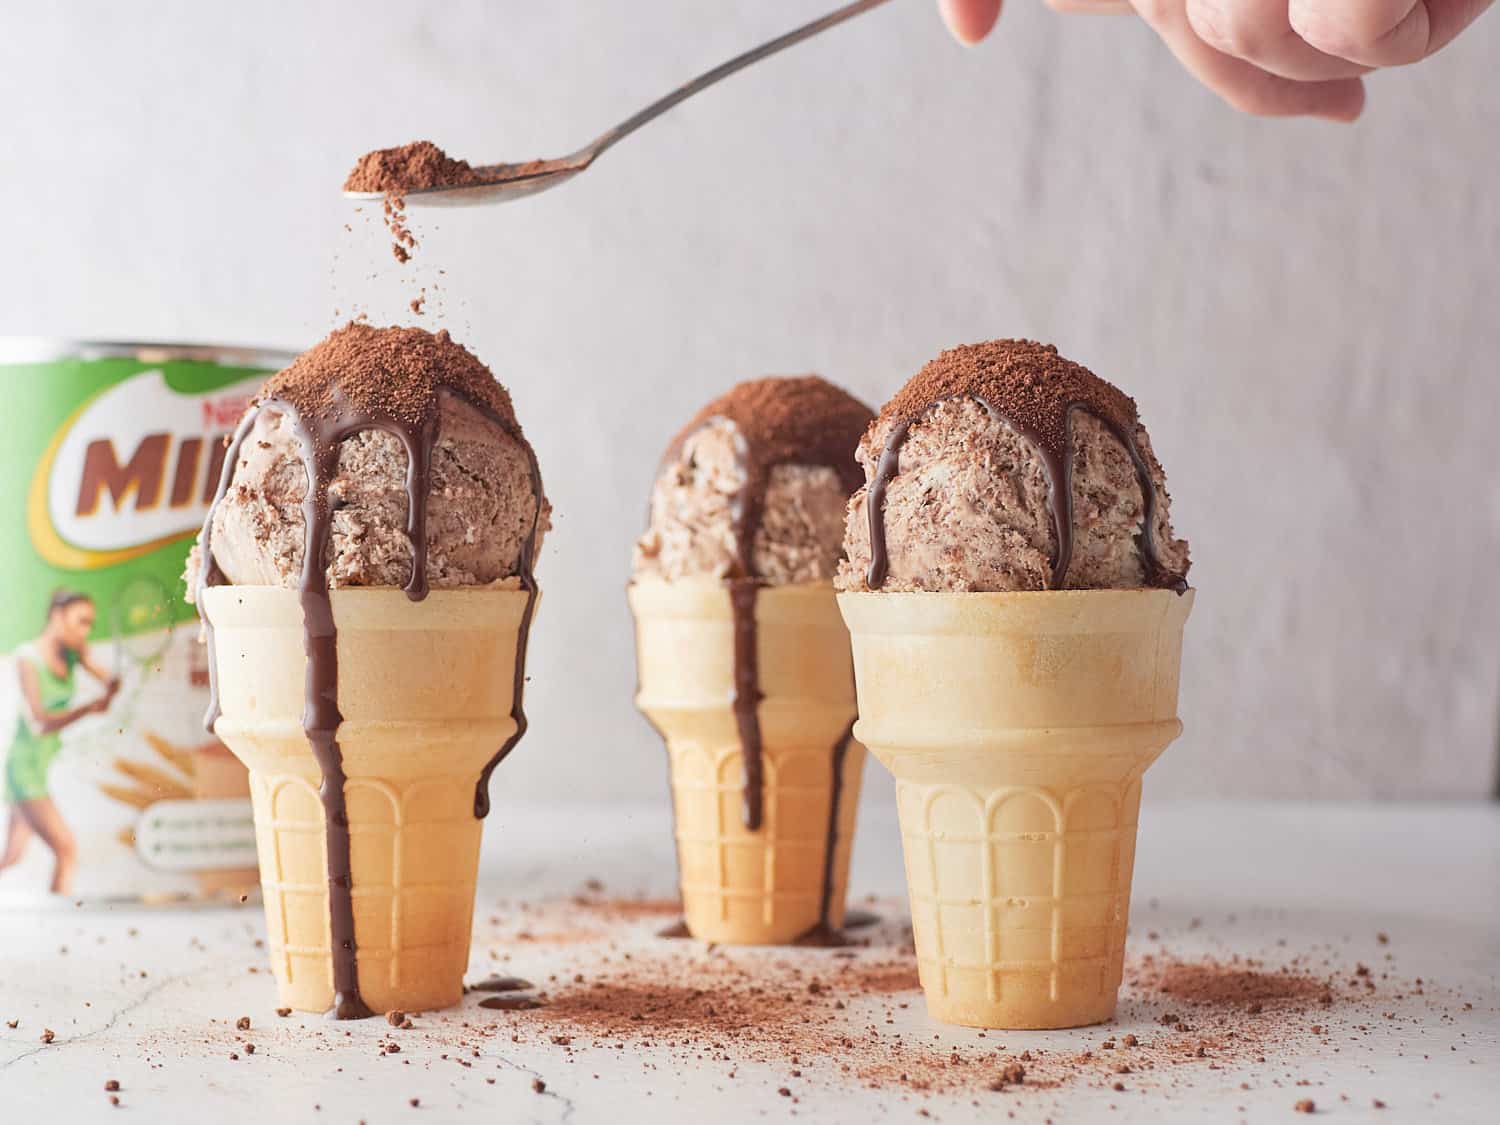
Discover the Joy of Homemade Milo Ice Cream for Your Kids!
Hey there, awesome parents! Are you ready to become the coolest mom or dad on the block? Get set to whip up a storm in your kitchen with a delectable treat that’s bound to make your little ones’ hearts melt as fast as a scoop of ice cream on a sunny day!
Welcome to our cheerful journey into the world of Milo ice cream – a scrumptious and indulgent dessert that’s not only a breeze to make but also guarantees smiles all around. Whether it’s a celebration, a reward for a job well done, or you’re just looking to add a sprinkle of sweetness to your family’s day, this guide is your golden ticket!
A Delectable Treat for Every Occasion
Milo, the beloved chocolate and malt powder, has been a staple in homes worldwide, cherished for its rich, chocolatey flavor and energizing qualities. Now, imagine combining the comfort and nostalgia of a glass of Milo with the creamy, dreamy luxury of homemade ice cream. Sounds irresistible, right?
We’ve designed this comprehensive guide with absolute beginners in mind, ensuring that even the busiest parents can whip up this mouthwatering masterpiece. No fancy equipment? No problem! We’re here to show you how you can craft this chilly delight with or without an ice cream maker.
What You’ll Need to Get Started
- A Love for Fun: At the heart of this activity is the joy of spending quality time with your kids in the kitchen. So, roll up your sleeves and get ready for some chocolatey fun!
- Basic Ingredients: Gather up some simple, wholesome ingredients like milk, cream, sugar, and, of course, the star of the show – Milo!
- Ice Cream Maker (Optional): If you have one, great! If not, we’ve got you covered with alternative methods to achieve that perfect creamy texture.
- Patience & a Freezer: Remember, good things come to those who wait. Once your mixture is ready, it’ll need some time to chill out in the freezer before it’s scoopable.
Creating Lasting Memories with Every Scoop
Not only is making ice cream a delightful experience but it’s also stuffed with opportunities for learning. From measuring ingredients to observing the freezing process, your kitchen can transform into a deliciously edible science lab. As a bonus, your little ones will learn the value of creating something from scratch, and the end result is way sweeter than anything you’d find in a store.
Before we dive into the recipe, let’s take a quick scoop at some of the benefits of making Milo ice cream at home with your kids:
- Fosters Creativity: Encouraging your kids to help with the ice cream making process sparks their imagination and allows them to experiment with flavors.
- Builds Essential Skills: From fine motor skills to following instructions and understanding sequences, cooking is a delicious way to develop life skills.
- Encourages Healthy Eating: By creating treats at home, you can control the ingredients that go into your family’s diet, opting for healthier, less processed options.
Let the Fun Begin: Your Step-by-Step Guide to Milo Ice Cream Bliss
Now that we’ve got your taste buds tingling with anticipation, it’s time to unveil the recipe you’ve been waiting for. Grab your kids, set aside some time for fun, and let’s create magic with Milo!
But before we dive into the creamy goodness, remember to bookmark this page because once you’ve seen those beaming smiles and sparkling eyes after the first taste, you’ll want to come back and make this over and over again.
Are you ready for an adventure in frozen delights? Join us in the next section to unleash the full recipe and expert tips to make the smoothest, most flavorful Milo ice cream ever!
Stay tuned, because we’re about to take the childhood classic to a whole new level. Let’s get churning!
Five Things Parents Should Know Before Making Milo Ice Cream
Making homemade Milo ice cream is an exciting adventure, but before we get churning, there are a few things to keep in mind. This knowledge will help ensure your ice cream turns out just as fantastic as the smiles it will create.
-
Understand Your Ingredients
Knowing your ingredients is crucial! High-quality cocoa and full-fat dairy products tend to yield the creamiest and richest ice cream. Also, make sure your Milo powder is stored correctly to retain its flavor. Understanding your ingredients will lay the foundation for the perfect Milo ice cream.
-
Temperature Matters
When it comes to homemade ice cream, cold is your best friend. Chill your ice cream base thoroughly before churning, and pre-freeze your ice cream maker’s bowl for at least 24 hours if you’re using one. After churning, a few hours in the freezer will help your ice cream set to the perfect consistency.
-
Consistency is Key
A smooth, creamy texture is what we’re after. To achieve this, mix your ingredients evenly and avoid over-churning. If you’re not using an ice cream maker, regular stirring during the freezing process can prevent ice crystals from forming, keeping the texture of your ice cream smooth.
-
Get Creative with Add-ins
Milo ice cream is delicious on its own, but don’t hesitate to add more fun! Consider mixing in chopped nuts, marshmallows, or even a swirl of caramel or chocolate fudge before the final freeze. Involve your kids in choosing their favorite add-ins for a personalized touch.
-
Safety First in the Kitchen
While making ice cream with your kids is fun and educational, always prioritize safety. Supervise your children closely, especially when handling kitchen equipment and hot ingredients. Set ground rules for the kitchen and have a first aid kit handy, just in case.
The Ultimate Homemade Milo Ice Cream Recipe
Now, with our pre-churning checklist complete, let’s dig into the full Milo ice cream recipe. Gather your eager little helpers, and follow these simple steps for a home run in homemade deliciousness!
Ingredients:
- 2 cups heavy cream
- 1 cup whole milk
- 3/4 cup Milo powder
- 1/2 cup granulated sugar
- 1 tsp vanilla extract
- Pinch of salt
Instructions:
-
Combine the milk, sugar, and Milo powder in a medium saucepan. Cook over medium heat, stirring frequently until the mixture is well blended and the sugar has dissolved. Do not let it boil.
-
Remove the mixture from the heat and let it cool slightly. Stir in the vanilla extract and a pinch of salt.
-
Transfer the mixture to a large bowl and gently whisk in the heavy cream until everything is thoroughly combined.
-
Cover the bowl and chill the ice cream base in the refrigerator for at least 4 hours, though overnight is best for a well-chilled base.
-
If using an ice cream maker, pour the mixture into the pre-frozen bowl, and churn according to the manufacturer’s instructions.
-
If you’re going the manual route, pour the mixture into a shallow dish, and place it in the freezer. Every 30 minutes for the next 3-4 hours, stir the mixture vigorously with a fork or whisk to break up any ice crystals.
-
Once the ice cream has reached your desired consistency, transfer it to an airtight container, and freeze for 2-3 more hours or until firm.
And there you have it – your very own batch of homemade Milo ice cream! This recipe is just the beginning, a foundation on which you can build countless variations. Remember, the most important ingredient is your imagination, so get creative, have fun, and enjoy the mouthwatering rewards of your labor! Happy churning!
For more great articles please see here. For more information see here
Disclaimer
The articles available via our website provide general information only and we strongly urge readers to exercise caution and conduct their own thorough research and fact-checking. The information presented should not be taken as absolute truth, and, to the maximum extent permitted by law, we will not be held liable for any inaccuracies or errors in the content. It is essential for individuals to independently verify and validate the information before making any decisions or taking any actions based on the articles.


