
Hearty Cacao Bliss Balls Your Kids Will Love
Hello there, wonderful parents! Are you on the lookout for a scrumptious snack that’s not only mouth-wateringly good but also packed with nutrients? Look no further! We’re about to embark on a culinary adventure into the world of cacao bliss balls – a treat that’ll bring a smile to your face and a burst of energy to your kids. So, let’s dive into this fun-filled guide and create some chocolaty magic together!
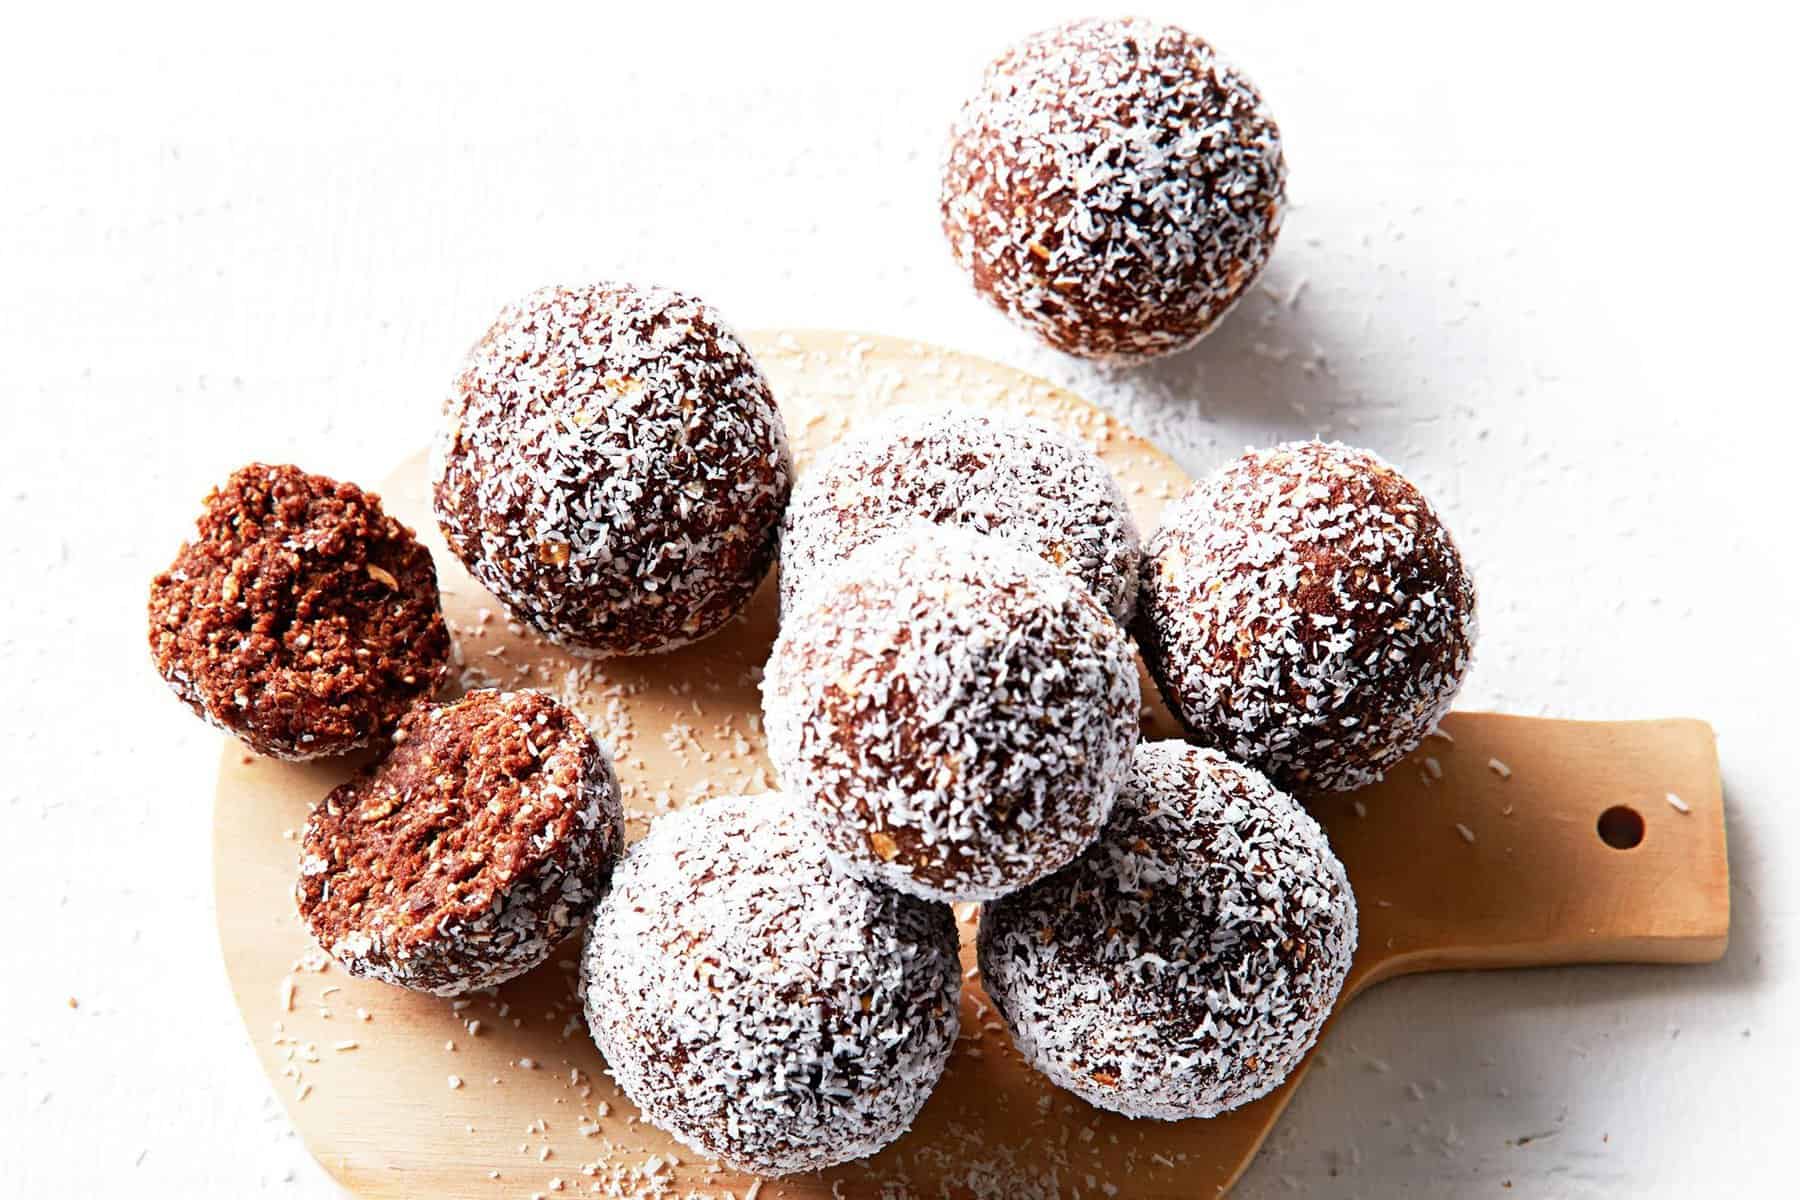
What Are Cacao Bliss Balls?
If you’re new to the realm of healthy snacking, you may be wondering what these little spheres of joy are. Cacao bliss balls are compact, no-bake snacks made with a tantalizing mix of natural ingredients, including the star of the show – cacao. They’re the ultimate blend of nutrition and indulgence, perfect for satisfying your sweet tooth the healthy way. Plus, they are blissfully easy to customize to cater to your little ones’ preferences!
Nutritional Benefits of Cacao Bliss Balls
Why are cacao bliss balls a hit among health-conscious families? Here’s the scoop: cacao is a superfood known for its high antioxidant content, essential for combating free radicals in the body. It’s also a fantastic source of magnesium, which plays a role in hundreds of biochemical reactions, including those related to muscle and nerve function, blood glucose control, and bone development – pretty important stuff for growing kids!
That’s not all! These little treats are typically sweetened with dates or other natural sweeteners and often include nuts and seeds, which bring healthy fats, protein, and fiber to the party. This means they’re not only tasty but also genuinely beneficial for your family’s health. Now, that’s spicing up snack time with a nutrient-rich twist!
Getting Started with Cacao Bliss Balls
Ready to get your hands messy and your kids excited? Making cacao bliss balls is a great way to introduce your children to the kitchen. With no oven required, it’s a fun, safe, and engaging way for them to help out. Let’s set the stage for our bliss ball bonanza with a few essentials:
- Base Ingredients: Gather raw cacao powder, dates, nuts (like almonds, cashews, or walnuts), and seeds (like chia, flax, or sunflower). These will give your bliss balls the texture and nutritional foundation they need.
- Tools of the Trade: You’ll need a food processor or high-powered blender to mix your ingredients, a baking sheet lined with parchment paper, and a bit of space in your refrigerator to chill the balls.
- Flavor Fun: This is where you can get creative! Think about adding coconut flakes, vanilla extract, cinnamon, or a pinch of sea salt to jazz up the taste. Encourage your kids to pick their favorite flavors!
With your kitchen prepped and your taste testers at the ready, it’s time to whip up a batch of bliss. Stay tuned, as we’ll soon be sharing the step-by-step process of crafting the perfect cacao bliss ball – you won’t want to miss it!
5 Things Every Parent Should Know Before Making Cacao Bliss Balls
1. Opt for Quality Ingredients
When it comes to making something both nutritious and delicious, quality matters. Select high-grade, organic cacao powder to ensure you’re getting the full health benefits without any unwanted pesticides. When choosing dates, look for ones that are naturally sweet and moist, as they’ll bind the ingredients more effectively and add a rich, caramel-like flavor.
2. Customize to Meet Dietary Needs
Cacao bliss balls are wonderfully versatile, which means you can easily alter the recipe to accommodate specific dietary restrictions. For a nut-free version suitable for school lunches, substitute nuts with seeds or oats. If gluten’s a concern, make sure to choose certified gluten-free oats or buckwheat groats as the base.
3. Hygiene and Safety
Cooking with kids involves more than just fun—it’s a great opportunity to teach them about kitchen hygiene and safety. Always start with washing hands, and since this recipe includes handling dates and sticky mixtures, remind your little chefs not to lick their fingers until after the preparation is done to avoid any unwanted spread of germs.
4. The Art of Rolling Balls
The trickiest part of making bliss balls can be the rolling process, especially for tiny hands. Provide a bowl of water for your kids to dip their hands in to prevent sticking and achieve smoother balls. Remember to be patient; varying sizes and odd shapes are part of the whimsy and uniqueness of making homemade snacks!
5. Storing for Freshness
Once you’ve made your batch of cacao bliss balls, storing them properly is key to maintain freshness. Keep them in an airtight container in the fridge for up to a week. You can also freeze them for a longer shelf life and to serve as a chilled treat. Just lay them out for a few minutes at room temperature before nibbling.
The Step-by-Step Guide to Making Cacao Bliss Balls
Now that you’re armed with tips and knowledge, it’s time to get down to business. Here’s your step-by-step guide to whipping up your very own batch of cacao bliss balls:
- Combine the Dry Ingredients: In your food processor, add the nuts and seeds, blitzing until coarsely ground. Add in the cacao powder and any dry flavorings you like (cinnamon, nutmeg, sea salt).
- Add the Dates: Pit the dates and add them to the mix. Process again until the mixture starts to come together. If it’s too dry, add a splash of water or a drizzle of melted coconut oil to help it bind.
- Shape the Balls: Scoop out tablespoons of the mixture and roll them into balls. If your hands get sticky, remember the water bowl trick!
- Final Touches: Roll your bliss balls in shredded coconut, cacao powder, chopped nuts, or any other topping for an extra layer of texture and flavor. This is another fun step for kids to get involved with!
- Chill and Set: Place the bliss balls on the prepared baking sheet and chill in the fridge for at least an hour to set.
Remember, the best part about making cacao bliss balls is that you can tweak the recipe as you go. Taste the mixture before rolling and adjust the ingredients to your liking. Maybe add a bit of honey for extra sweetness, or a pinch of chili for a daring kick!
With these bliss balls, you’ll have a go-to snack that’s not only a healthier alternative to processed sweets but also a joy to make as a family. They’re the perfect little packages of goodness to fuel your kids’ adventures and to give you a much-appreciated energy boost!
So, happy rolling, lovely parents and kiddos! Indulge in these wholesome treats and watch as they become a regular request in your household. Who knew that nutritious could taste so naughty?
See more great Things to Do with Kids in New Zealand here. For more information see here
Disclaimer
The articles available via our website provide general information only and we strongly urge readers to exercise caution and conduct their own thorough research and fact-checking. The information presented should not be taken as absolute truth, and, to the maximum extent permitted by law, we will not be held liable for any inaccuracies or errors in the content. It is essential for individuals to independently verify and validate the information before making any decisions or taking any actions based on the articles.


