
Easy Pikelet Recipe: A Quick Treat for the Family
Hello, super parents! Are you searching for a delicious snack that’s not only easy to whip up but is also guaranteed to bring smiles to your little ones’ faces? Well, you’ve landed in the right place! Today, we’re diving into the world of pikelets—those scrumptious, mini pancakelike treats that are a hit with kids and adults alike. Whether you’re prepping a snack, a delightful breakfast, or an after-school treat, this easy pikelet recipe is your new go-to for quick, tasty success.
First, let’s ensure that your kitchen is pikelet-ready! The beauty of pikelets lies in their simplicity. You only need a few staple ingredients that you probably already have at home! No need for fancy kitchen gadgets either; just a trusty frying pan and a couple of mixing bowls. So, let’s roll up our sleeves and get ready to create some fluffy magic!
What You’ll Need for Perfect Pikelets
- 1 cup of all-purpose flour
- 2 tablespoons of sugar (can adjust to taste)
- 1 teaspoon of baking powder
- A pinch of salt
- 3/4 cup of milk
- 1 large egg
- Butter or oil for cooking
- Your favorite toppings (think jam, honey, fresh fruit, or yogurt!)
Alrighty, once you’ve gathered these simple ingredients, it’s time to embark on our pikelet-making adventure! Just follow the steps below, and you’ll be the harbinger of sweet, puffy delights in no time!
Step-by-Step Guide to Making Pikelets
Step 1: Mix the Dry Ingredients
In a medium mixing bowl, sift together the cup of all-purpose flour, 2 tablespoons of sugar, 1 teaspoon of baking powder, and a pinch of salt. Give it a gentle whisk to ensure everything is combined and to make the mixture light and airy—this is the secret to getting that perfect, fluffy texture!
Step 2: Prepare the Wet Mix
In another bowl, beat the egg and gently stir in the 3/4 cup of milk. Whisk it until it’s just combined—try not to overdo it! You want the batter to be friendly to the pan, not overworked and tired.
Step 3: Combine and Mix
Create a well in the center of your sifted dry ingredients and pour in the wet mixture. Using a fork or a whisk, gently combine the ingredients until you have a reasonably smooth batter. Little lumps are okay; they’re just tiny pockets of future fluffiness waiting to happen!
Remember, perfect pikelets come to those who mix with love (and a dash of patience). If you treat your batter right, it’ll rise to the occasion, literally!
Step 4: Cooking Time!
Heat a non-stick frying pan over medium heat and add a dab of butter or a splash of oil. Once it’s singing with heat, drop tablespoonfuls of your batter into the pan. Space them apart so they’re not packed like sardines at a fish market. Cook until bubbles form on the surface, then flip them with a spatula. The second side won’t need as long, so keep a keen eye on them.
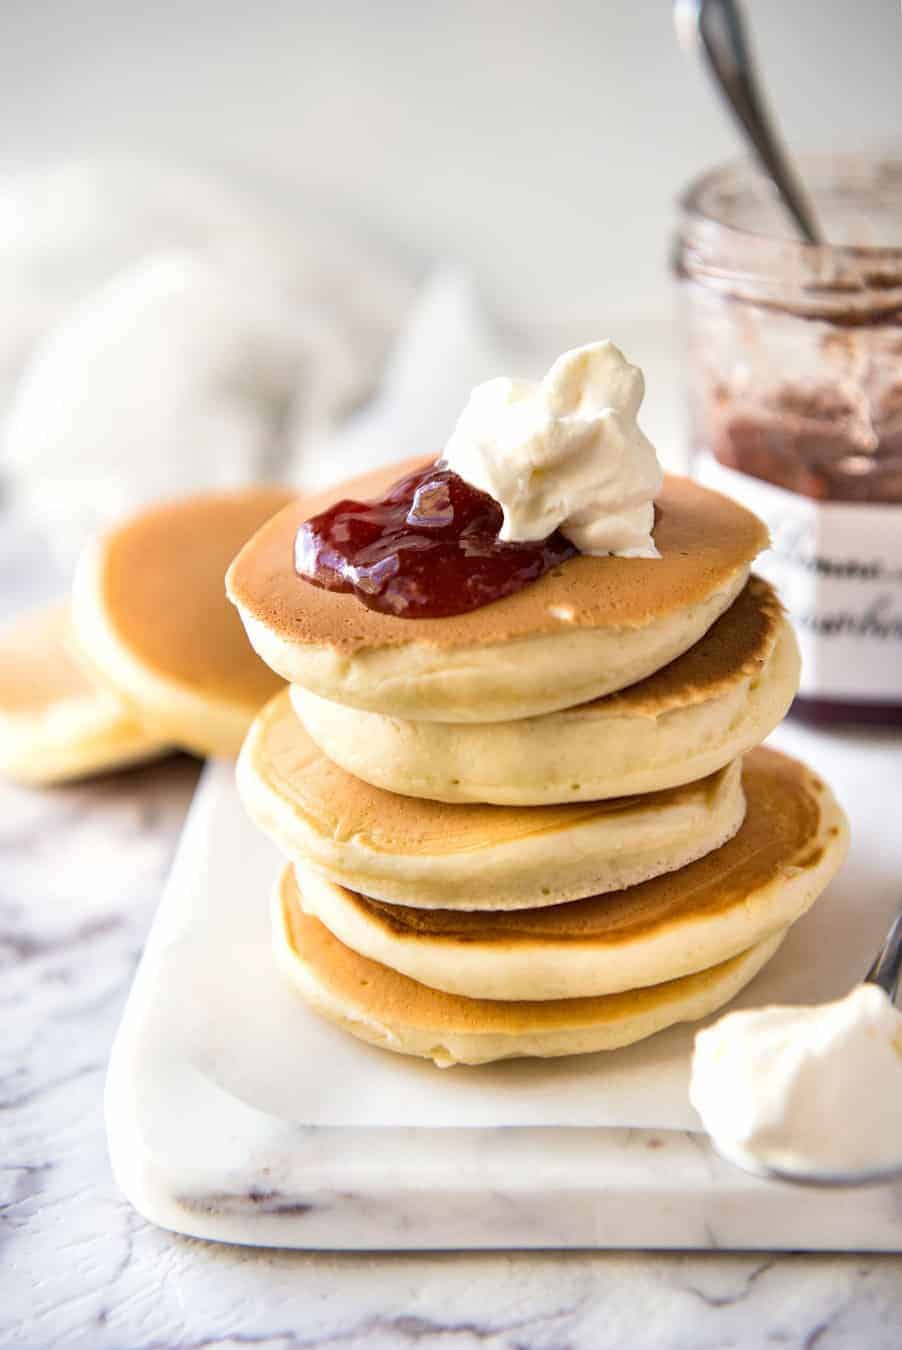
Congratulations! You’ve now entered the ranks of pikelet pros! Serve these golden-brown beauties warm, with a generous helping of your favorite toppings. A smudge of butter melting into the warm pikelet, a dollop of jam, a drizzle of honey, or an avalanche of fresh fruit are all fantastic choices. Each bite is sure to bring pure joy!
But wait, there’s more to this pikelet tale! Not only are you now equipped with a fabulously easy pikelet recipe, but we’ve also got tips and tricks up our sleeve to take your pikelet game to the next level. Stay tuned for creative variations, serving ideas, and how to store leftovers (if you ever have any!).
Ready to become a pikelet-making superstar? Let’s turn that batter into a platter of mouthwatering comfort! And don’t forget, the beauty of pikelets is in their versatility – once you’ve nailed the basic recipe, the sky’s the limit for customization! From adding chocolate chips for a sweet surprise to sneaking in a handful of blueberries for a fruity twist, there’s an endless array of variations to explore. Get ready to impress your family with these delectable, fluffy treats that are as fun to make as they are to eat!

Five Things Every Parent Should Know When Prepping for Easy Pikelets
As you gather your ingredients and get ready to fill your kitchen with the delightful aroma of cooking pikelets, keep these five helpful pointers in mind:
- Room Temperature Ingredients are Key
Try to use milk and eggs that are at room temperature. This little tip ensures that your batter will be smoother and that the pikelets will cook more evenly. If you’re short on time, simply soak the eggs in a bowl of warm (not hot) water for a few minutes to bring them up to room temperature. - Be Gentle with Your Batter
Over-mixing the batter can lead to dense pikelets, and we definitely want to avoid that! Mix just until the ingredients are combined—it’s perfectly fine to have a few lumps. This means being gentle and quick with your mixing, treating your batter with a light touch. - Use the Right Pan and Temperature
A heavy-based non-stick frying pan is ideal for cooking pikelets to perfection. If the pan is too hot, the outside will burn before the inside has time to cook. A moderate heat allows the pikelets to get a lovely golden color and ensures they are cooked all the way through. - Space is Your Friend
Give each pikelet room to grow. Pour tablespoonfuls of batter into the pan, making sure there’s space between them so they don’t touch. This allows each pikelet to spread out and get an even cook all the way around. - Keep an Eye on the Clock
Pikelets cook quickly, usually needing only one to two minutes on each side. Watch for the telltale bubbles on the top, and when they burst, you know it’s time to flip! The first batch might be a trial run, but soon you’ll be flipping pikelets like a pro.
Equipped with this recipe and these handy tips, you’re all set to cook up a storm of pikelets that will have your family asking for them time and again. Remember that the greatest ingredient you can add to your cooking is a sprinkling of fun. Happy pikelet making!
Creative Variations for Your Pikelets
Now that we’ve got our basic pikelet recipe down pat, let’s jazz things up a bit! Pikelets are wonderfully versatile, which means you can add your own twist to make them extra special. Here are some fun ideas to try:
- Add Some Zest: Grate a little lemon or orange zest into your batter for a refreshing citrus twist!
- Go Savory: Skip the sugar and add grated cheese and herbs to your batter for a savory snack.
- Fruit Fun: Fold in some small diced apple pieces or whole blueberries to the batter for a burst of fruitiness.
- Chocolate Chip Joy: Sprinkle in some chocolate chips for those chocoholic family members.
- Wholegrain Goodness: Swap out half of the all-purpose flour for whole wheat flour to add a bit of fiber.
Each of these variations adds an extra layer of flavor and fun to your pikelets and shows your family just how creative you can be in the kitchen!
Quick Tips for Pikelet Serving and Storage
Serving your pikelets is just as important as cooking them. A beautiful platter or a simple plate piled high with pikelets is a welcoming sight. Here’s how to serve and store them to ensure they’re as delicious as they can be:
- Warmth is Welcoming: Serve pikelets warm for the most comforting experience. You can reheat them in a low oven or in the microwave for a few seconds if needed.
- Make it an Event: Create a pikelet station with various toppings so each family member can create their desired masterpiece.
- For Leftover Pikelets: Let them cool completely, then store them in an airtight container. They’ll stay fresh in the fridge for a couple of days or can be frozen for up to two months. Reheat gently to preserve their delightful texture.
With these final tips, your pikelet experience is certain to be stress-free and full of fun. Pikelets are more than just a snack; they’re a way for busy parents to make memorable moments with their families while enjoying delicious, home-cooked food!
See more great Things to Do with Kids in New Zealand here. For more information see here
Disclaimer
The articles available via our website provide general information only and we strongly urge readers to exercise caution and conduct their own thorough research and fact-checking. The information presented should not be taken as absolute truth, and, to the maximum extent permitted by law, we will not be held liable for any inaccuracies or errors in the content. It is essential for individuals to independently verify and validate the information before making any decisions or taking any actions based on the articles.


