
Baking Up Fun: The Ultimate Guide to Making Honey Joys with Your Kids
Hey there, parents and guardians! Are you ready to bring a dash of sweetness and a sprinkle of fun into your kitchen? Honey Joys are the delightful treats that capture the hearts of children and adults alike, and today, we’re going to unveil the magic behind creating these crunchy, golden goodies – together with your little kitchen helpers!
What Are Honey Joys?
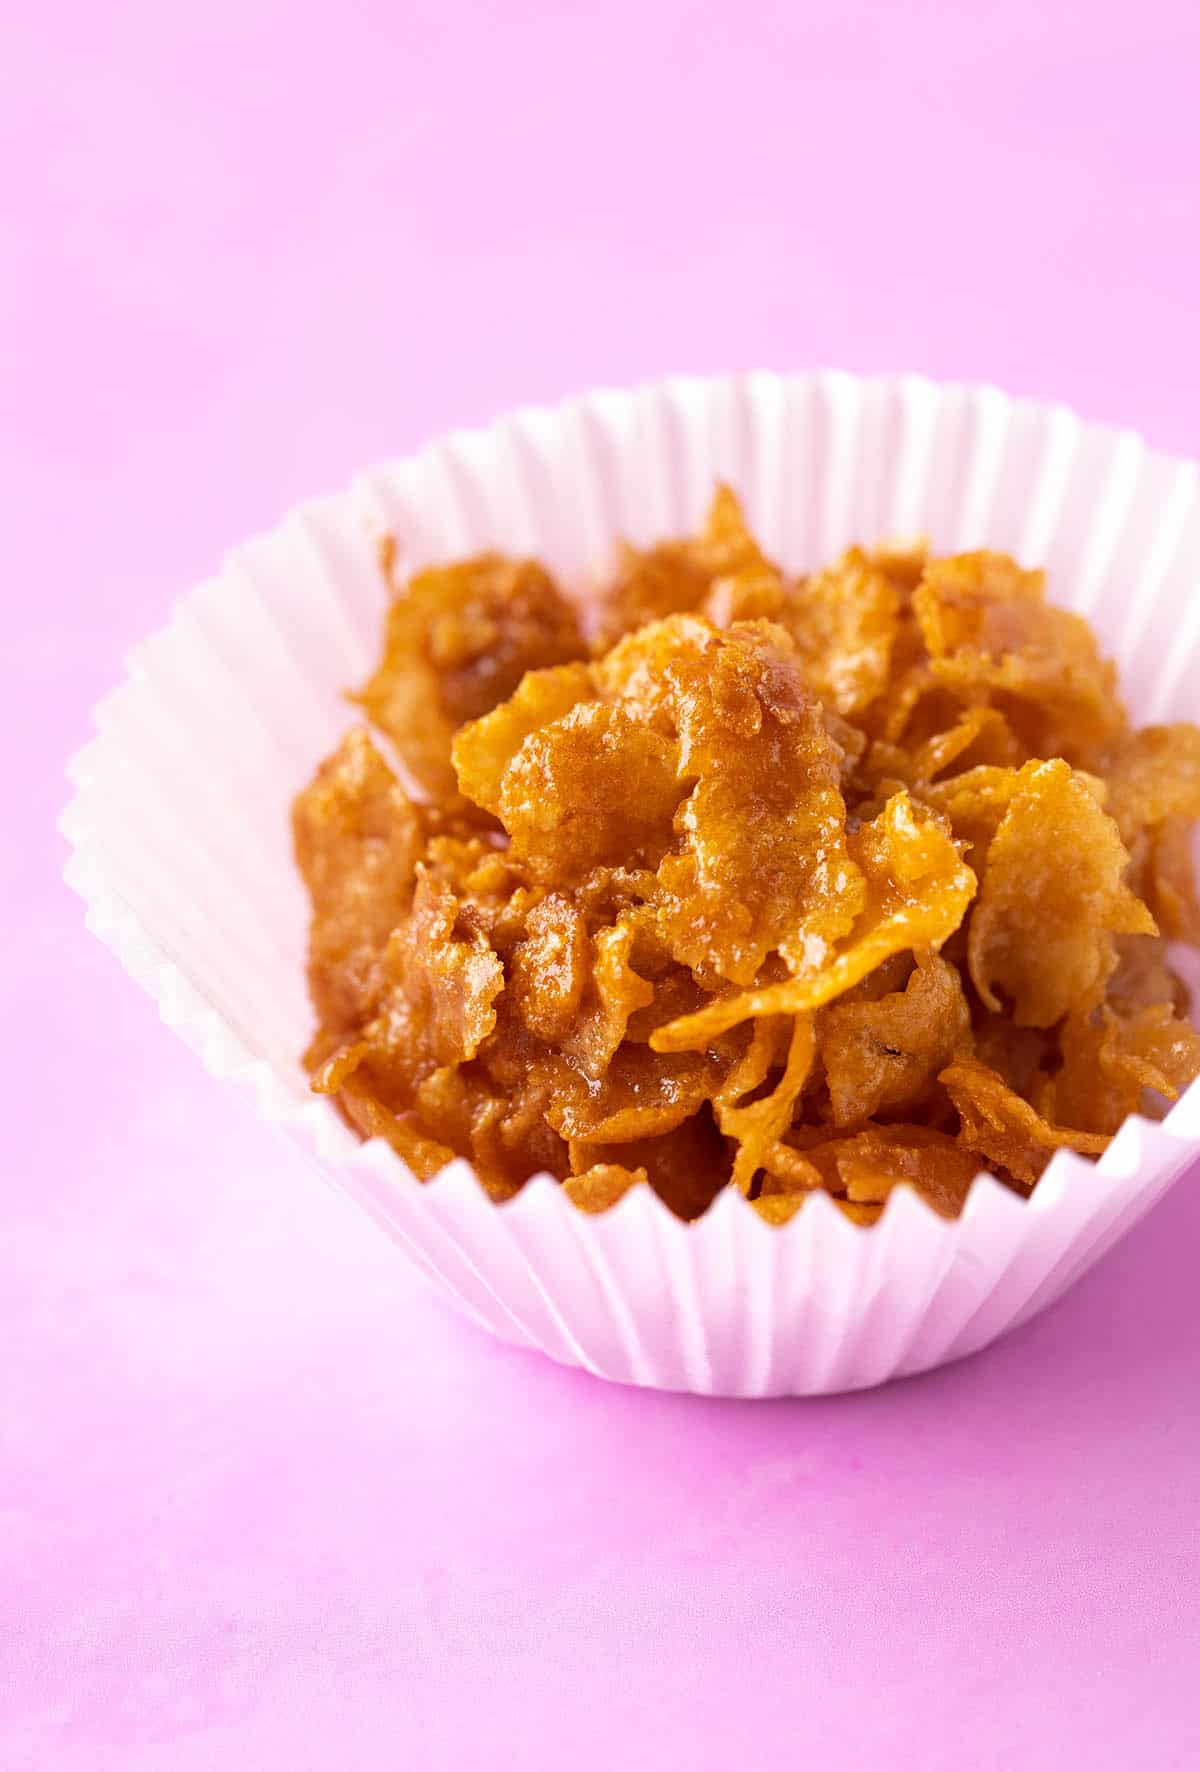
Honey Joys are a classic snack, adored by many generations across the globe. They’re a staple at birthday parties, school functions, and even just as a delightful afternoon nibble. Made with the simplest of ingredients, including cornflakes, honey, and butter, these little cups of joy are not only scrumptious but super easy to make with your kids. Let’s embark on this sweet adventure and make some memories – and Honey Joys – that will last a lifetime!
The History of Honey Joys
Before we rush into baking, let’s take a moment to appreciate the rich origins of these treats. Honey Joys, also known as “Honey Crackles”, have their roots in home-style baking, originating from the kitchens of loving parents looking for a quick and easy snack for their children. Their popularity rose due to the minimal preparation time and the fun involved in making them.
What You Will Need
Gathering your ingredients is all part of the fun – and it’s an excellent opportunity for teaching moments about measurements and kitchen safety. Here’s what you’ll need:
- 4 cups of cornflakes
- 1/3 cup of sugar
- 1/3 cup of honey
- 3 oz (90g) of butter
- Cupcake liners
Add some sparkle! Feel free to get creative by adding in extras like sprinkles, mini chocolate chips, or dried fruit to personalize your Honey Joys.
Step-by-Step: Let’s Make Honey Joys
Now, let’s dive into the step-by-step process. But first – make sure to preheat your oven to 150°C (300°F), so it’s ready to go when your Honey Joy mixture is prepared.
- Melt the Magic – In a saucepan, combine the butter, sugar, and honey. Stir over a gentle heat until the butter melts and the sugar dissolves. Allow the mixture to simmer for a couple of minutes to reach golden perfection.
- Cornflake Transformation – Place the cornflakes in a large bowl, pour the hot honey mixture over them, and have your little ones help you mix everything gently, ensuring all the flakes are coated with the glossy mixture.
- Scoop and Set – Line a muffin tin with your cupcake liners. Let your kids scoop the coated cornflakes into the liners, filling each one until it’s just the right amount.
- Bake with Love – Pop the muffin tin into your preheated oven for about 10 minutes. Keep an eye out for when the Honey Joys turn a shade deeper, indicating they’re done.
- Cooling Down – This step is crucial. Let the Honey Joys cool completely in the tin before attempting to remove them. This allows them to set properly and hold their shape.
Voila! You’ve now created a batch of sweet, crunchy Honey Joys with the help of your mini sous-chefs. But we’re not done yet! In our next sections, we’ll cover nutritional information, variations for dietary restrictions, and how to store your Honey Joys for lasting freshness.
So, tie those aprons, gather your ingredients, and get ready for a delightful baking adventure that’s about to unfold. The smiles and sticky fingers will be well worth it as you create more than just treats – you’re creating joyous moments and delicious memories with your family.
Five Things Parents Should Know When Preparing Honey Joys
1. Allergies and Dietary Considerations
Before getting started, be mindful of any food allergies that the children or their friends might have. Cornflakes and honey are generally safe, but it’s always best to double-check. In addition, for a healthier twist or for those with dietary restrictions, you can use unsweetened cornflakes and substitute butter with a vegan alternative.
2. Kitchen Safety
Kitchen safety should always be a top priority, especially with kids involved. Make sure that an adult is always attending when the stove and oven are in use. Educate your little helpers on the importance of not touching hot surfaces and always keep pot handles turned inward to avoid accidental spills.
3. The Learning Opportunity
Seize the educational opportunity during the cooking process. Teach your children the basics of measuring ingredients and the science behind how heat transforms them. Discuss the nutritional values of the ingredients, and use the baking experience to instill a love for home-cooked treats over store-bought ones.
4. The Importance of Patience
Patience is key, especially during the cooling down stage when the Honey Joys need to set. This step might test your kids’ patience, but it’s a great lesson in waiting for good things to come to those who wait. Use the waiting time to engage them in cleanup or decorating the kitchen for a mini Honey Joys party!
5. Making it a Teachable Moment
Turning the baking experience into a teachable moment goes beyond just cooking skills. Highlight the virtues of sharing as you pack some Honey Joys for friends or neighbors. It’s also an excellent time management lesson, showing how you can create a delicious treat in a jiffy yet leave a lasting impression.
Nutritional Information and Healthier Alternatives
Honey Joys are a sweet treat, and moderation is key. They are primarily a source of carbohydrates. By choosing whole grain cornflakes and reducing the amount of sugar, you can make a slightly healthier version. Substituting honey with a lower glycemic index sweetener like pure maple syrup can also be a wise choice for those watching their sugar intake.
Variations for Dietary Restrictions
Food intolerances shouldn’t stop anyone from enjoying Honey Joys. Use gluten-free cornflakes for those with gluten sensitivities. For a dairy-free version, replace butter with coconut oil or a plant-based margarine. Always ensure that additional mix-ins like chocolate chips are also compliant with any dietary needs.
Storing Your Honey Joys
To ensure your Honey Joys stay crisp and fresh, store them in an airtight container at room temperature. They can typically last up to a week when stored correctly, though their irresistible taste might mean they disappear well before then!
With these handy tips, you’re now fully equipped to bake up a storm and create golden moments of joy with your children. Remember, it’s not just about the delicious Honey Joys at the end – it’s the laughter, bonding, and life lessons that make this experience truly invaluable.
Ready your spatulas, preheat your oven, and let’s spread the joy with each scoop of Honey Joys!
For more great articles please see here. For more information see here
Disclaimer
The articles available via our website provide general information only and we strongly urge readers to exercise caution and conduct their own thorough research and fact-checking. The information presented should not be taken as absolute truth, and, to the maximum extent permitted by law, we will not be held liable for any inaccuracies or errors in the content. It is essential for individuals to independently verify and validate the information before making any decisions or taking any actions based on the articles.


