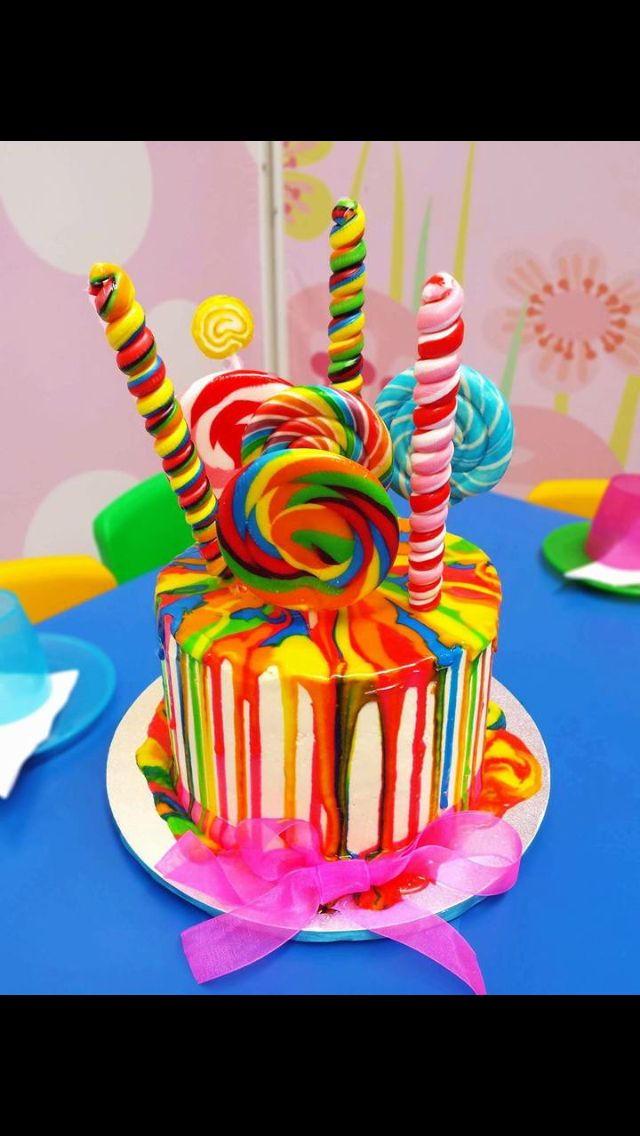
Whip Up The Sweetest Smile With Lolly Cakes: Your Ultimate Guide
Hey there, sweet-toothed parents and cake enthusiasts! Are you ready to dive into the whimsical world of lolly cakes? These delightful treats are not only a joy to make but also a burst of color and fun at any gathering. With this ultimate guide, you’ll learn how to create lolly cakes that will have both kids and adults grinning from ear to ear. Let’s start this sugary adventure together!
What Are Lolly Cakes?
Before we roll up our sleeves and get our hands doughy, let’s chat about what lolly cakes actually are. Originating from the land of the long white cloud – New Zealand – lolly cakes are a traditional Kiwi treat that mix the magic of biscuits (cookies) and sweet, chewy lollies (candy) into a fudgy, mouthwatering delight that’s usually rolled in coconut. They’re easy to make, no-bake wonders that the whole family can enjoy creating and devouring!
Your Lolly Cake Toolkit
Before we start mixing and shaping, it’s crucial to have your toolkit ready. Here’s what you’ll need:
- A large mixing bowl – for combining all those yummy ingredients.
- A wooden spoon or spatula – ideal for folding your mixture into a perfect dough.
- Measuring cups and spoons – accuracy is key in getting the taste just right.
- Wax or parchment paper – to roll your lolly cake into a firm log.
- Desiccated coconut – for that final, scrumptious coating that adds texture and flavor.
- Your kids’ favorite lollies and biscuits – because customizing makes it fun!
Choosing the Best Ingredients for Your Lolly Cake
Selecting the right ingredients is a vital step in creating the perfect lolly cake. You’ll want to look for Malt biscuits for that classic taste, but any tea or digestive biscuit can do the trick. When it comes to lollies, the traditional choice is Eskimos or Fruit Puffs, but feel free to experiment with various gummy candies that will please your family’s palate.
Step-by-Step Guide to Making Your First Lolly Cake
Now that you’ve got your ingredients and tools, let’s walk through the process of making your very own lolly cake that even the littlest helpers can assist with.
1. Prep Your Ingredients
Start by crushing your chosen biscuits into small pieces, not too fine – think breadcrumb size with some chunkier bits for texture. Then, cut your lollies into bite-sized pieces if they’re not already small. This makes it easier when forming your cake later on.
2. Mix it Up
In your mixing bowl, combine the biscuit crumbs, chopped lollies, and sweetened condensed milk. Depending on what you prefer, you can add a splash of vanilla extract for extra flavor. Mix everything until you have a consistent, sticky dough.
3. Shape and Chill
Lay out your wax paper and sprinkle it with desiccated coconut. Then, take the mixture and shape it into a log. Don’t worry if it’s not perfect – it’s all part of the homemade charm! Once shaped, roll it in the coconut until fully coated, wrap it up, and pop it into the fridge.
Congratulations! You’ve taken your first steps into the delectable realm of lolly cakes. With this guide, you can bring smiles, fun, and a dash of creativity to your kitchen, making every day a sweet celebration!

Whip Up The Sweetest Smile With Lolly Cakes: Your Ultimate Guide
Hello, wonderful parents and guardians out there! Get ready for a sprinkle of magic and an avalanche of fun with the playful and deliciously irresistible lolly cakes. Perfect for kids’ parties, family get-togethers, or simply as a joyous kitchen activity, lolly cakes are here to win hearts and taste buds. So, tie your apron strings, gather the little ones, and let’s embark on a sugary craft journey!
Off We Go: Delving into the Lolly Cake Wonderland
Curious about what makes lolly cakes such a hit? Originating from the coastal shores of New Zealand, lolly cakes are an ingenious blend of crumbled biscuits and soft chewing candies, married together with the creaminess of sweetened condensed milk and rolled in coconut for that ultimate texture. They are no-fuss, fridge-set delights that promise a world of fun and flavor!
Five Things Every Parent Should Know Before Making Lolly Cakes
- Get organized: A prepared kitchen is a happy kitchen! Ensure you’ve got all your ingredients measured and tools at the ready before starting. Involving your kiddos? Assign age-appropriate tasks for smooth sailing.
- Quality matters: Use fresh, high-quality lollies and biscuits to ensure the best taste. The fresher the candy, the easier it will be to cut and the better the texture of your lolly cake.
- Safety first: When little hands are eager to help, prioritize safety! Always supervise the crushing of biscuits and the cutting of candies to keep those tiny fingers safe.
- Patience is key: Once prepared, the lolly cake needs time to set in the fridge. Use this as a fun time to engage with the kids – perhaps read a story or plan the next lolly cake design!
- Customization is king: Love variety? Mix and match different types of lollies and biscuits for a unique creation each time. Tailor your lolly cake to suit the theme of an event or the seasonal festivities.
Selecting the Finest Ingredients: A Parent’s Guide
The golden rule to making a lolly cake that’s the talk of the playground is using top-notch ingredients. Traditional recipes call for Malt biscuits, but any rich, buttery biscuit can be a great substitute. As for the candy, Eskimos or Fruit Puffs are classics. However, this is where you can let creativity flow by picking and choosing from a cornucopia of gummy delights!
Creating Memories: Your Lolly Cake Creation Process
With your ingredient list checked and your kitchen prepped, plunge into the delightful task of creating a lolly cake that’ll have your little helpers brimming with excitement!
1. Biscuit Basics
Gather the troops and begin the fun by crumbling those biscuits to perfection. Create a lovely mix of fine and chunky pieces for a balanced texture that’ll add oomph to every bite.
2. Chewy and Cheerful
Prepare to get sticky and sweet! Blend the biscuits, lolly pieces, and condensed milk into a cohesive mixture. Feel like a dash of vanilla? Go for it! Let the stirring be a symphony of giggles and anticipation!
3. Roll, Coat, and Celebrate
Spread out the coconut on wax paper, mold your sticky creation into a joyful log, then let it dance in the coconut fluff until it’s dressed to impress. Now, off to the fridge to chill and set your masterpiece!
You’re now steps closer to becoming lolly cake legends! Armed with this guide, your kitchen will transform into a sweet wonderland, gifting everyone involved precious moments sprinkled with laughter and smothered in delight.
Pro-tip: Ideal fridge-setting time is at least a couple of hours, so consider making your lolly cake a day ahead. This ensures a firm set and easier slicing for those eager little munchers.
Whether you’re preparing for a birthday bash, a holiday festivity, or simply seeking to sweeten up your weekend, lolly cakes are the crowd-pleasers that never disappoint. So, go ahead, indulge in this sweet treat tradition, and let the good times roll!
For more great articles please see here. For more information see here
Disclaimer
The articles available via our website provide general information only and we strongly urge readers to exercise caution and conduct their own thorough research and fact-checking. The information presented should not be taken as absolute truth, and, to the maximum extent permitted by law, we will not be held liable for any inaccuracies or errors in the content. It is essential for individuals to independently verify and validate the information before making any decisions or taking any actions based on the articles.


