
Delightful Grapefruit Jam: A Zesty Addition to Your Family’s Breakfast Table
Hello, lovely parents! Are you on the hunt for that perfect, unique spread to jazz up your morning toast or to create the ultimate PB&J for your little ones? Look no further! Let’s embark on a jolly journey into the world of home-made grapefruit jam — it’s easier than you think and oh-so-rewarding. With its vibrant color and zesty flavor, grapefruit jam is a surefire way to light up your breakfast nook and bring a smile to your family’s faces. So, grab your aprons, and let’s stir up some fun!
Why Grapefruit Jam Will Be Your New Go-To Spread
Grapefruit jam isn’t just a delightful treat; it’s a bundle of morning sunshine that packs a punch of health benefits. Loaded with Vitamin C and antioxidants, grapefruit is an excellent choice to support your family’s immune system. And let’s not forget – making your own jam allows you to control the sugar content, keeping your loved ones’ health in check.
The Essence of Grapefruit Jam Making
Before you start, it is essential to understand that jam-making is an art, but one that comes with a simple set of steps. Freshness is key, so always pick the juiciest, most fragrant grapefruits you can find. You’ll be combining the sweetness of sugar with the tartness of grapefruit, and the magic happens when you cook them together to a perfect consistency. Ready to give it a go? Let’s begin by gathering all you’ll need.
What You’ll Need to Whip Up a Batch of Grapefruit Jam
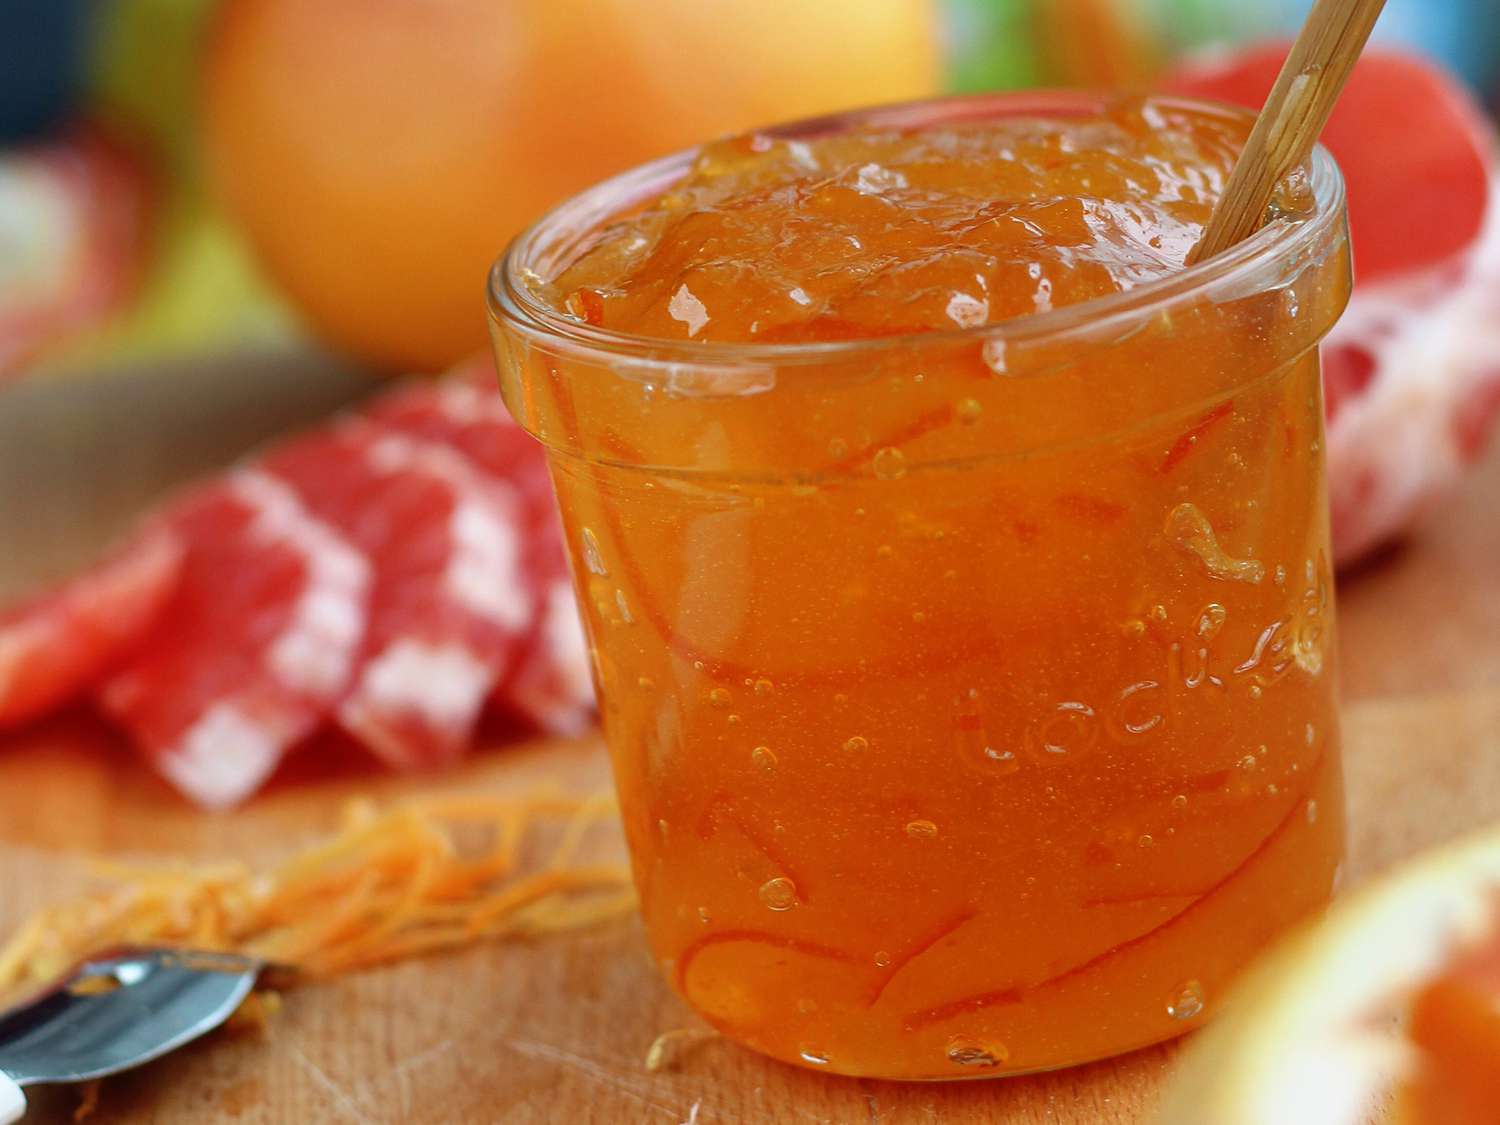
- Fresh grapefruits: The stars of the show. Choose organic if you can, for the purest flavor.
- Sugar: To balance the tartness and help in the gelling process.
- Pectin: Though grapefruits have natural pectin, adding a bit more ensures a good set.
- Lemon juice: To enhance the flavor and assist with the setting of your jam.
- Water: Sometimes needed if the fruit doesn’t provide enough liquid on its own.
- Jam jars with lids: Sterilized and ready to store your delicious creation.
Remember, when it comes to making jam, patience and attention to detail are your best friends. Don’t rush the cooking process – it’s what ensures your jam turns out splendid.
Step-by-Step Guide to Making Your Own Grapefruit Jam
With ingredients in hand, you’re all set for the fun part – making the jam! Follow this step-by-step guide and you’ll have a batch of homemade grapefruit jam before you know it.
Preparation Is Key
Start by washing your grapefruits thoroughly, especially if you’re incorporating the zest into your jam for an extra zesty kick. Then, prep your jars by sterilizing them. It’s super important for the longevity of your jam.
Peel and segment the grapefruits, removing as much of the white pith and membranes as possible. This will reduce bitterness and ensure a smooth, palatable texture. If you’re a fan of a chunkier jam, feel free to chop the segments into smaller pieces.
Cooking Up a Citrus Storm
Boil, baby, boil! Place the grapefruit segments (and zest, if using) into a large, non-reactive pot. Stir in the sugar, lemon juice, and pectin and bring the mixture to a full boil. Be vigilant, stirring constantly to prevent sticking and burning. When the mixture reaches a rolling boil that can’t be stirred down, it’s time to test if your jam is at setting point.
To do this, drop a small amount onto a chilled plate; if it wrinkles when pushed with your finger, it’s ready. If not, keep boiling and test every few minutes. Once you’re happy with the set, remove your jam from the heat. It’s a messy job, but someone’s got to do it (and that someone’s about to be crowned the Jam King or Queen of the household).
Sealing the Goodness
Carefully ladle your jam into the prepared jars, leaving a small space at the top for expansion. Wipe the rims clean, then seal with the lids. Process the jars in a hot water bath to ensure they are properly sealed and ready for storing.
And there you have it, the secrets unveiled to creating a zesty treasure right in your own kitchen. Not only is grapefruit jam utterly delicious, but the process of making it can also become a cherished family activity. Once your jam is cool, spread it liberally on toast, layer it in cakes, or dollop it on yogurt – the possibilities are truly endless.
Remember, we’ve only just scratched the surface of what’s possible with grapefruit jam. Stay tuned for more tips, uses, and fun facts that will inspire you and your family to make the most of this versatile and healthful preserve. Happy jamming!
Delightful Grapefruit Jam: A Zesty Addition to Your Family’s Breakfast Table
Greetings, wonderful parents! Are you eager to discover a new spread that will not only tantalize your taste buds but also bring health and happiness to your family’s morning routine? Let’s dive into the delightful world of home-made grapefruit jam—a flavorful delight that is surprisingly simple to make and a burst of joy on the palate. This guide will walk you through the whimsical process and offer practical tips for creating the perfect batch of grapefruit jam for your loved ones. So, tie on those aprons, and let’s get jammin’!
5 Things Parents Should Know When Preparing Grapefruit Jam
1. The Healthier Choice
When crafting your own grapefruit jam, you’re not just making a yummy spread; you’re also giving your kids a vitamin-packed boost to start their day. Grapefruits are chock-full of Vitamin C, fiber, and antioxidants. By customizing your jam, you can dial back on the sugar and skip the preservatives, creating a healthier option compared to many store-bought jams.
2. Grapefruit Selection and Prep
Choosing the right grapefruits can make all the difference in your jam-making adventure. Opt for ripe, juicy, and heavy fruits that promise maximum flavor. When prepping, remember to remove as much pith and membrane as possible to avoid a bitter aftertaste that might make the kids wrinkle their noses. Budget-friendly tip: Shop for grapefruits in season to get the best taste for less!
3. Understanding Pectin
Pectin is your best pal in jam-making, as it helps thicken your concoction to spreadable perfection. Grapefruits naturally contain pectin, but a little extra addition ensures your jam achieves the ideal consistency. For families following special diets, look for natural, sugar-free, or low-sugar pectin to keep your jam in line with your healthy eating goals.
4. A Family Affair
Turn jam-making into a family activity! Involve the kiddos in washing fruits, measuring ingredients, or even designing labels for the jars. Not only does this foster family togetherness, but it also instills in your children a love for cooking and an appreciation for homemade goodies.
5. Safety and Storage
Safety is paramount in the kitchen, especially when handling hot ingredients and sterilized jars. Always supervise young chefs around the stove. Once your jam is jarred, proper sealing is critical for longevity. Store your jams in a cool, dark place, and relish the taste of homemade grapefruit jam all year round.
The Essence of Grapefruit Jam Making
At the heart of making grapefruit jam lies refreshing simplicity. Gather your ingredients, which include fresh grapefruits, sugar, pectin, lemon juice, water, and sterilized jam jars. Approach the process with patience—it’s the guardian of perfection in the art of jam-making.
Step-by-Step Guide to Making Your Own Grapefruit Jam
Are you prepped and ready? Wonderful! Here’s how to transform those sun-kissed grapefruits into a beautiful jam:
Preparation Is Key
Begin by thoroughly cleansing your grapefruits, zesting them if desired for an extra burst of citrus zing. Preparing your jars through sterilization is a must for preserving your jam’s freshness and shelf life.
Cooking Up a Citrus Storm
Proceed to boil your grapefruit wonders—segments and zest—with sugar, lemon juice, and pectin in a large pot. Stay vigilant, stirring to avoid any sticking or burning mishaps. When a rolling boil is achieved, test for setting point: a chilled plate and a nudge of the finger will reveal if your jam is ready. If not, keep boiling, testing every now and then, until the wrinkle test is successful.
Sealing the Goodness
Pour the luscious jam into your jars, leaving a wee bit of space at the top. Seal them up after ensuring the rims are spotless. A hot water bath will securely seal your jars, making them pantry-ready.
Voilà! You’ve now created a tangy masterpiece in your very own kitchen. This grapefruit jam is not only scrumptious but also serves as a heartwarming reminder of the joys of family crafting. As the jam rests, dream up all the ways to enjoy it: slathered on morning toast, swirled into oatmeal, or even as a sophisticated addition to cheese platters. The adventure with grapefruit jam is just beginning, and myriad joyous moments await. So, keep exploring, and savor the fruit of your labor. Happy jamming!
See more great Things to Do with Kids in New Zealand here. For more information see here
Disclaimer
The articles available via our website provide general information only and we strongly urge readers to exercise caution and conduct their own thorough research and fact-checking. The information presented should not be taken as absolute truth, and, to the maximum extent permitted by law, we will not be held liable for any inaccuracies or errors in the content. It is essential for individuals to independently verify and validate the information before making any decisions or taking any actions based on the articles.


:max_bytes(150000):strip_icc()/6540660-grapefruit-marmalade-Buckwheat-Queen-4x3-1-0c667fced1054b38b4990ac97111d449.jpg)