
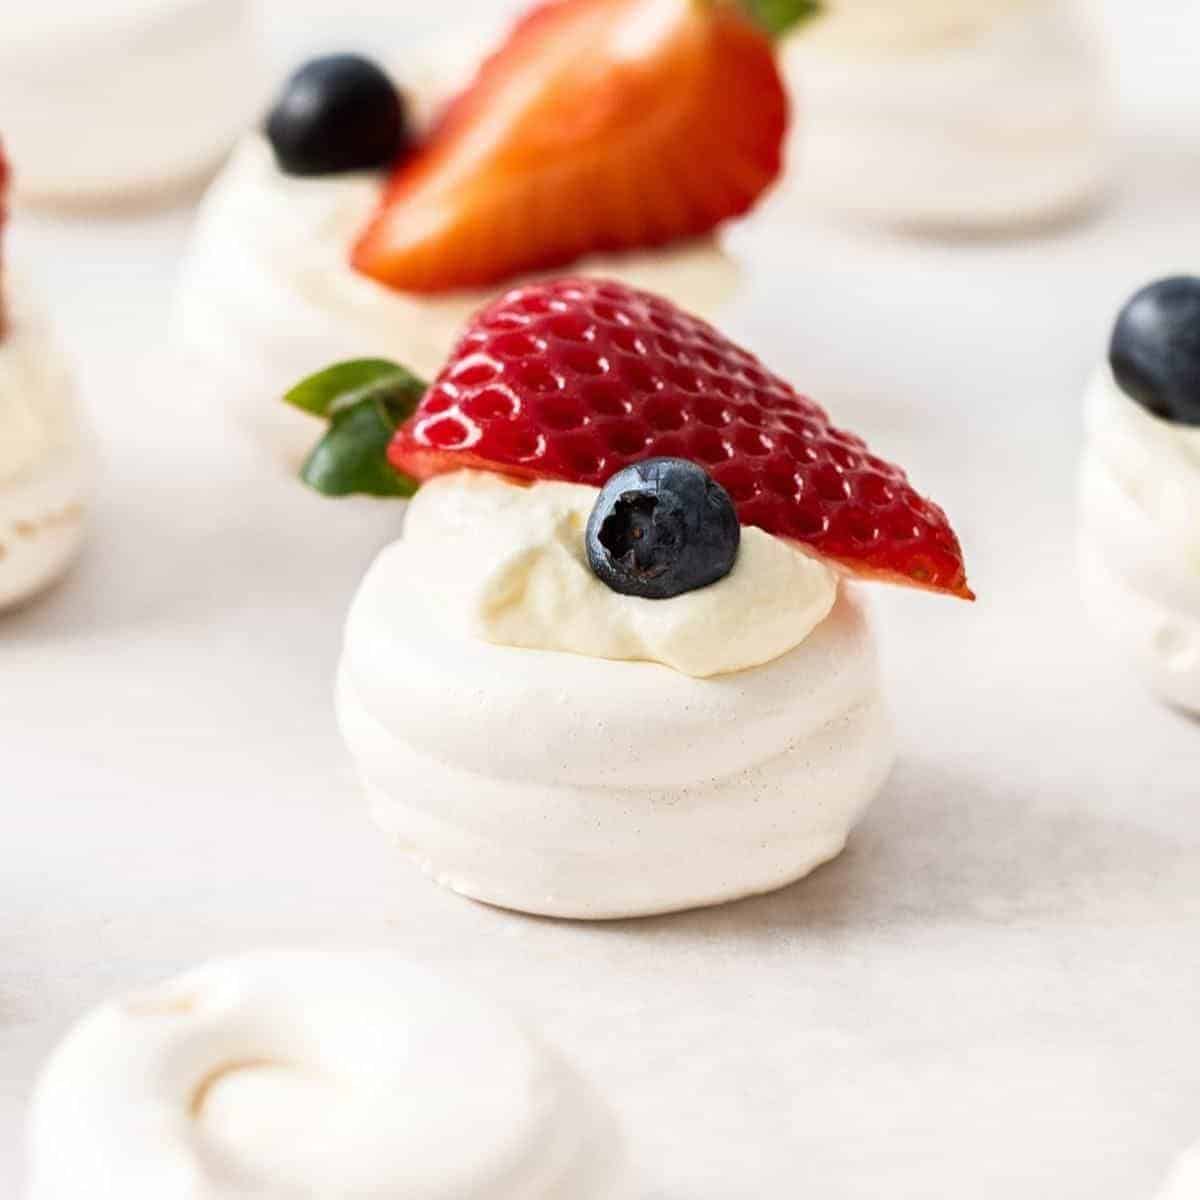
Mini Meringues: The Perfect Sweet Treat for Your Little Ones
Hey there, awesome parents! Are you looking for a fun and sweet way to delight your little munchkins? Look no further, because mini meringues are here to save the day! Not only are they absolutely adorable, but they’re also just the right size for those tiny hands. Plus, they’re surprisingly easy to make – and I’m here to guide you through every step of the way!
Before you get started, let’s make sure you’ve got the basic ingredients for these little clouds of joy:
- Fresh egg whites
- Granulated sugar
- A pinch of salt
- Cream of tartar (optional, but helpful for stability)
- Your choice of flavoring (like vanilla extract)
- Food coloring (if you want to add a splash of fun)
Now, let’s dive into the steps for making these pint-sized treats that are perfect for parties, snacks, or just a little after-dinner sweet. The best part? You can get your kiddos involved in the process too. It’s a great way to spend quality time together while teaching them the basics of baking.
A Step-by-Step Guide to Making Mini Meringues
1. Preparing Your Equipment
First things first, preparation is key! Make sure your mixing bowls and beaters are super clean and completely dry – any moisture or fat can prevent your egg whites from reaching their full volume. We want to give our mini meringues all the fluff they deserve.
Tip: Use a glass or metal bowl for the best results as plastic bowls can retain fat and oils even after washing.
2. Separating the Eggs
This might sound tricky, but it’s actually quite simple. Crack your eggs and gently pass the yolk back and forth between the shell halves, letting the whites drop into a bowl below. If you’re feeling nervous about getting yolk in your whites, do this one at a time into a smaller bowl before combining all the whites together – no stress necessary!
3. Whipping the Egg Whites
Start whipping those egg whites on a medium speed until they become frothy. If you’re using cream of tartar, add it after your whites look like a bubble bath. This stabilizer is your secret weapon for peaks that stay perky!
Now, slowly add sugar as you continue to whip, and watch as your mixture transforms into a glossy, thick meringue. Keep going until you can’t see any granules of sugar and you’ve got stiff peaks – when you pull your beaters out, your meringue should stand up like the spiky hairdo on a cool little dude.
Sweet Tips for Success
Here’s where you can get a bit artsy. Add a drop or two of your favorite food coloring to brighten things up, or mix in a splash of vanilla extract for that classic meringue taste. But remember, less is more with liquid flavorings – we don’t want to deflate our meringue!
Now, how about decorating those mini meringues? Arm your little chefs with sprinkles, and let them go wild (but not too wild, we don’t want a sprinkle avalanche!). Or, keep it simple and chic with just a sprinkle of superfine sugar for some extra sparkle.
Lastly, bake these little guys low and slow – this dries them out without turning them brown. After all, we want our mini meringues as white as fresh snow or as colorful as your added hues!
As you embark on this meringue-making journey with your kids, keep in mind that this is more than just about baking; it’s about creating memories and sharing the joy of cooking together. Stay tuned, as I’ll guide you on the next steps to achieve the pinnacle of meringue perfection. So preheat those ovens and get ready for some bite-sized fun!
Alright, eager bakers, let’s get ready to whip up some magic! With a few simple ingredients and a dash of love, your kitchen will soon be filled with the sweet aroma of homemade mini meringues. Keep following along, and I promise, your taste buds (and your kiddo’s) will be in for a delightful treat!
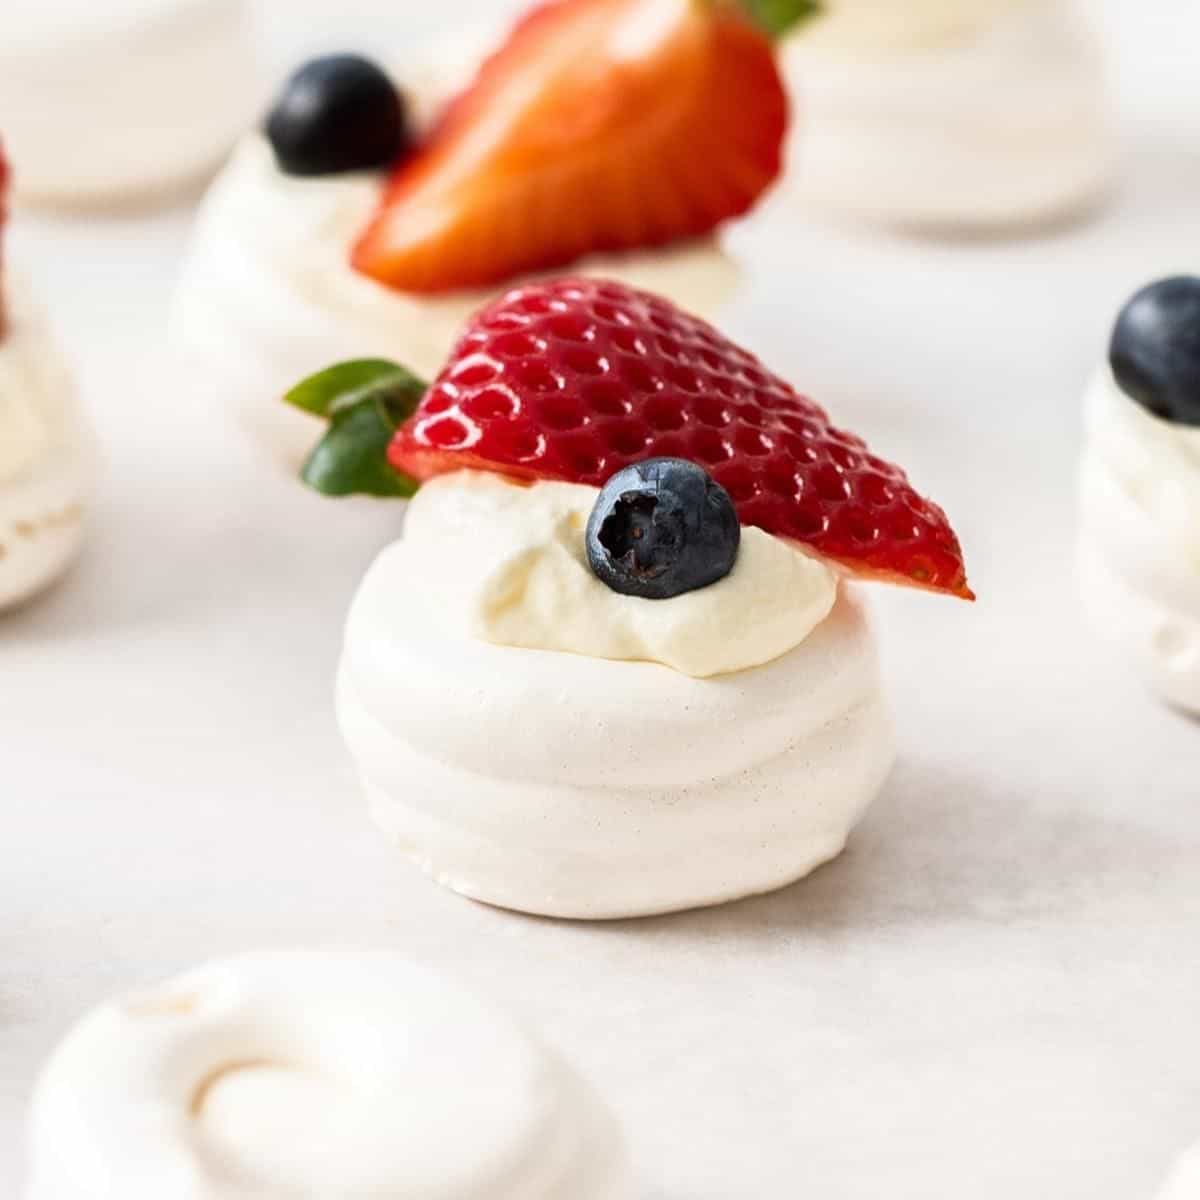
Mini Meringues: The Perfect Sweet Treat for Your Little Ones
Hello, fabulous parents! If you’re on a quest to whip up some kitchen fun with your tots, you’re in the right place. These mini meringues are not just scrumptious – they’re also super fun to make and the perfect size for your little ones’ dessert cravings. Ready to become a meringue maestro? I’ve got all the sweet deets you need, so let’s get whisking!
Gather up these essential ingredients to start your confectionery adventure:
- Sparkling egg whites
- Sweet granulated sugar
- A smidgen of salt
- Cream of tartar for a fabulously firm finish (optional, but it’s like a magic spell for meringues)
- Delicious flavorings, such as vanilla extract for that heavenly aroma
- Fun and vibrant food coloring to dazzle the senses!
Fancy creating these tasty morsels for a special celebration or just because? Your little sous-chefs will love getting their hands sticky and learning the baking basics. Let’s turn your kitchen into a mini meringue factory!
Five Things Parents Should Know When Preparing Mini Meringues
1. Prepping Your Kitchen Wonders
Ensuring a squeaky-clean environment is crucial for meringue success. Anything less than spick-and-span beaters and bowls could lead to an underwhelming meringue. Spotless utensils for the win!
2. Egg-cellent Separation Skills
Separating eggs doesn’t have to be a chore. Show those yolks who’s boss by gently passing them between the shells. A small bowl will catch accidental yolk escapes – a handy tip for a stress-free experience!
3. Whisking to Great Heights
Transform those whites from humble beginnings to glorious, firm peaks. Introduce sugar gradually as you whisk for that luscious, glossy texture. Standing tips are a sign you’ve hit meringue jackpot!
4. Personalize with Pizzazz
Dabble in color splashes and flavor dashes to customize your creations. Steer clear of excess liquid, though; we want to maintain that cloud-like puffiness. Unleash your inner sprinkle magic to add a touch of whimsy!
5. Slow and Steady Baking Wins the Race
Patience is key when baking mini meringues. A gentle oven will help dry them out to perfection while retaining their color. Remember, a low and slow bake creates the crispiest of delights!
Now that you’re armed with the know-how for an A+ meringue experience, gather your little helpers and embark on this sweet adventure. By mixing up these mini treats, you’ll sprinkle joy throughout your kitchen and craft unforgettable moments with your mini chefs.
So spark up your ovens and prepare for a swoon-worthy baking session. Your kiddos will marvel at their tiny treats, and your taste buds will dance with glee. Dive into this guide, and behold – the art of mini meringue making shall be yours to command!
For more great articles please see here. For more information see here
Disclaimer
The articles available via our website provide general information only and we strongly urge readers to exercise caution and conduct their own thorough research and fact-checking. The information presented should not be taken as absolute truth, and, to the maximum extent permitted by law, we will not be held liable for any inaccuracies or errors in the content. It is essential for individuals to independently verify and validate the information before making any decisions or taking any actions based on the articles.


