Cooking is a universal language that transcends borders and brings people together. Whether you’re a seasoned chef or just starting your culinary journey, understanding measurements is key to mastering the art of cooking. In this beginner’s handbook, we’ll unravel the mystery of ML (milliliters) to MG (milligrams) conversions, ensuring that every aspiring cook can confidently navigate the world of recipes.
Introduction to ML and MG
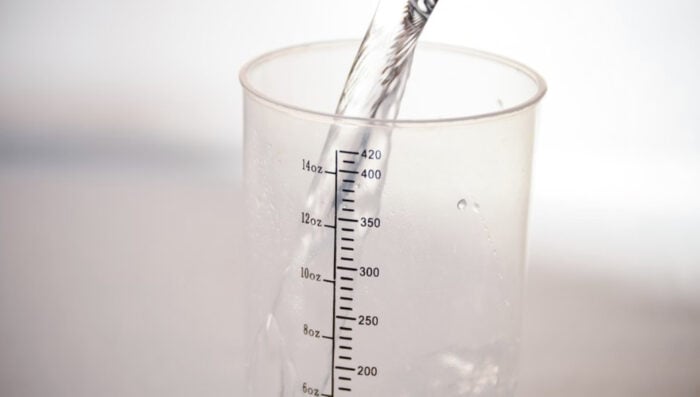
Before we dive into the intricacies of ML to MG conversion, let’s get acquainted with these terms. ML stands for milliliters and is commonly used to measure liquids, such as water, oil, or milk. MG, on the other hand, refers to milligrams and is typically employed for dry ingredients like flour, sugar, or spices.
Liquids: ML to MG Conversion Made Simple
Let’s start with the liquid side of the equation. Imagine you have a cup of water. Water has a density of approximately 1 gram per milliliter, making ML and MG nearly equivalent. So, if your recipe calls for 50 ML of a liquid, it’s safe to assume that the weight will be close to 50 MG.
For example, if your recipe instructs you to add 75 ML of vegetable oil, you can confidently use around 75 MG. This simple rule makes measuring liquids a breeze in the kitchen.
Decoding Dry Ingredients: ML to MG Conversion for Solids
When it comes to dry ingredients, things might seem a bit more complex, but fear not! The trick here is to use water as a reference point. Remember that 1 ML of water is roughly equal to 1 MG. So, if you need 100 ML of sugar, it’s approximately 100 MG.
However, keep in mind that not all dry ingredients behave the same way. Flour, cocoa powder, and other powdery substances can have different densities, making direct conversions challenging. In such cases, using a digital kitchen scale or consulting conversion charts becomes a valuable ally.
Kitchen Hacks for Seamless Conversions
Cooking should be enjoyable, not a source of stress. Here are some kitchen hacks to make ml to g conversions a walk in the park:
Water Wisdom: Utilize water as a quick reference point. Remembering that 1 ML of water is close to 1 MG can provide a handy mental shortcut for various liquid ingredients.
Conversion Charts: Keep a simple conversion chart in your kitchen. Online resources offer user-friendly charts that cover a wide range of ingredients, making it easy to convert measurements on the fly.
Digital Kitchen Scale: Consider investing in a digital kitchen scale. It takes the guesswork out of cooking, especially when dealing with ingredients that have varying densities.
Putting It Into Practice: A Recipe Walkthrough
Let’s put our newfound knowledge to the test with a simple recipe: chocolate chip cookies. Imagine the recipe calls for 150 ML of melted butter and 200 ML of chocolate chips. To convert these measurements to MG, we can confidently use the 1:1 ratio for liquids. Therefore, the melted butter would be approximately 150 MG, and the chocolate chips would be around 200 MG.
Now, suppose the recipe also requires 250 ML of all-purpose flour. Since flour may have a different density than water, we may want to consult a conversion chart or use a kitchen scale to ensure accuracy. Let’s assume the conversion chart indicates that 1 ML of flour is roughly 0.6 MG. Therefore, 250 ML of flour would be approximately 150 MG (250 ML * 0.6).
Conclusion: Embrace the Joy of Cooking
Armed with a basic understanding of ML to MG conversions, you’re now ready to embark on a culinary adventure with confidence. Cooking is not just about following recipes; it’s about embracing creativity, exploring flavors, and sharing delicious moments with others.
Remember, the kitchen is your playground, and these measurements are simply tools to help you create mouthwatering dishes. Whether you’re whipping up a family dinner or trying your hand at a new dessert, let the joy of cooking be your guide.
So, equip yourself with a simple conversion chart, consider investing in a digital kitchen scale, and most importantly, enjoy the process. Happy cooking, and may your kitchen be filled with the delightful aromas of your culinary creations!
For more great kids articles like this see here