
Create Timeless Memories: Guide to Making Your Own Clock
Tick-tock goes the clock! But wait, what if you could create that clock together with your kids, making not just a time-telling device but priceless memories? Yes, it’s possible, and it’s a whole lot of fun! As a parent, you might be looking for creative and educational projects to do with your little ones, and building a homemade clock is a fantastic idea. Not only will it help your children understand how to read the time, but they’ll also learn the basics of clock mechanics and appreciate the value of time itself. Let’s dive into the timeless craft of clock-making!
Understanding Time: A Journey for Kids and Parents Alike
Before we get our hands on the clock parts, let’s have a tiny prelude about time. Have a small session with your kids about the importance of time. Explain how it governs everything from when we wake up, to how we schedule our day. Understanding this concept makes the hands-on experience of making a clock even more significant and rewarding.
Gathering Your Clock Making Supplies
To start, you’ll need the following essentials:
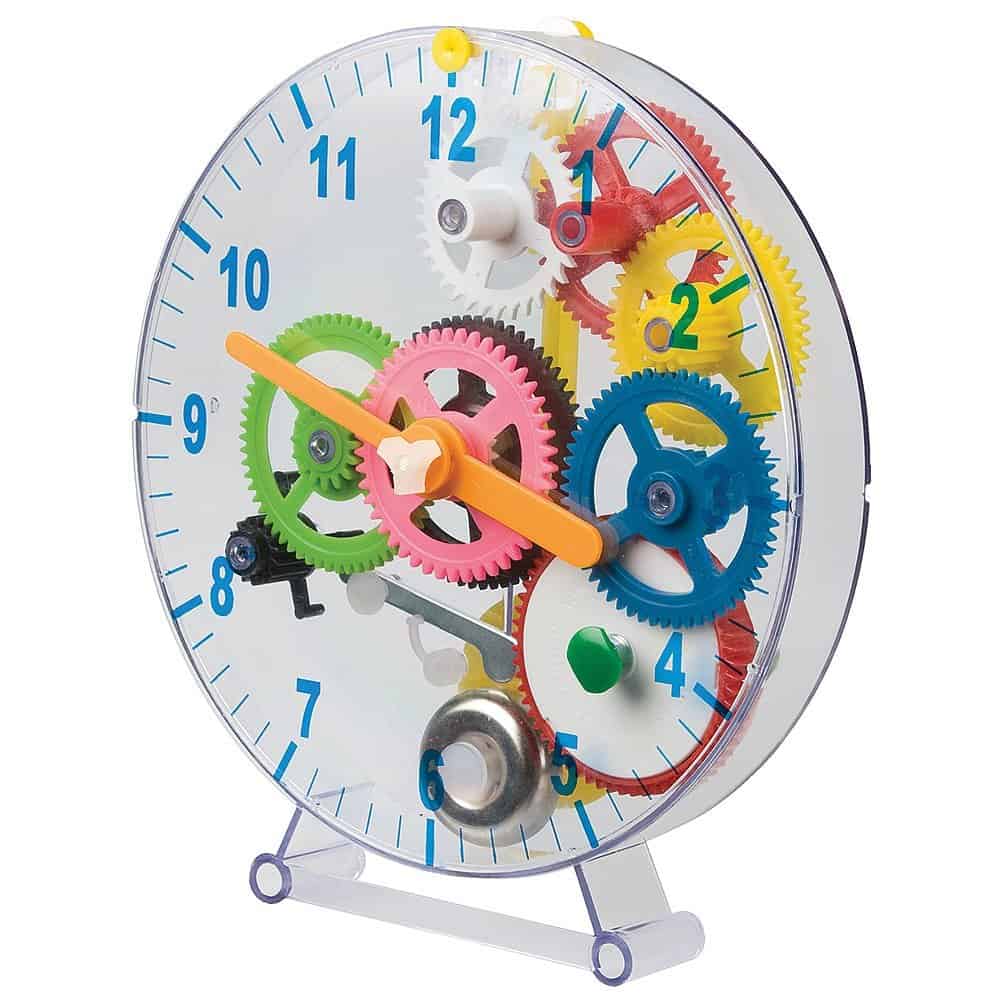
- Clock Kit: This includes the clock mechanism (movement), hands, and possibly numbers. They are easily available at craft stores or online.
- Base Material: Use anything from a piece of wood, a canvas, an old record, or even a paper plate for a simple version. This will be the face of your clock.
- Decorative Elements: Stickers, markers, paint, glitter — anything your child loves to decorate with and personalize their clock.
- Craft Tools: Depending on your clock base material, you might need tools like a screwdriver, drill, or scissors.
- Power Source: Most clock movements run on AA batteries, so have one on hand.
Ready, Set, Create: Crafting Your Clock Step-by-Step
Now, for the exciting part — putting all the pieces together! Here’s a general step-by-step process you can follow with your kids:
- Design Your Clock Face: Start by planning out where the numbers will go. Use a ruler or protractor to help space them evenly. Kids can practice their maths skills here to ensure that everything is symmetrical.
- Decorate Away: Before attaching the movement, let your kids unleash their creativity by decorating the base. They can draw, paint, glue, or do anything else to make it their own. Remember to let any paint or glue dry thoroughly before moving on to the next step!
- Assemble the Movement: If you’re using a wooden base, you may need to drill a hole in the center for the clock mechanism. Follow the instructions included with your clock kit to attach the movement to the base.
- Attach the Hands: Often, this is as simple as pressing them onto the mechanism in order — hour hand first, then minute, and sometimes a second hand. Teach your child how to gently press them into place without bending them.
- Set the Time and Start the Clock: Insert the battery, set the correct time using the dial on the back of the movement, and voilà! Your clock is ticking.
There you have it—your very own custom-made clock! Not only does it tell the time, but it also represents the time well spent together as a family.
The tick-tocking of your newly created clock is a sound that’s sure to fill the room with pride and accomplishment. But our journey doesn’t stop here. Next up, we’ll explore how to take your clock-making skills to the next level and introduce concepts like different clock movements and how to incorporate educational elements into your timepiece.
Five Essential Tips for Parents Prepping for the Clock Creation Adventure
Before you start the clock-making process, here’s a helpful list of things to keep in mind that will pave the way for a smooth, enjoyable experience:
- Safety First: Whenever you’re working on a DIY project with kids, safety has to be the top priority. If your project requires the use of tools like scissors, screwdrivers, or drills, make sure you handle the more dangerous steps yourself or supervise closely if your children are at an appropriate age to assist under your guidance.
- Learning Opportunities Abound: Use this project to its full educational potential. Discuss the history of timekeeping, how clocks have evolved, and the significance of time management. Engaging your child in these topics will make the process richer in learning and fun.
- Pick the Right Time: Choose a time when you’re not rushed and can fully immerse yourselves in the activity. A weekend or a calm evening could be ideal, allowing you to relax and go through the steps without feeling pressured by the typical daily hustle and bustle.
- Personalize the Process: Remember, the aim of this project isn’t just to end up with a working clock. It’s also about expressing creativity. Encourage your children to come up with a theme for the clock or select decorations that reflect their personality and interests.
- Prepare for Messes: Crafting can be messy, especially when it involves glue, paint, and the enthusiastic participation of kids. Lay down newspaper or a disposable tablecloth before you start and keep wipes or a cloth handy for quick cleanups.
With these tips in hand, you’re ready to embark on this delightful DIY journey! It’s a project that not only fosters creativity and learning but also strengthens the bond between you and your children. So gather your supplies, clear the table, and set aside the time to create a masterpiece of time with your family!
Taking it a Step Further: Advanced Clock Making
Once you’ve mastered the basics of clock-making, you might find yourselves bitten by the crafting bug and longing to expand your horizons. Here’s where you can explore adding sophisticated features such as a pendulum or chimes, or even teach your children about digital vs. analog timekeeping. Could there be a homemade cuckoo clock or a quirky digital design in your future? The possibilities are endless!
Ensuring Your DIY Clock Stands the Test of Time
To make sure your homemade clock continues ticking happily, maintain it like any other clock. Dust it regularly, check the battery every few months, and ensure that it’s not exposed to extreme temperatures. This will not only keep the clock working smoothly but will also give your child the satisfaction of seeing their handiwork function day after day.
Creating a clock from scratch is much more than a simple craft project. It’s an enriching experience that teaches children about art, science, and the value of time spent together. So, let the countdown begin to your next great adventure in time—DIY clock style!
Beyond the Clock: Wrapping Up the Day with New Skills and Happy Hearts
With your new clock proudly displayed and the day winding down, take a moment to reflect on what you’ve all accomplished. Beyond the craft itself, what mattered most was the time you spent together, the patience practiced, the stories shared, and the laughter that filled the room. This clock is not just a timekeeper—it’s a storyteller, and it’s one that will remind you every day of the lovely moments you created as a family. Cheers to your hand-made timekeeper, and here’s to the many more joyful projects that lie ahead!
See more great Things to Do with Kids in New Zealand here. For more information see here
Disclaimer
The articles available via our website provide general information only and we strongly urge readers to exercise caution and conduct their own thorough research and fact-checking. The information presented should not be taken as absolute truth, and, to the maximum extent permitted by law, we will not be held liable for any inaccuracies or errors in the content. It is essential for individuals to independently verify and validate the information before making any decisions or taking any actions based on the articles.


