
Simple Stained Glass Projects for Beginners
Welcome, creative parents and crafty kids! Are you looking for a colorful and fun activity that can add a splash of brightness to your home while also enabling some quality bonding time? Look no further, because today we’re diving into the whimsical world of simple stained glass projects that are perfect for beginners!
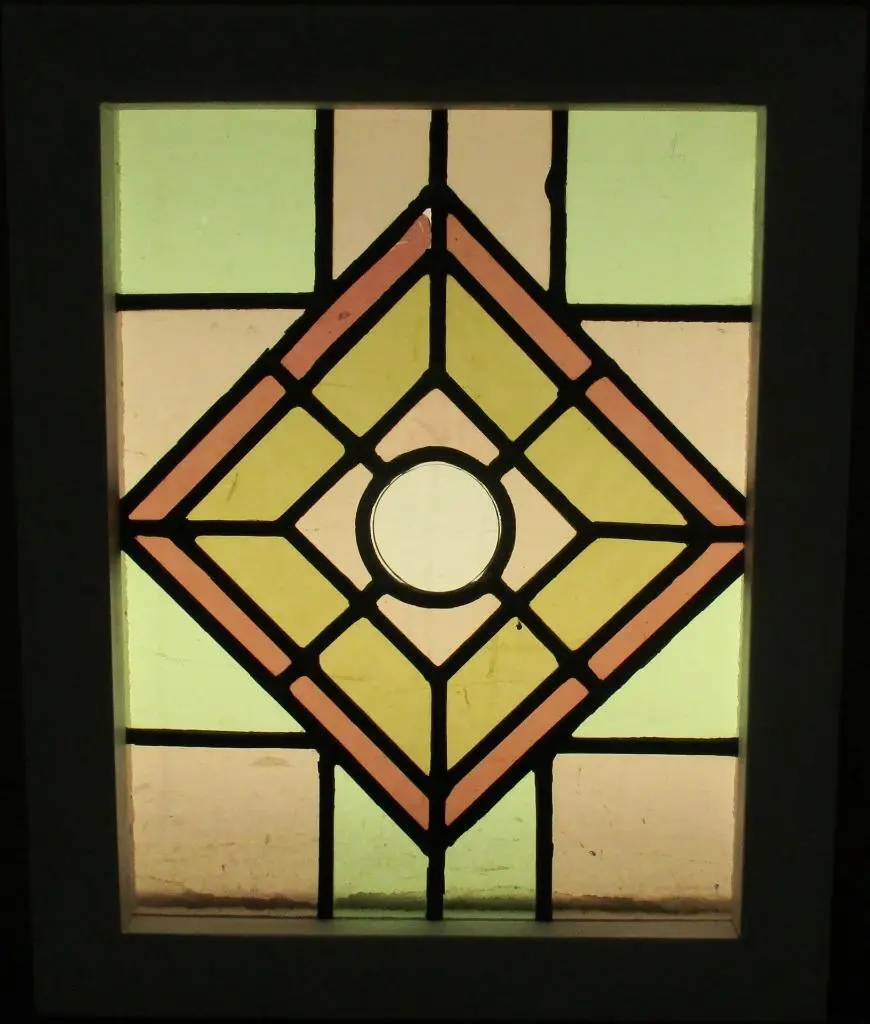
Stained glass art has a rich history, traditionally adorning the windows of majestic churches and grand buildings. But guess what? You can bring this beautiful art form right into your living room with some simple, easy-to-follow projects. It’s a fantastic way to introduce your children to the magic of colors and light, and to spend an afternoon creating memories that will last just as long as your beautiful glass pieces.
Understanding Stained Glass Art
Before we get our hands dirty—or should we say, colorful—it’s great to have a little background knowledge. Stained glass is an art form that uses pieces of colored glass, arranged in patterns or pictures, which are then held together by strips of lead and supported by a rigid frame. While a full lesson in the history of stained glass could fill books, the important takeaway for our project is that we can mimic this art form on a simpler scale suitable for parents and children alike.
Materials Needed for Simple Stained Glass Projects
Starting with the right materials will make your project a breeze. Here’s what you’ll need to begin your stained glass adventure:
- Colored tissue paper or cellophane: These will act as our ‘glass’, providing the vibrant colors without the sharp edges.
- Black cardstock or construction paper: These will serve as our ‘leading’, giving our project the classic stained glass look.
- Clear contact paper or glue: This will hold our masterpiece together.
- Scissors and craft knife (use with adult supervision): For cutting the paper into the shapes you need.
- A simple pattern or template: This makes it easier to follow and arrange your pieces. You can find many patterns online to print out.
- Pencils and markers: For tracing and additional decoration.
Choosing Your First Project
Now that we have our tools at the ready, let’s choose a project! For beginners, simple patterns with larger pieces are best. Think basic shapes like stars, hearts, or even a sunny landscape. Once you’re comfortable, you can graduate to more intricate designs like flowers or animals. The key is to enjoy the process without getting bogged down by complexity.
Step-by-Step Guide to Your First Stained Glass Creation
Your first project will be a fun adventure in color and shape. Here’s a brief overview of what we’ll accomplish:
- Select and print out your pattern.
- Cut out sections from the black paper to create the ‘leading’.
- Choose the colors of tissue paper to match the design.
- Cut and place the tissue paper onto the sticky side of the clear contact paper.
- Seal your design with another piece of contact paper.
- Trim the edges, and voila, a beautiful piece of stained glass art!
We’ll delve into each of these steps in more detail soon, but the above gives you an outline of the confident crafter you’re soon to become!
Not only is making stained glass a fun and educational experience, but it also helps in the development of fine motor skills and color recognition for younger children. And as a parent, you get the added delight of watching your child’s face light up with pride when they hold their creation up to the light for the first time.
Stay tuned, as we’re about to unfold each step with helpful tips and tricks to ensure your stained glass project is a sparkling success!
5 Essential Things Parents Should Know Before Starting a Simple Stained Glass Project
Embarking on a stained glass project with your little ones can be an incredibly rewarding experience, but it’s important to be well-prepared. Here are five crucial things to keep in mind:
1. Safety First
While we aren’t using actual glass, we still want to make sure our crafting is safe for all involved. Ensure that scissors and craft knives are used responsibly, and always supervise younger children closely during the cutting stages. If you choose to use any form of real glass in future projects, remember to wear safety glasses and gloves.
2. Simplicity is Key
When starting out with stained glass projects, simpler is better. Choose patterns with large areas and minimal detail to keep frustration at bay, especially for younger children. These simple patterns will build the foundation for more complex projects down the road.
3. Lay the Groundwork
Preparation can often take longer than the project itself—but it’s worth it. Make sure to have a clean workspace and all materials close at hand. Pre-cutting shapes and organizing your materials by color can also streamline the crafting experience. Remember to smooth out any air bubbles when using contact paper to keep your artwork looking sharp.
4. Embrace the Process
It’s the journey, not just the destination, that makes stained glass projects so special. Embrace each step of the process, encouraging your child’s creativity and input. Not everything needs to be perfect—uneven lines and quirky color choices add character to your creation.
5. Aftercare for Artwork
Once your masterpiece is complete, consider how you’ll display it. If you’re placing it on a window, make sure it’s out of reach of little hands that might want to pull it down. Sunlight can cause some materials, like tissue paper, to fade over time, so you might want to swap out your artwork periodically to keep things looking fresh.
Armed with these tips, you’re now ready to embark on your stained glass crafting adventure. Have fun, be safe, and enjoy the artistic journey with your family!
See more great Things to Do with Kids in New Zealand here. For more information see here
Disclaimer
The articles available via our website provide general information only and we strongly urge readers to exercise caution and conduct their own thorough research and fact-checking. The information presented should not be taken as absolute truth, and, to the maximum extent permitted by law, we will not be held liable for any inaccuracies or errors in the content. It is essential for individuals to independently verify and validate the information before making any decisions or taking any actions based on the articles.


