
Creating the Ultimate Batter for Fish and Chips: Parent-Friendly Guide
Hey there, awesome parents! If you’re ready to dive into the delicious world of homemade fish and chips with a golden crisp that’ll have your kids cheering, you’ve come to the right place! Making the perfect batter is easier than you think, and I’m here to guide you through each step with fun and ease.
Homemade fish and chips can be a wonderful way to bring a bit of culinary fun into your home. Plus, it’s a fantastic way to bond with your kids and teach them some kitchen skills. The magic of watching simple ingredients transform into a scrumptious meal is an experience that’s both educational and delightful for little chefs-in-training.
Understanding the Basics of Fish and Chips Batter
Before we jump in, let’s chat about what makes a great batter. The goal is a light, airy coating that provides a satisfying crunch without overpowering the delicate flavor of the fish. There are several types of batter, but the most common ones include beer batter, tempura, and simple flour and water mixtures. Each has its merits and choosing the right one will depend on your personal preference and the kind of fish you’re using.
Choosing Your Fish
Picking the right fish is crucial. Traditionally, cod and haddock are the go-to options due to their mild flavor and flaky texture. But don’t worry if you can’t find these; there are plenty of other fish that make for a tasty fish and chips meal. Pollock, tilapia, or even salmon can work wonders. Just be sure to choose boneless fillets for an easy eating experience, especially for the little ones.
Ingredients for the Batter
- All-purpose flour – The base of your batter, providing structure and crispiness.
- Cornstarch – A secret ingredient for extra crunchiness.
- Baking Powder – A leavening agent which helps the batter to puff up beautifully when fried.
- Beer or Sparkling Water – For a light and crispy texture. (Don’t worry, the alcohol cooks off, making it kid-friendly!)
- Salt – To enhance the flavors.
And remember, this is a basic guide. Feel free to get creative by adding herbs or spices to the batter to suit your family’s taste. Now, let’s get to the fun part!
Step-by-Step Guide to the Ultimate Batter
Step 1: Combine the dry ingredients—flour, cornstarch, baking powder, and salt in a large mixing bowl. Give them a good whisk to make sure everything is evenly distributed.
Step 2: Gradually pour in the beer or sparkling water while whisking continuously. You’re looking for a smooth, lump-free batter that is thick enough to coat the back of a spoon. If the batter is too thick, add a little more liquid; if it’s too thin, add a bit more flour.
Step 3: Let the batter rest for about 30 minutes. This gives the gluten in the flour a chance to relax, which contributes to a more tender coating that still has the perfect crunch.
While the batter is resting, let’s talk about preparing the fish and heating the oil. It’s important to get these steps just right for the best results, so stay tuned for more tips and tricks in the next section!
Ready your taste buds and kitchen gear because we are about to embark on a journey that ends with a beautiful platter of golden, crispy fish and chips that’ll make dinnertime a family favorite event. Fire up the stove, and let’s create some kitchen magic together!
5 Things Parents Should Know When Preparing Batter for Fish and Chips
1. The Importance of Oil Temperature
Frying at the right temperature is key to achieving that perfect golden crisp without your fish becoming greasy. Aim to maintain an oil temperature of 350-375°F (175-190°C). If the temperature is too low, your fish will absorb too much oil and become soggy. If it’s too high, the outside can burn before the fish cooks through. A kitchen thermometer is a handy tool to keep the temperature in check.
2. The Fish Should Be Dry
To ensure the batter sticks to the fish, pat the fish fillets dry with paper towels before dipping. Any moisture on the surface can cause the batter to slide off, leaving you with less-than-ideal results. Drying the fish also prevents splashing when you drop the fillets into the hot oil.
3. Avoid Over-Mixing the Batter
Whisk the batter until the ingredients are just combined. Over-mixing can activate the gluten in the flour too much, leading to a chewy texture rather than a light, crispy one. Remember, a few lumps in the batter are perfectly fine and won’t affect the end result.
4. Use the Right Utensils
A slotted spoon or a pair of long tongs are essential tools when it comes to frying fish. They help you gently lower the fish into the oil and safely remove it once it’s done, minimizing the risk of splashing hot oil.
5. Serving and Eating Immediately is Best
Fish and chips are best enjoyed fresh from the fryer. The longer the fish sits, the less crispy it becomes, so gather everyone around the table as soon as it’s ready. If you must wait, keep the fish warm in an oven set to a low temperature, but try to minimize this time for the best texture.
Preparing the Fish and Heating the Oil
Now that your batter is ready, it’s time to prepare your fish fillets. If you haven’t already, remove any skin and bones from the fish. Cut the fish into serving size pieces, which will vary depending on the size of your fish and the preferences of your family. Once cut, season the fish lightly with salt and maybe a touch of pepper if your family likes it.
Filling your pot or deep fryer with the appropriate amount of oil is next. You’ll want enough oil so the fish can be fully submerged, typically about 1-2 inches deep in a pot or following your fryer’s instructions. Heat the oil to the recommended temperature, and don’t forget to use that thermometer to check! Safety first—never leave hot oil unattended and keep children away from the cooking area during this process.
Dip each piece of fish into the batter, ensuring it’s completely coated. Allow the excess batter to drip off before gently lowering the fish into the hot oil. Fry the fish in batches, being careful not to overcrowd the pot, which can lower the temperature of the oil and result in soggy fish.
Cook the fish until it’s golden brown and crispy, usually about 5-7 minutes, depending on the thickness of the fillets. Once cooked, remove the fish with your slotted spoon or tongs and let it drain on a rack or paper towels.
While the fish is frying, you might want to get started on some chips. Slice your potatoes into the desired shape and fry them in the same oil, either before or after the fish, until they are crispy and golden. And there you have it— a match made in heaven!
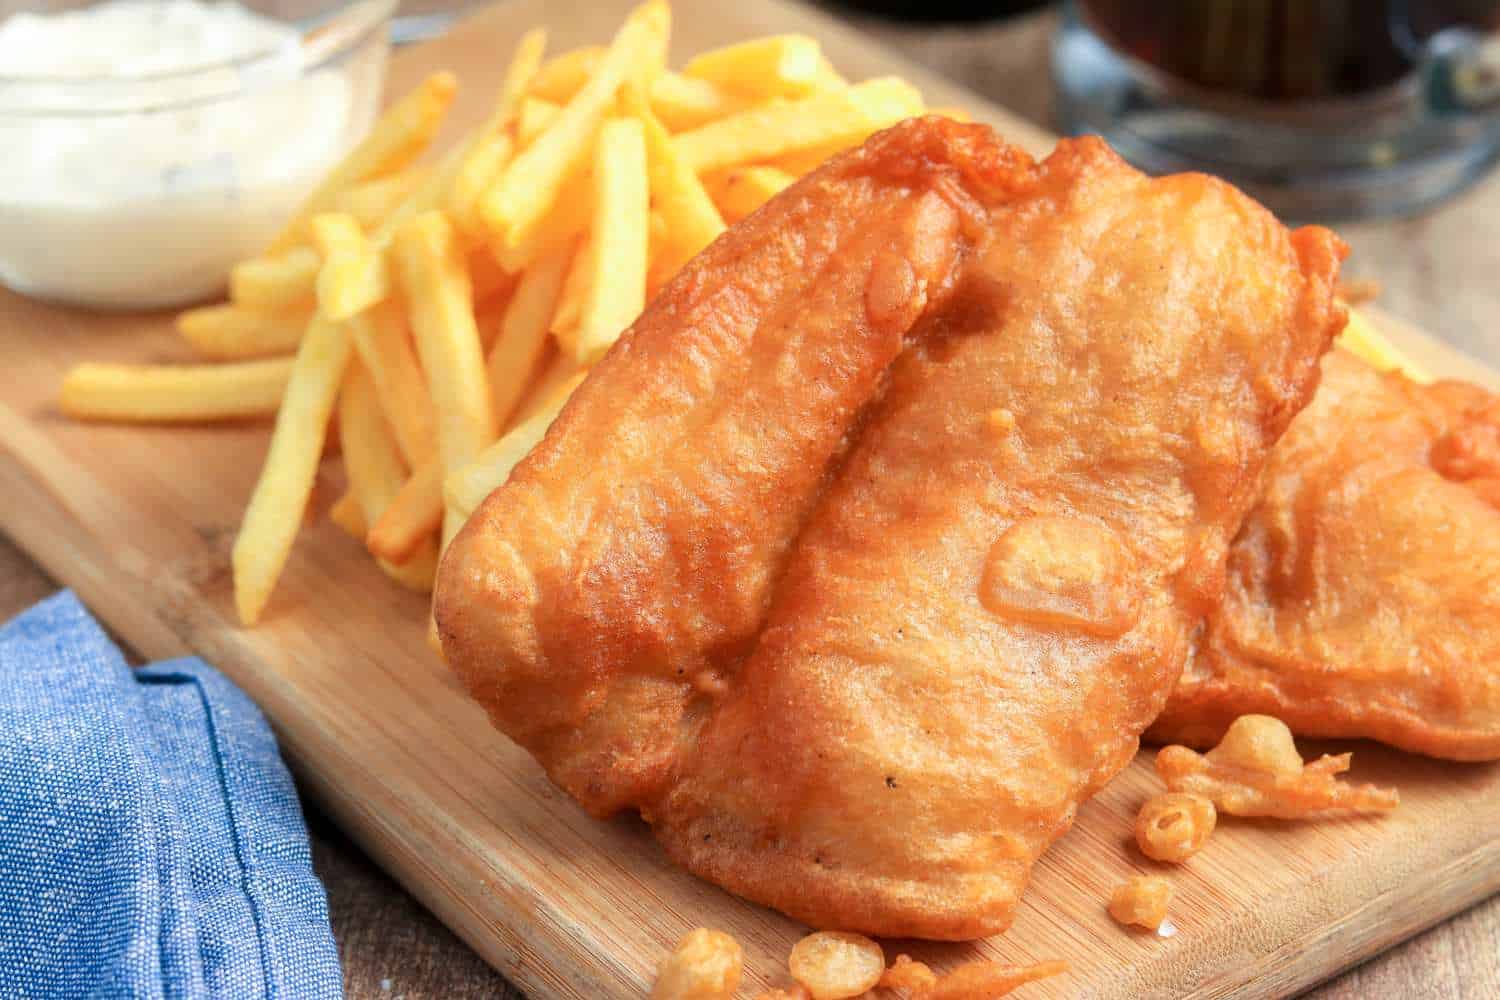
Now, plate up your scrumptious fish and chips and watch as the entire family delights in the fruits of your labor. Pair your meal with some mushy peas, tartar sauce, or just a simple wedge of lemon, and enjoy the smiles of satisfaction around the dinner table. Cooking together, laughing, and sharing stories over a home-cooked meal creates memories that will last a lifetime.
And remember, while perfecting your batter and technique might take a little practice, the effort is totally worth it when you see your family enjoying the meal you’ve prepared. So, roll up your sleeves and have a blast making this classic British dish in the comfort of your own home. Bon appétit!
See more great Things to Do with Kids in New Zealand here. For more information see here
Disclaimer
The articles available via our website provide general information only and we strongly urge readers to exercise caution and conduct their own thorough research and fact-checking. The information presented should not be taken as absolute truth, and, to the maximum extent permitted by law, we will not be held liable for any inaccuracies or errors in the content. It is essential for individuals to independently verify and validate the information before making any decisions or taking any actions based on the articles.


:max_bytes(150000):strip_icc()/best-fish-and-chips-recipe-434856-Hero-5b61b89346e0fb00500f2141.jpg)