
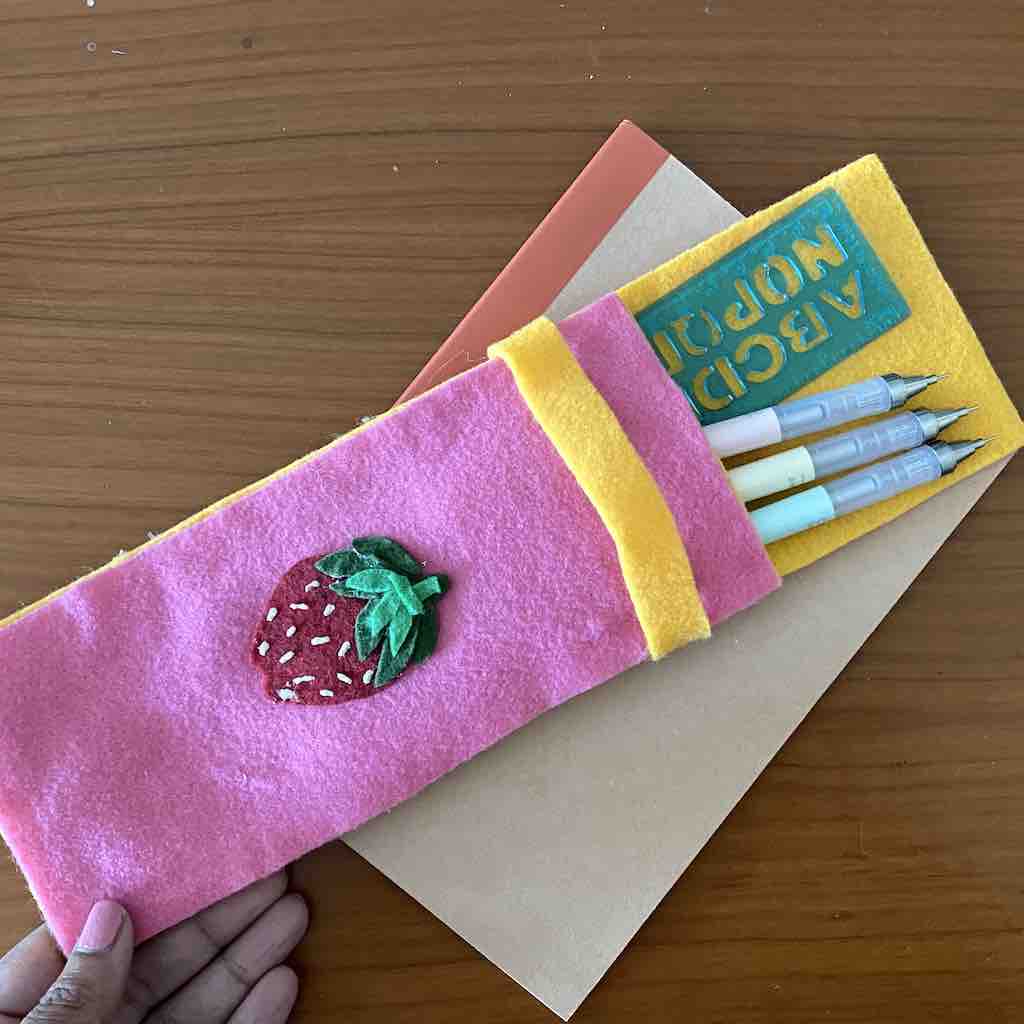
Craft Your Own DIY Pencil Case: A Creative Guide for Parents and Kids Alike!
Oh, the joy of crafting! Whether it’s a rainy day activity or you’re gearing up for a new school season, making a DIY pencil case is not just practical, but also heaps of fun. So, grab a cup of joy and let’s dive into the wonderful world of crafting your very own pencil nook!
Benefits of Making Your DIY Pencil Case
Before we get down to the nitty-gritty, let’s chat about why making your own pencil case is such a fantastic idea! Not only do you get to add a personal touch to your kiddo’s school supplies, but it’s also a splendid way to:
- Unleash Creativity: Let your child’s imagination run wild with designs that reflect their personality!
- Practice Eco-Friendliness: Re-use materials from around your home for an environmentally friendly touch.
- Enjoy Quality Time: Crafting together means building memories that you and your children will cherish.
- Improve Fine Motor Skills: For the little ones, this activity is perfect for enhancing hand-eye coordination.
- Save Money: Why buy when you can DIY? It’s both fun and kind to your wallet.
Materials You’ll Need for Your Homemade Pencil Case
Let’s gather our materials! Here’s a handy list of things you’ll need to create that awesome pencil case. Remember, there’s always room for improvisation, so feel free to substitute where necessary:
- Fabric or Felt (consider re-purposing old clothes or bags)
- Matching thread
- Sewing needle or sewing machine
- Fabric scissors
- Ruler or Tape Measure
- Fabric glue (if you want to skip the sewing)
- Zipper or Velcro (for closure)
- Embellishments like buttons, stickers, or patches
- Pins to hold fabric in place
- Chalk or fabric marker for marking measurements
Tip: Don’t have a zipper on hand? No problem! You can use buttons or even make a flap with a magnetic clasp as an alternative.
Choosing Your Pencil Case Style
Now for the fun part! What kind of pencil case are you aiming to create? Will it be a classic rectangle, a roll-up, or perhaps something completely out of the box? Here are a few ideas to inspire you:
- Classic Rectangle: Simple and straightforward, a rectangular pencil case is timeless.
- Tube Round-Up: For something a bit different, try a cylindrical shape that stands out.
- Rolled-Up Organizer: Perfect for artists who carry different types of pens and brushes.
- Character-Themed Case: A super hit with kids – think animals, superheroes, or favorite TV characters!
Hint: This is where your child can really shine! Have them sketch out their ideas before you choose your final style.
Let’s Get Crafting!
All set? Perfect! In our next section, we’ll walk you through the step-by-step process of making a classic rectangular pencil case. We’ll cover everything from cutting your fabric to adding a zipper and personalizing your creation. Stay tuned for an afternoon filled with laughs, learning, and a little bit of stitch wizardry!
So, why not make this crafty adventure a family affair? DIY pencil cases are not just a joy to create, but they also bring to life a unique product that’s loaded with love and imagination. Keep your sewing kit ready, and let’s prepare to stitch up some magic!
5 Things Every Parent Should Know Before Starting a DIY Pencil Case Project
Dear creative parents and guardians, as we embark on this delightful journey of making a DIY pencil case with your little ones, there are a few pearls of wisdom to keep in mind. These tips are here to ensure your crafting session is a smooth sail!
1. Embrace the Mess
It’s important to remember that crafting can be messy and that’s perfectly okay! Lay out some newspaper or a craft mat, get those aprons on, and don’t sweat the small spills. Remember, it’s all part of the fun and creative process.
2. Let Children Lead
While it may be tempting to take over when things get tricky, it’s essential for kids to feel in control of their project. Guide them and offer help when needed, but allow them the space to make decisions and learn from any mistakes—it’s all part of the learning experience!
3. Prep is Key
Gather all your materials before you begin to avoid any ‘oh no, we forgot the zipper!’ moments. Have everything laid out so you and your little crafters can see what you have to work with and can plan out your project seamlessly.
4. Time Management
This isn’t a race! Allocate plenty of time for your DIY task. Rushing through the process can lead to mistakes and frustration. If you’re not finishing in one sitting, that’s completely fine. Choose a good stopping point and resume later. After all, anticipation is part of the excitement!
5. Safety First
Safety scissors for young ones, supervision when using a hot glue gun, and careful handling of pins and needles are critical. Always prioritize safety over speed or perfection and use this opportunity to teach your young ones about responsible crafting.
Step-By-Step Guide: Crafting the Classic Rectangular Pencil Case
Now, with those helpful pointers in place, let’s get down to the specifics of making your own classic rectangular pencil case. We’ll go through each step, from the first cut to the final stitch, ensuring you create a masterpiece filled with personality and practicality. Your kiddos will beam with pride as they show off their custom-made pencil case at school!
See more great Things to Do with Kids in New Zealand here. For more information see here
Disclaimer
The articles available via our website provide general information only and we strongly urge readers to exercise caution and conduct their own thorough research and fact-checking. The information presented should not be taken as absolute truth, and, to the maximum extent permitted by law, we will not be held liable for any inaccuracies or errors in the content. It is essential for individuals to independently verify and validate the information before making any decisions or taking any actions based on the articles.


