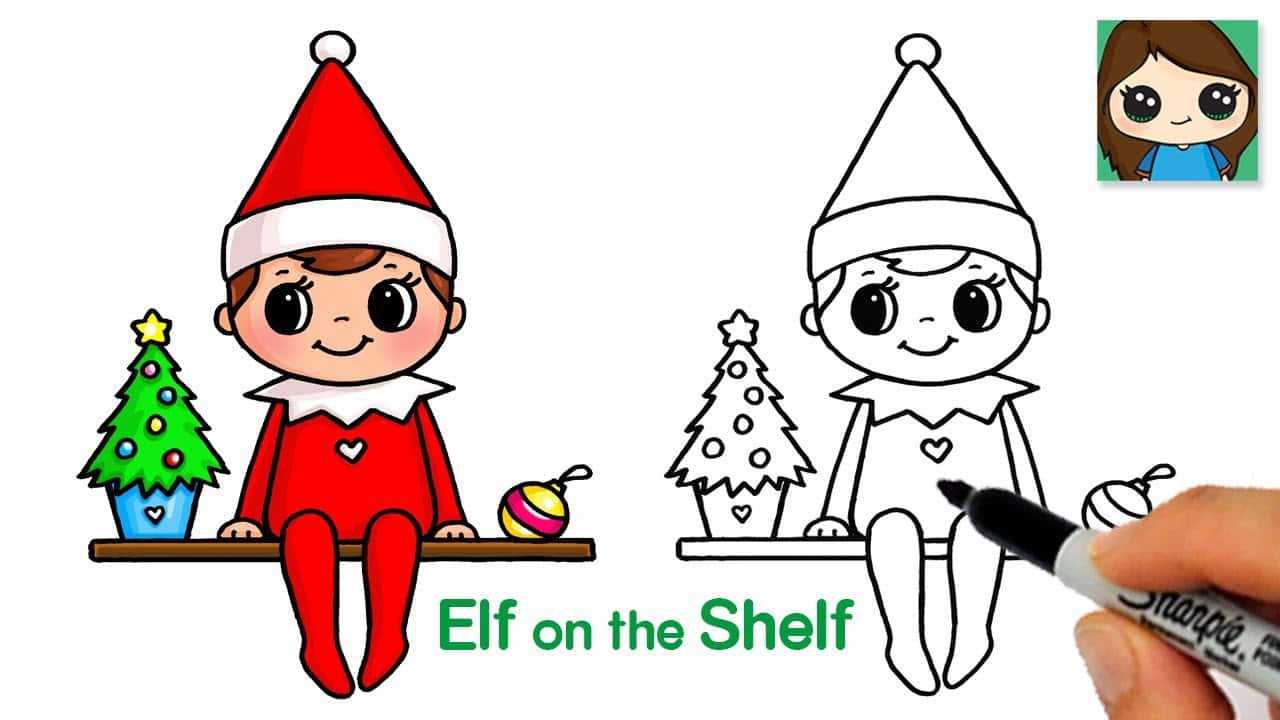
The Ultimate Guide to Drawing Christmas Elves: Fun for Parents and Kids Alike!
Hello there, creative families! Tis the season to be jolly, and what better way to spread the cheer than by drawing some adorable Christmas elves? Whether you’re a parent looking for a holiday-themed activity to enjoy with your kids or someone who simply loves the festive spirit, this guide will walk you through the process of creating your very own elfin drawings that would make Santa proud!
Before we begin our magical artistic journey, let’s stock up on some supplies:
- Pencil
- Eraser
- Drawing paper or sketchbook
- Colored pencils, markers, or crayons
Don’t worry if you’re not the next Picasso! Drawing is all about having fun and expressing your creativity. Our steps are designed to be kid-friendly and are easy to follow, ensuring a stress-free drawing experience for parents and little ones alike.
Step-by-Step Instructions to Drawing an Irresistible Christmas Elf
Ready to dive into a world of whimsy and color? Let’s sketch our first elf!
Step 1: Outline the Elf’s Head
Begin by drawing a circle or oval shape for the head. This will be the canvas for your elf’s cheerful face. Remember, it doesn’t have to be perfect—elf heads come in all shapes and sizes!
Step 2: Draw the Elf’s Body
Below the head, sketch a smaller oval slightly overlapping the bottom of the head. This will be your elf’s body. Elves are known for their playful stature, so think small and cute!
Step 3: Add the Hat and Ears
It’s time to add character to your drawing! Give your elf a traditional pointed hat by drawing a triangle that starts at the top of the head and extends upward. Place it at a jaunty angle for extra charm. For the ears, draw two small curved lines on either side of the head; elves are notorious for their pointy ears, after all!
Step 4: Sketch the Arms and Legs
Add two curved lines on either side of the body for arms, and two lines at the bottom for legs. Elves are often depicted in busy motion, so feel free to position these limbs in playful postures like holding a toy or standing in a dance-like stance.
Step 5: The Finishing Touches
Now comes the truly magical part—bringing your elf to life with details! Draw the eyes, nose, and a big, friendly smile. You can also add a belt, shoes, and any other accessories you think your elf might need. Don’t forget to personalize your elf’s clothes with stripes, polka dots, or any pattern you fancy.
And there you have it! A charming Christmas elf straight out of a winter wonderland workshop. But wait, the fun doesn’t stop here! Continue exploring different elf designs or jazz up your artwork with some sparkly glitter or festive stickers for an extra sprinkle of holiday spirit.
Stay tuned for the next part of our guide, where we will discuss tips for coloring and embellishing your elves, ideas for using your elf drawings in DIY Christmas decor, and how to make a memorable drawing session with your family.
So, grab your art supplies and let’s make this the most enchanting and artsy holiday season ever! Let those imaginations soar and those pencils dance — it’s time to create some elf magic!

5 Essential Tips for Parents Preparing for Christmas Elf Drawing Fun
Welcome, merry parents and guardians! As the holiday season approaches, you might be thinking about engaging craftsmanship activities with your children, and what’s more heartwarming than drawing Christmas elves together? Fear not, because you don’t need to have a talent equal to that of the elves in Santa’s workshop to make cherished holiday memories. Here are five things you should know to prepare for an afternoon or evening of Christmas elf drawing:
1. Set the Festive Scene
Before you start drawing, create a festive environment that will spark creativity. Light a scented candle with a holiday aroma, play some classic Christmas tunes, and don your favorite holiday sweaters! This sets a cheery tone, making for a perfect drawing session.
2. Gather Quality Art Supplies
- Pencil: Soft lead pencils (2B-6B) are perfect for sketching as they create visible lines without much pressure.
- Eraser: A good eraser is essential to correct those “happy little accidents.” Choose a white plastic eraser as it usually doesn’t leave color on your paper.
- Drawing Paper: Heavier paper, like cardstock or mixed media paper, can handle more erasure and a range of materials.
- Colored Implements: Offer a variety of colored pencils, markers, and crayons. Watercolor pens and pastels can also add a unique touch to your elves.
3. Embrace Imperfection
Remind your kids (and yourself) that every line doesn’t have to be perfect. Elves, after all, are playful creatures. A crooked hat or a lopsided smile adds character and charm!
4. Learn Basic Shapes Together
Elves can be broken down into simple shapes – circles, ovals, triangles, and rectangles. Practice drawing these shapes with your children. This will help them see how a complex figure like an elf can be created from simple, manageable parts.
5. Have Variations for Different Skill Levels
If you have children of various ages, prepare varied complexity in your elf sketches. For younger artists, a basic elf outline suffices, whereas older kids can enjoy the challenge of adding intricate details and patterns.
By keeping these tips in mind, you’ll ensure that the experience is delightful and frustration-free. After all, the goal is to make holiday memories together – not to compete for the title of “Best Christmas Elf Artist.”
Now that we’re prepped and ready to spread some artistic joy, let’s jump into our easy-to-follow steps that will lead you through drawing the most adorable elves. Grab your supplies, find a comfy spot, and let’s get started on a whimsical drawing adventure that will become a treasured part of your family’s holiday traditions.
The joy of creation is at the heart of this activity, so remember to celebrate every elf, from the quirky to the quaint. Your elves don’t need to end up on gallery walls; they just need to end up in your hearts this festive season. So let’s begin!
See more great Things to Do with Kids in New Zealand here. For more information see here
Disclaimer
The articles available via our website provide general information only and we strongly urge readers to exercise caution and conduct their own thorough research and fact-checking. The information presented should not be taken as absolute truth, and, to the maximum extent permitted by law, we will not be held liable for any inaccuracies or errors in the content. It is essential for individuals to independently verify and validate the information before making any decisions or taking any actions based on the articles.


