
Create Your Own Concrete Planters: A Fun and Easy Guide for Parents
Hey there, Green Thumbs and Crafty Parents!
Are you looking to spruce up your garden with a personal touch? Or perhaps you’re searching for a fun, hands-on project to enjoy with your kids? Look no further, because today, we’re diving into the wonderful world of DIY concrete planters! These charming and durable additions to your garden are not only aesthetically pleasing but also super fun to create. So, roll up those sleeves, and get ready for an exciting crafting adventure that will leave your garden looking fabulous!
Why Choose Concrete Planters?
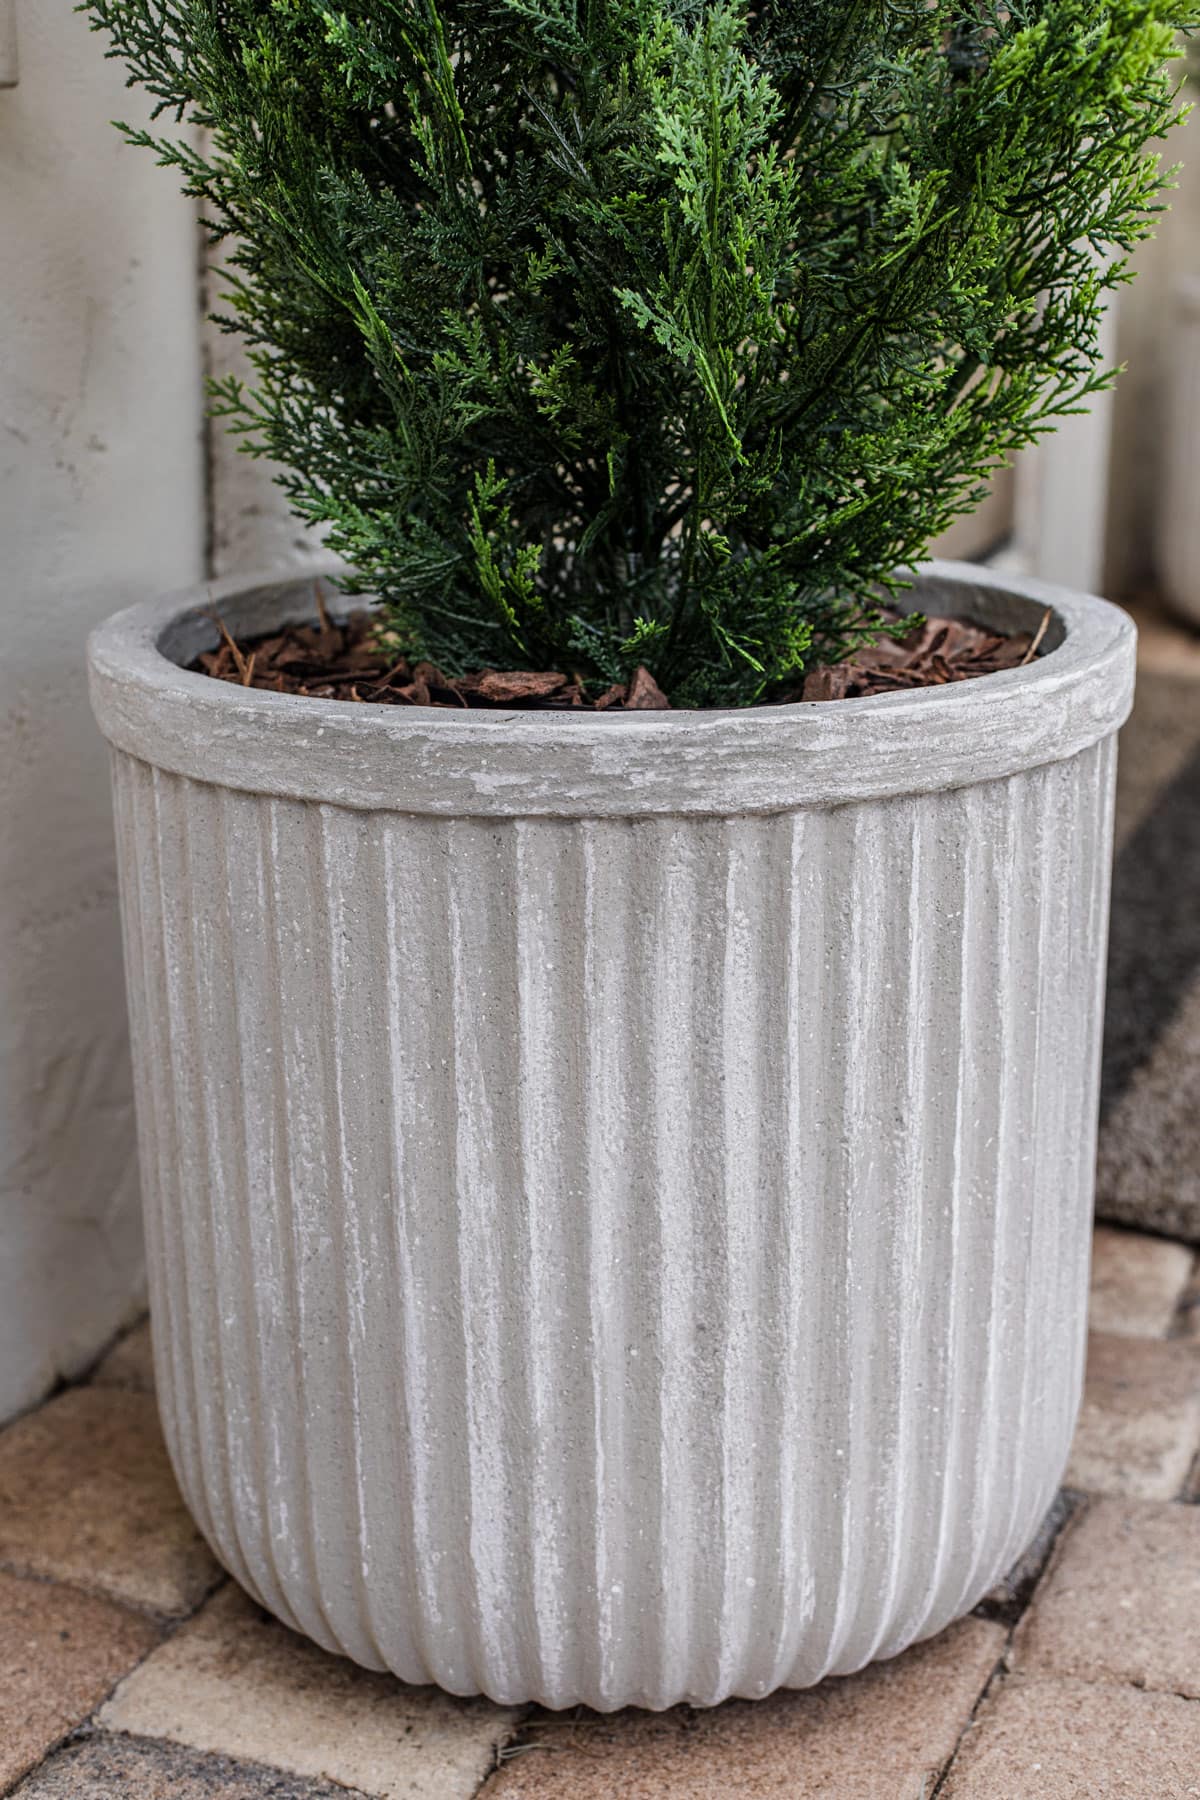
Concrete planters have been all the rave in home and garden decor, and for good reason! They’re incredibly versatile, durable, and offer that perfect blend of modern chic and rustic charm. Plus, they provide an excellent opportunity for a family bonding experience, where everyone can express their creativity while learning about the joys of gardening.
Materials You’ll Need
- Portland cement
- Sand (optional, for a smoother finish)
- Water
- A large mixing bucket
- A stir stick or shovel
- Molds (you can use existing containers like old plastic buckets or create custom molds)
- Non-stick cooking spray or vegetable oil
- Protective gloves
- Safety glasses
- A mask (to avoid inhaling cement dust)
Step-by-Step Guide to Making Your Planters
Before we jump into the nitty-gritty, remember safety first! Always wear your gloves, glasses, and mask when working with concrete to protect your skin and lungs. Now, let’s get crafting!
Step 1: Mix Your Concrete
Mix the Portland cement, sand (if using), and water in your large bucket. Aim for the consistency of a thick brownie batter – not too runny, but not overly stiff. If it’s your first time, don’t fret! Mixing concrete is an art form, and you’ll get the hang of it with a bit of practice. Your little assistants can help with the stirring – it’s like making a giant mud pie, but with a super cool outcome!
Step 2: Prepare Your Molds
Choose molds that fit the size and shape of the planters you envision. You can be as creative as you like here. Old food containers, cardboard boxes, or even toys can make unique planter shapes. Coat the insides of your molds with non-stick cooking spray or vegetable oil to ensure an easy release once the concrete sets.
Step 3: Pour the Concrete
Carefully pour your concrete mix into the molds. Tap the sides to remove any air bubbles – this will help you get a smoother finish on your concrete planters. If you want to create a space for plants, insert a smaller container in the middle, weighing it down to prevent it from floating up.
Step 4: Let It Set
Patience is key – let your planters dry and set for at least 24-48 hours. This gives the concrete time to cure and harden. Use this waiting time to plan out your garden layout or browse for plants that will shine in your new planters.
Concrete planters are not only a stylish choice for your garden but also an excellent opportunity to engage in an enriching DIY project with your family. With your mix ready, your molds set, and your creativity flowing, you’re well on your way to crafting delightful garden features that will stand the test of time.
Stay tuned as we’ll soon delve deeper into decoration and customization of your DIY concrete planters, tips for planting and maintenance, and even more hands-on advice to ensure your concrete creations turn out perfectly. So don’t go away; the best is yet to come!
Creating your DIY concrete planters is an enjoyable process that offers endless possibilities for customization. Best of all, it’s a project that you and your kids can be proud of – watching your beautiful plants thrive in the planters you’ve made together. Happy crafting!

5 Things Parents Should Know in Preparing for DIY Concrete Planters
Attention all innovative parents! As you gear up for your DIY concrete planter project, here are five essential tips to ensure a smooth and enjoyable experience:
-
Safety Comes First:
Working with concrete requires precautions. Always supervise your children, and ensure everyone wears safety equipment. Long sleeves and trousers can protect skin, and gloves are a must to prevent skin irritation. Keep a first-aid kit nearby just in case of any small accidents.
-
Work Outdoors or in a Well-Ventilated Area:
Cement can be dusty and messy, so choose an outdoor space or a well-ventilated area for your project. Cover your work surface with a plastic sheet or tarp to catch spills and make cleanup easier.
-
Plan Your Design in Advance:
Before you begin, sketch out your planter designs with your kids. Decide on shapes, sizes, and whether you’ll need drainage holes. This preparation will help streamline the process and engage your children’s creativity from the get-go.
-
Patience is a Virtue:
Concrete takes time to cure properly. Prepare your kids for the timeline and use the waiting period to discuss patience and the natural setting process. You can even track the drying time together as a fun science activity.
-
Get Ready for Some Messy Fun:
Mixing concrete can be a messy affair, so dress for the occasion in old clothes and encourage your kids to do the same. Embrace the messiness as part of the creative process – after all, the best memories often come with a bit of dirt!
By keeping these pointers in mind, you and your little creators are all set to begin your concrete crafting journey. Always listen to your children’s ideas and encourage them to express their imagination through the process. Making DIY concrete planters can teach them valuable lessons in art, nature, science, and even a little bit of construction!
With every step, remember to snap photos and make mental notes of the fun times. As your garden blossoms with the addition of your hand-crafted planters, you’ll cherish the memories of creating them together even more.
Creating your DIY concrete planters is an empowering process that offers endless possibilities for customization. It’s a fantastic way to combine the joys of gardening with the thrill of crafting. So gather your supplies, ignite your imagination, and get ready to transform your outdoor space into a more lush and vibrant extension of your home. Happy crafting and happy planting!
Let the concrete adventure begin!
See more great Things to Do with Kids in New Zealand here. For more information see here
Disclaimer
The articles available via our website provide general information only and we strongly urge readers to exercise caution and conduct their own thorough research and fact-checking. The information presented should not be taken as absolute truth, and, to the maximum extent permitted by law, we will not be held liable for any inaccuracies or errors in the content. It is essential for individuals to independently verify and validate the information before making any decisions or taking any actions based on the articles.


