
Homemade Hazelnut Spread: A Nutritious and Delicious Treat for the Whole Family!
Welcome, health-conscious parents! Are you on the lookout for a lip-smacking homemade hazelnut spread recipe that’s both nutritious and a surefire hit with the kids? You’ve come to the right place! In this guide, we’ll take you through the steps to create your very own jar of heavenly goodness, bursting with the rich flavor of hazelnuts and the perfect amount of sweetness that will have everyone asking for more.
Let’s dive into the world of homemade spreads where you control the ingredients, ensuring a healthier option for your family without compromising on taste. Say goodbye to store-bought versions with additives and hello to your new pantry staple!
Why Choose Homemade?
- Nutritional Control: By making your hazelnut spread at home, you can adjust the sugar content and avoid unwanted preservatives, making it a healthier option for your family.
- Flavor Customization: Tailor the spread to your taste preferences. Do you love extra vanilla, or perhaps a dash of cinnamon? You can add these to suit your palate!
- Fun Family Activity: Involve your kids in the kitchen with this simple and safe recipe. It’s a great way to spend quality time together while educating them about healthy eating.
What You’ll Need:
- 2 cups raw hazelnuts
- 1/2 cup powdered sugar (or to taste)
- 1/4 cup cocoa powder
- 2 tbsp hazelnut oil (or any neutral tasting oil)
- 1 tsp pure vanilla extract
- A pinch of salt
Note: This recipe is versatile, so feel free to explore with alternative sweeteners like honey or maple syrup, and for a vegan version, ensure all your ingredients are plant-based.
Preparation: Roasting Hazelnuts
The first step in creating the magical spread is to roast the hazelnuts, which intensifies their flavor and makes the skins easier to remove. Preheat your oven to 350°F (180°C) and spread your hazelnuts in a single layer on a baking sheet. Roast for about 10–12 minutes, or until they’re lightly browned and the skins begin to crack. Make sure to keep an eye on them as they can burn quickly! After roasting, let the nuts cool slightly before rubbing them in a clean tea towel or between your hands to remove as much skin as possible.
Blending Into Perfection
With your roasted hazelnuts at the ready, it’s time to transform them into a smooth and creamy spread. In a high-powered blender or food processor, blend the hazelnuts until they turn into a buttery consistency. This can take several minutes, so be patient and scrape down the sides as needed. The natural oils in the hazelnuts should be sufficient to achieve this, so there’s no need to add oil just yet.
Once you have a smooth hazelnut butter, it’s time to add the other ingredients. Keep the processor running and slowly add in your powdered sugar, cocoa powder, hazelnut oil, vanilla extract, and a pinch of salt. Continue processing until the mixture becomes silky and spreadable. If it appears too thick, you can add a little more oil to reach your desired consistency.
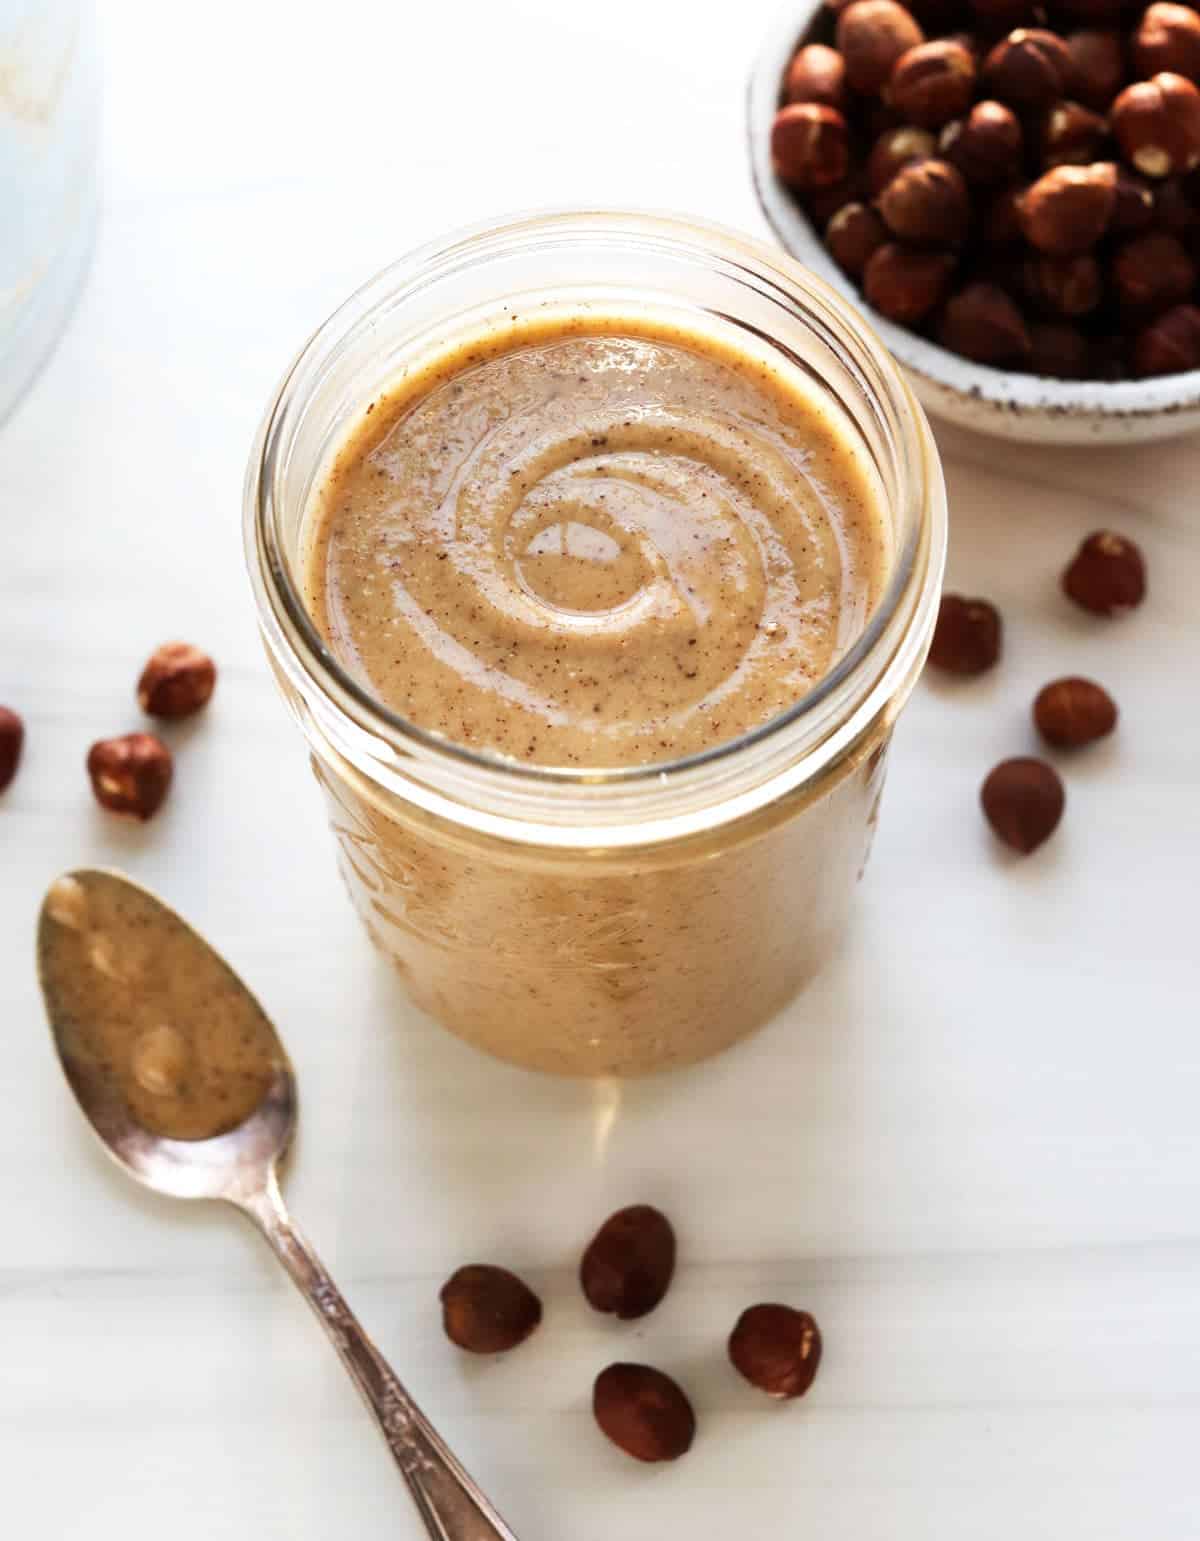
Your homemade hazelnut spread is almost ready! All that’s left is the best part – taste testing and enjoying the fruits of your labor. Transfer your creation to a clean jar, and store it at room temperature for easy spreading. It should last for up to two weeks when stored properly in a cool, dark place.
This homemade hazelnut spread is not only a healthier choice but also a delightful addition to various dishes. Spread it on toast, drizzle over pancakes, or use it as a dip for fruit—the possibilities are endless!
We hope this guide sparks inspiration in your kitchen and brings smiles to your family’s faces. Let’s continue with our culinary adventure and learn more about the multiple uses of this versatile and homemade hazelnut spread! Happy spreading!
5 Things Parents Should Know When Preparing Homemade Hazelnut Spread
1. Quality of Ingredients Matters
When preparing your hazelnut spread, using high-quality ingredients is key to a delicious and nutritious result. Opt for organic hazelnuts if possible, and choose high-grade cocoa powder and pure vanilla extract for the best flavor. This ensures that your spread is not only tasty but also free from harmful chemicals and pesticides.
2. Patience is Key with Blending
Blending the hazelnuts into a buttery consistency can be a test of patience. It’s important to give your blender or food processor enough time to work its magic. Don’t rush this step as it’s crucial for achieving that smooth, creamy texture we all love in a hazelnut spread.
3. Customization for Dietary Needs
Your child may have specific dietary needs or preferences, such as a vegan diet or a low-sugar lifestyle. This homemade recipe can be easily adapted to fit these requirements. Use alternative sweeteners, dairy-free options, and adjust the oils to suit their needs without sacrificing taste.
4. Storing for Freshness
Proper storage is essential to maintain the freshness and quality of your hazelnut spread. Once made, store the spread in an airtight jar at room temperature to keep it spreadable. If you prefer a firmer consistency, you can store it in the refrigerator, but remember to let it sit out for a while before using it to soften it up.
5. Involvement of Kids Can be Educational
Inviting your kids to join in the hazelnut spread-making process can be an enriching experience. It’s a chance to teach them about healthy eating, following recipes, measuring ingredients, and the science behind how solids (like hazelnuts) can turn into a creamy spread. It’s an opportunity for hands-on learning and fun!
Extra Tips and Tricks
If you’re up for some experimentation, here are a few additional suggestions to make your hazelnut spread even more special:
- For a more intense flavor, consider dry-roasting the hazelnuts on a pan without oil before baking.
- Add a tablespoon of your favorite liqueur to give an adult twist to the spread for special occasions.
- For chocolate lovers, using melted high-quality dark chocolate instead of cocoa powder can take this spread to a whole new level of decadence.
- If your family has nut allergies, try using seeds like sunflower or pumpkin as a substitute for hazelnuts. The process remains the same, but you’ll create a unique spread that’s allergy-friendly.
The joy of making your hazelnut spread doesn’t end with the last step in the recipe. It’s a gateway to bonding with your children, educating them about nutrition, and sparking a passion for cooking. It’s about creating moments of joy and tasting satisfaction that come from knowing you’re providing the healthiest option for your family. So, gather your ingredients, roll up your sleeves, and prepare for a fun-filled kitchen adventure with your homemade hazelnut spread!
Remember, creativity is the heart of cooking, and the kitchen is your canvas. Enjoy each step of making this spread, share the experience with your little ones, and revel in the joy of creating something truly delightful together. With every spread of your homemade hazelnut concoction, you’ll feel the pride of making something from scratch that’s loved by all. Happy spreading, dear parents!
See more great Things to Do with Kids in New Zealand here. For more information see here
Disclaimer
The articles available via our website provide general information only and we strongly urge readers to exercise caution and conduct their own thorough research and fact-checking. The information presented should not be taken as absolute truth, and, to the maximum extent permitted by law, we will not be held liable for any inaccuracies or errors in the content. It is essential for individuals to independently verify and validate the information before making any decisions or taking any actions based on the articles.


